How to Design Jewelry in CAD: From Sketch to Printable CAD File
Jewelry CAD design turns a concept or hand-drawn sketch into a precise 3D model ready for production. This guide covers each design stage, the information a CAD designer needs, casting tolerances, and the time required to prepare a printable file.
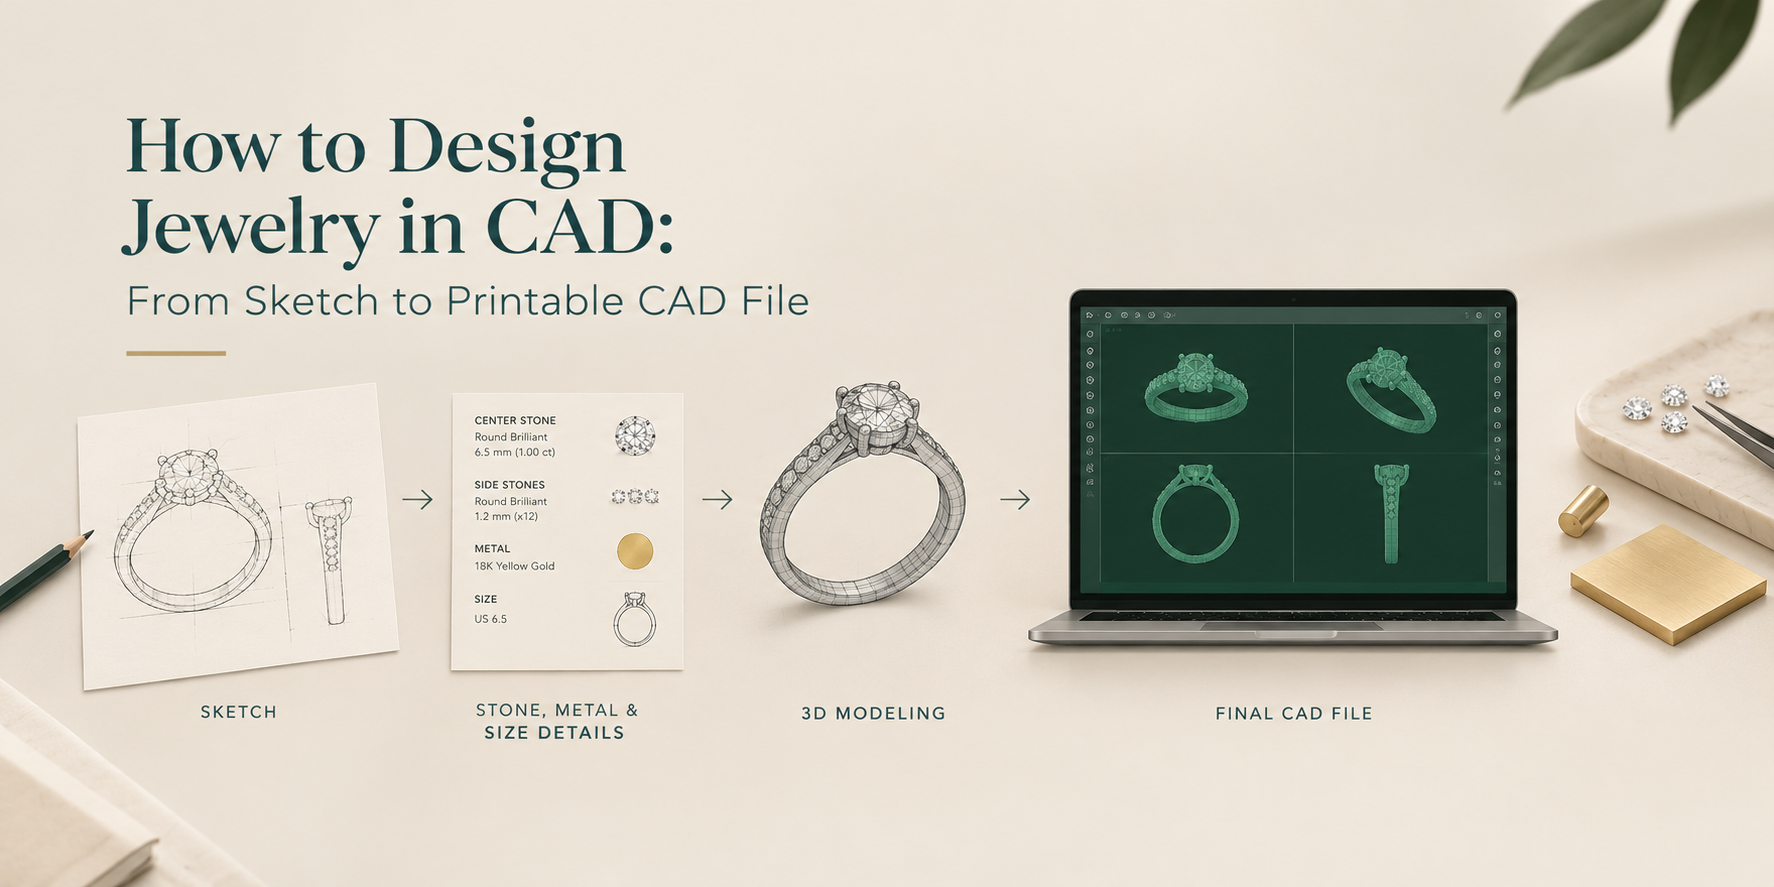
How to design jewelry in CAD comes down to four stages: a measured brief, a base model of the metal form, detailing for stones, prongs, and engraving, and file preparation for 3D printing and casting. Each stage needs different information from the brand, and most projects run late because that information arrives late, not because the modeling is slow. The finished file then does two jobs. A caster grows the piece from it, and a renderer photographs it before any metal exists.
Here is what happens at each stage, and what you have to supply.
The Four Stages Of The CAD Jewelry Design Process
A CAD model is built in the order a bench jeweler would build the piece: the overall form first, stones and settings second, production details last. Each stage ends with an approval, and each approval makes the next change more expensive.
Stage 1: a brief with measurements, not just a sketch
The sketch shows intent. The modeler needs numbers. A drawing of a pendant gives the outline, but not the drop length, the plate thickness, or the opening the chain has to pass through.
What the designer needs from you at this stage:
- Finger size, or overall length and width for anything that is not a ring
- The metal and karat, because 18k gold and platinum behave differently at the bench
- Every stone: shape, size in millimeters, and count
- The setting style for each stone: prong, bezel, pave, or channel
- Whether the piece is a one-off commission or a production line
- References for anything the sketch cannot show, such as the profile or the underside
The stone list is the item most often missing, and it is the one that stops the job at stage 3. If the stones are already bought, measured sizes beat nominal ones.
Stage 2: the base model fixes size and form before any stone
The modeler builds the metal form: shank, head, frame, bail. For a ring that means the shank profile and how it thickens toward the shoulders. For a pendant it means the outline, the plate thickness, and the bail. Stones are absent, or present only as placeholders.
This is the cheapest stage at which to change proportion. Ask for front, side, and top views with dimensions, and check them against the brief. Approve the shape here, because once stones are seated into it, moving a shoulder means re-cutting every seat on it.
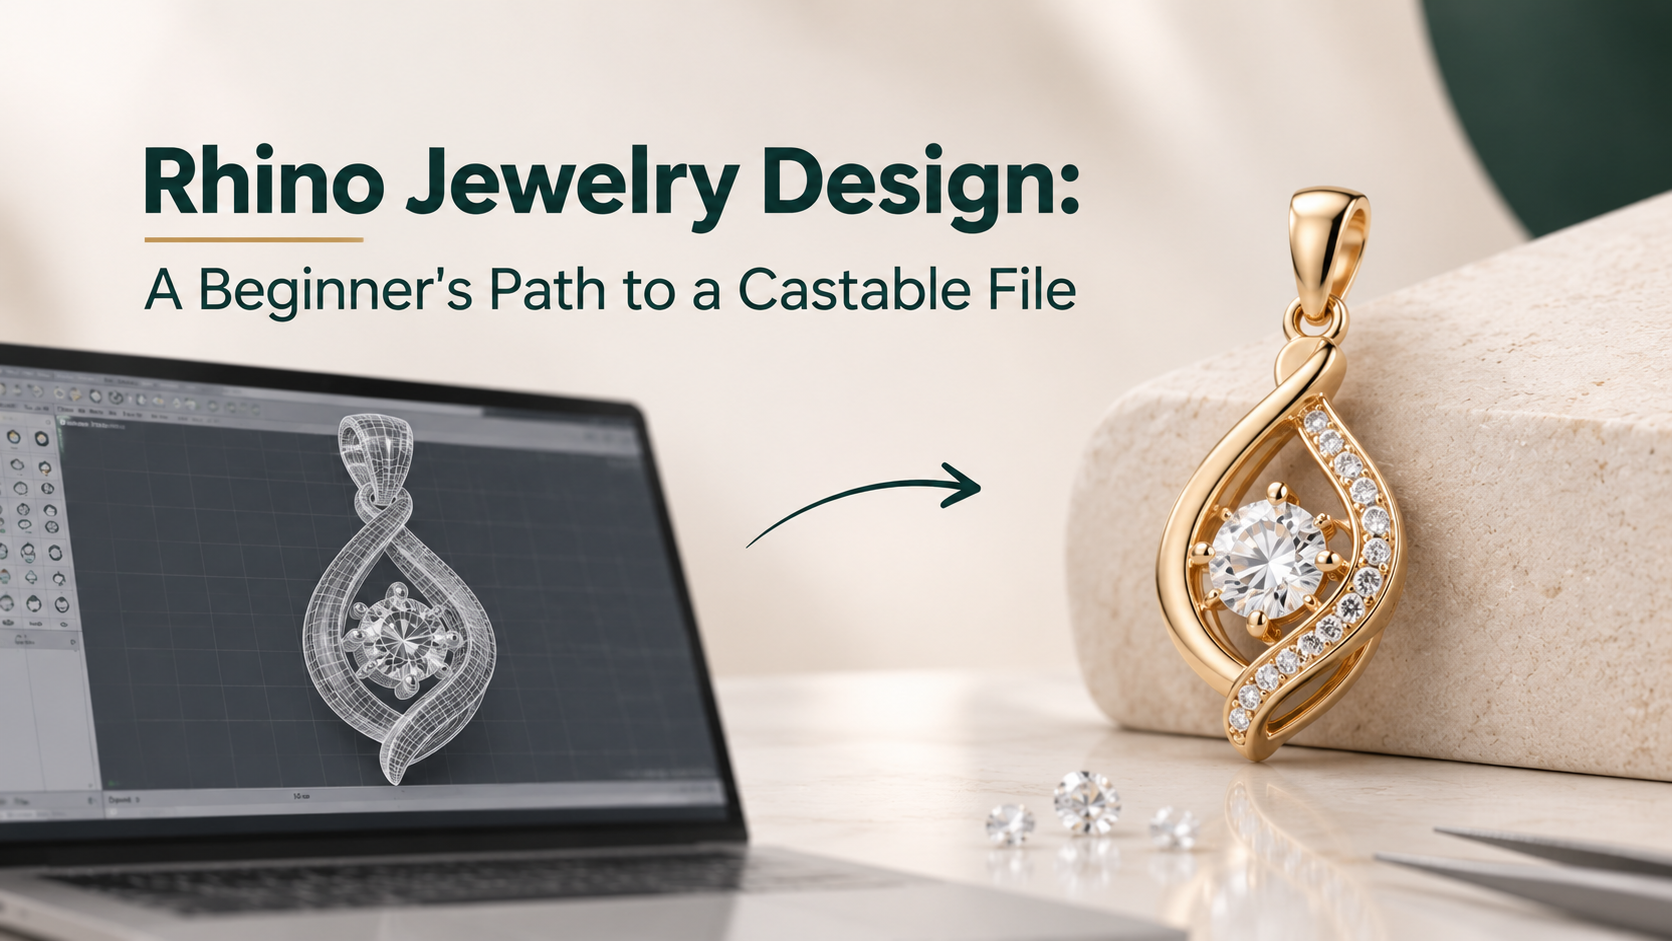
Judge the dimensions, not the look. The flat gray screenshot is normal, and what a 3D jewelry model actually holds explains why color and sparkle are not in the file yet.
Stage 3: detailing, where the stones decide the geometry
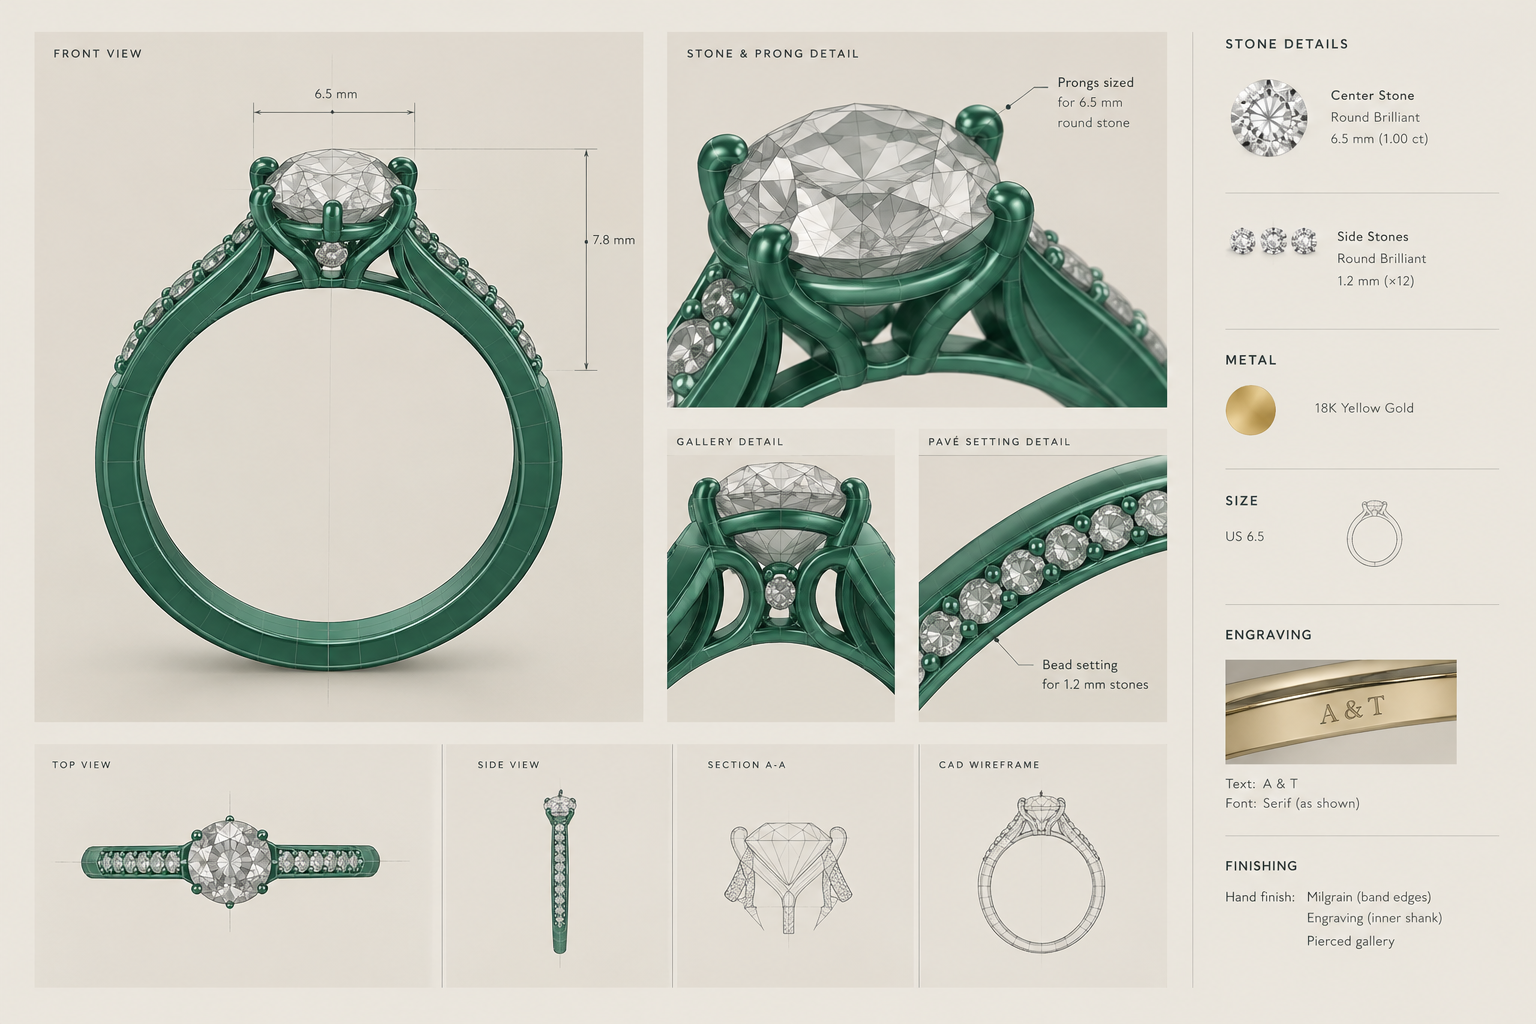
Stones go in, and the metal is cut around them. Each stone gets a seat, the cut its girdle rests in (the girdle is the stone's widest edge). Prongs, bezels, beads, or channels are then built to hold it. Surface detail comes last: milgrain, engraving, lettering, a pierced gallery.
The relationship that matters is that the stone sets the geometry, not the other way round. A 6.5 mm round needs a different head from a 6.0 mm round, so a stone swapped after this stage means rebuilding the setting, not editing a number. In high jewelry, where one piece can carry hundreds of melee placed one at a time, this stage is most of the modeling hours.
What you supply: final stone sizes, engraving text exactly as it should read, and a decision on which surfaces will be finished by hand rather than modeled.
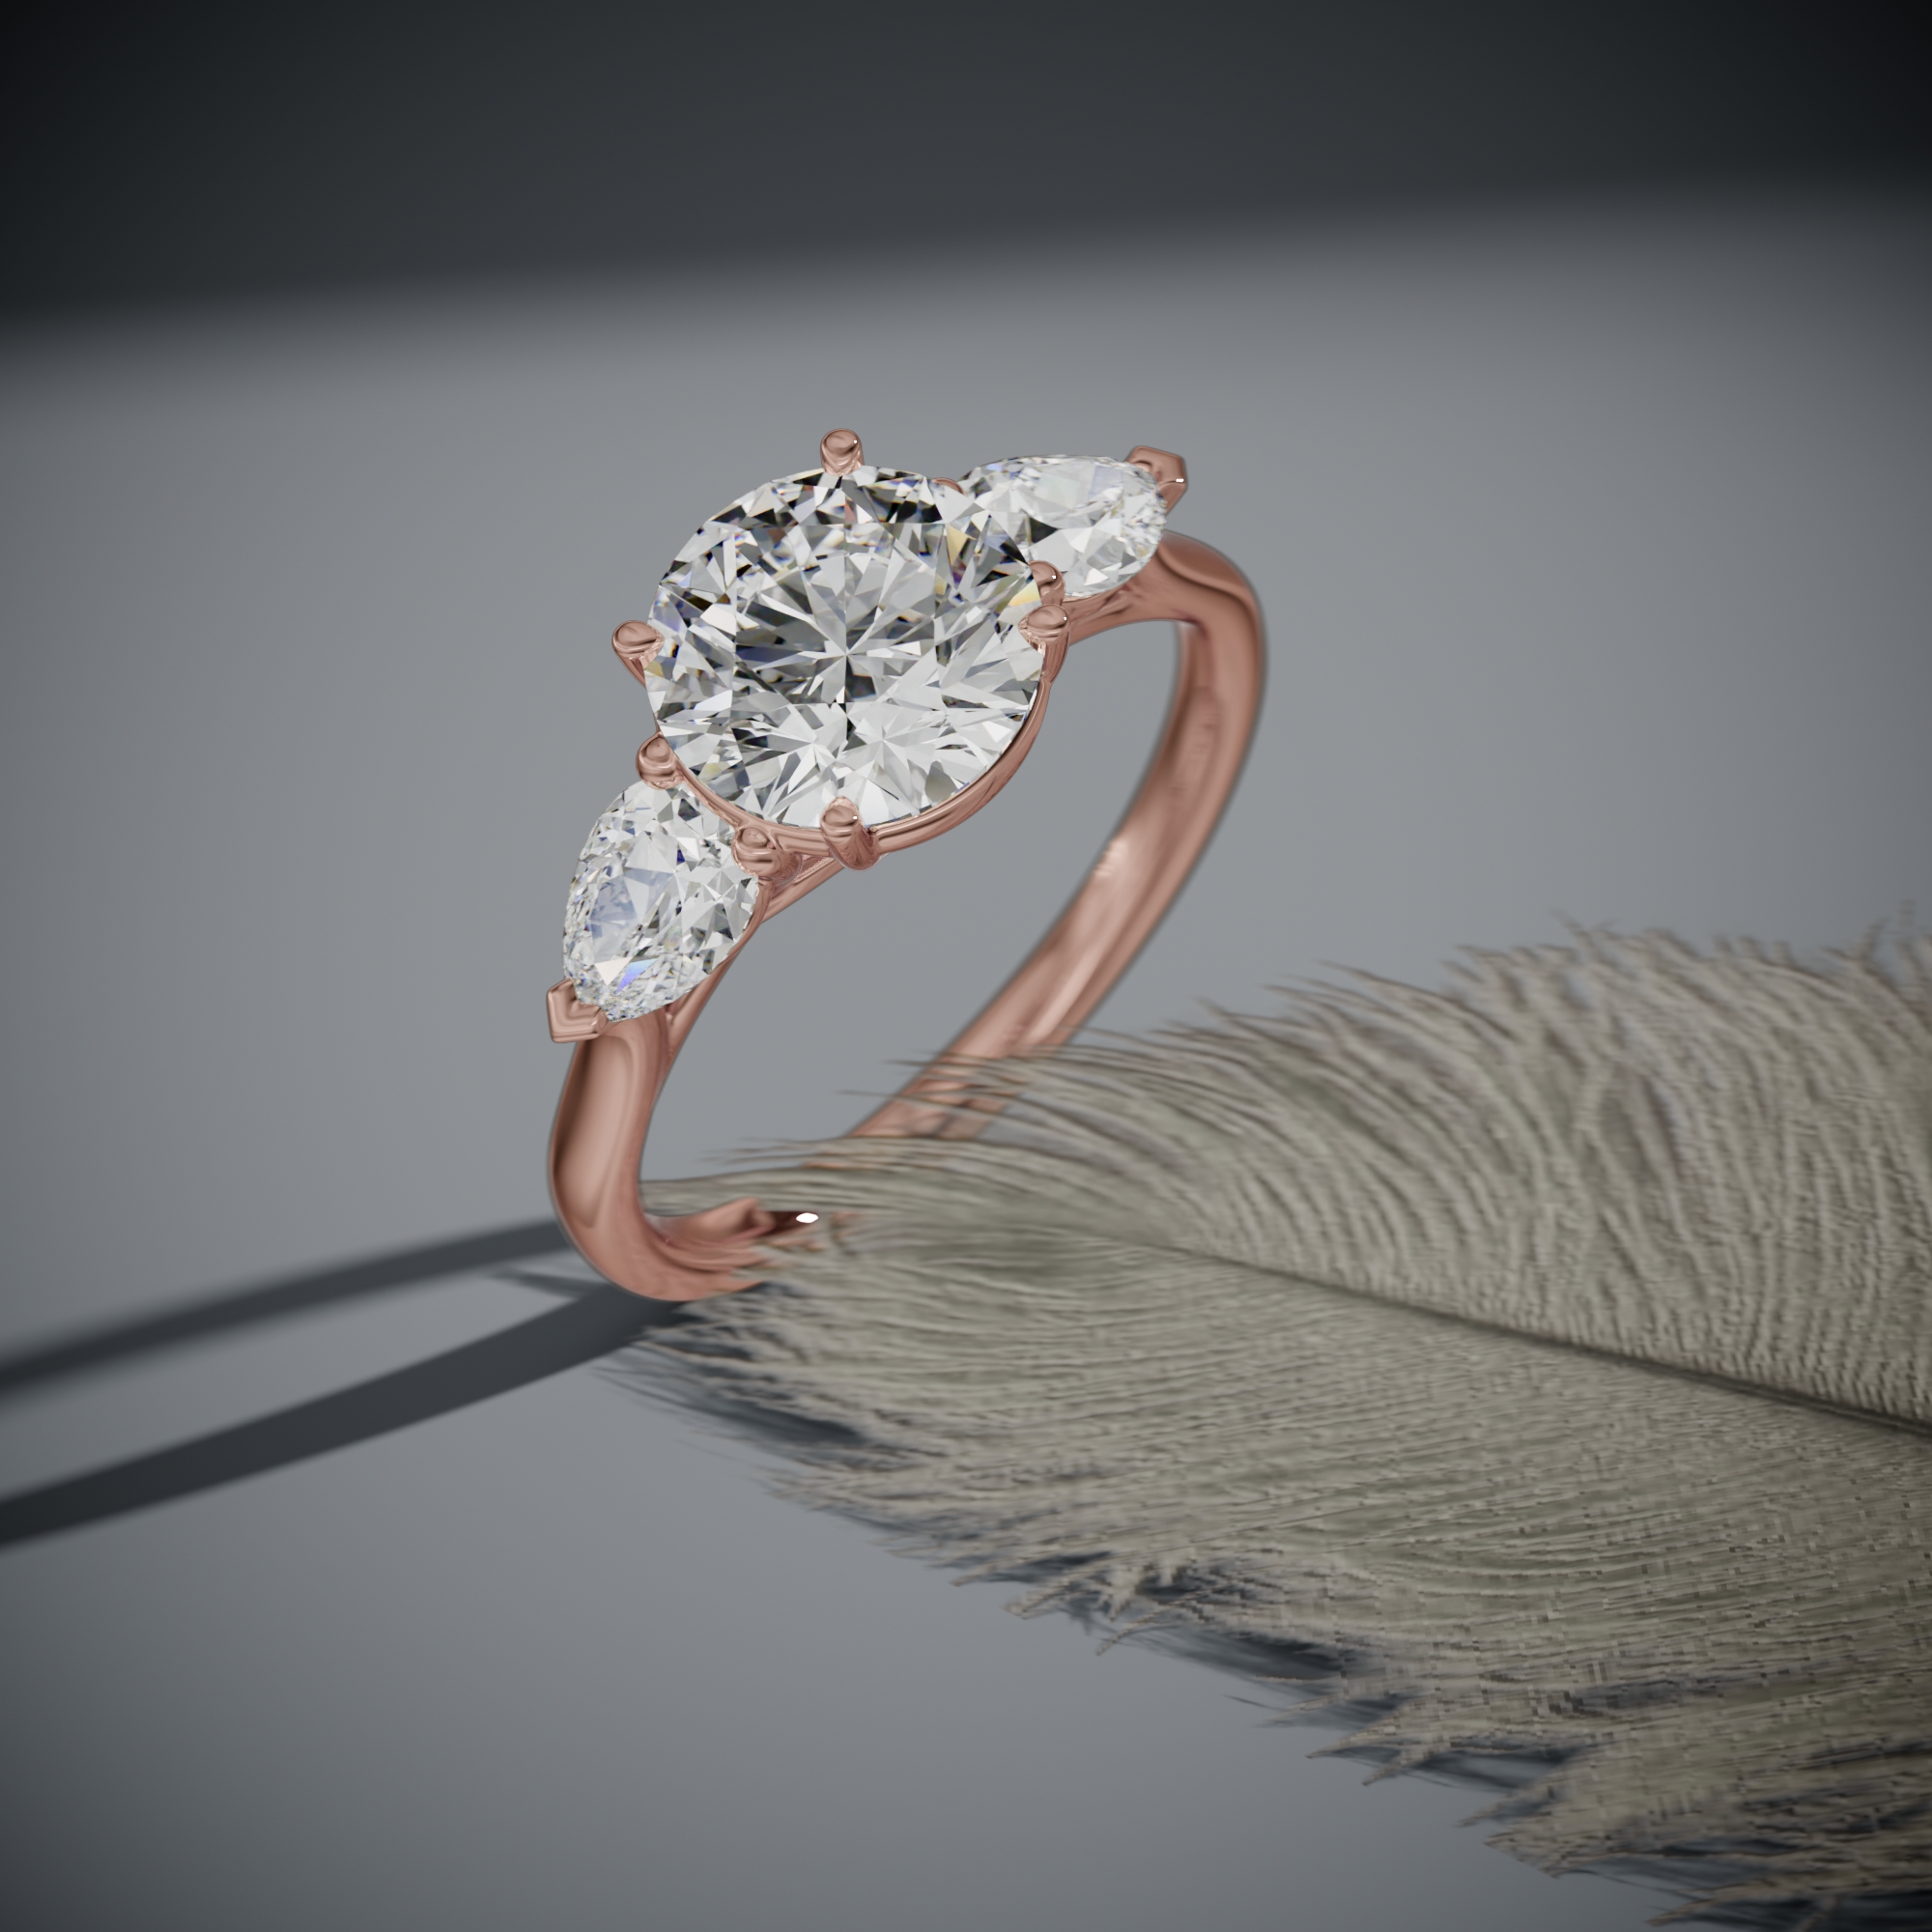
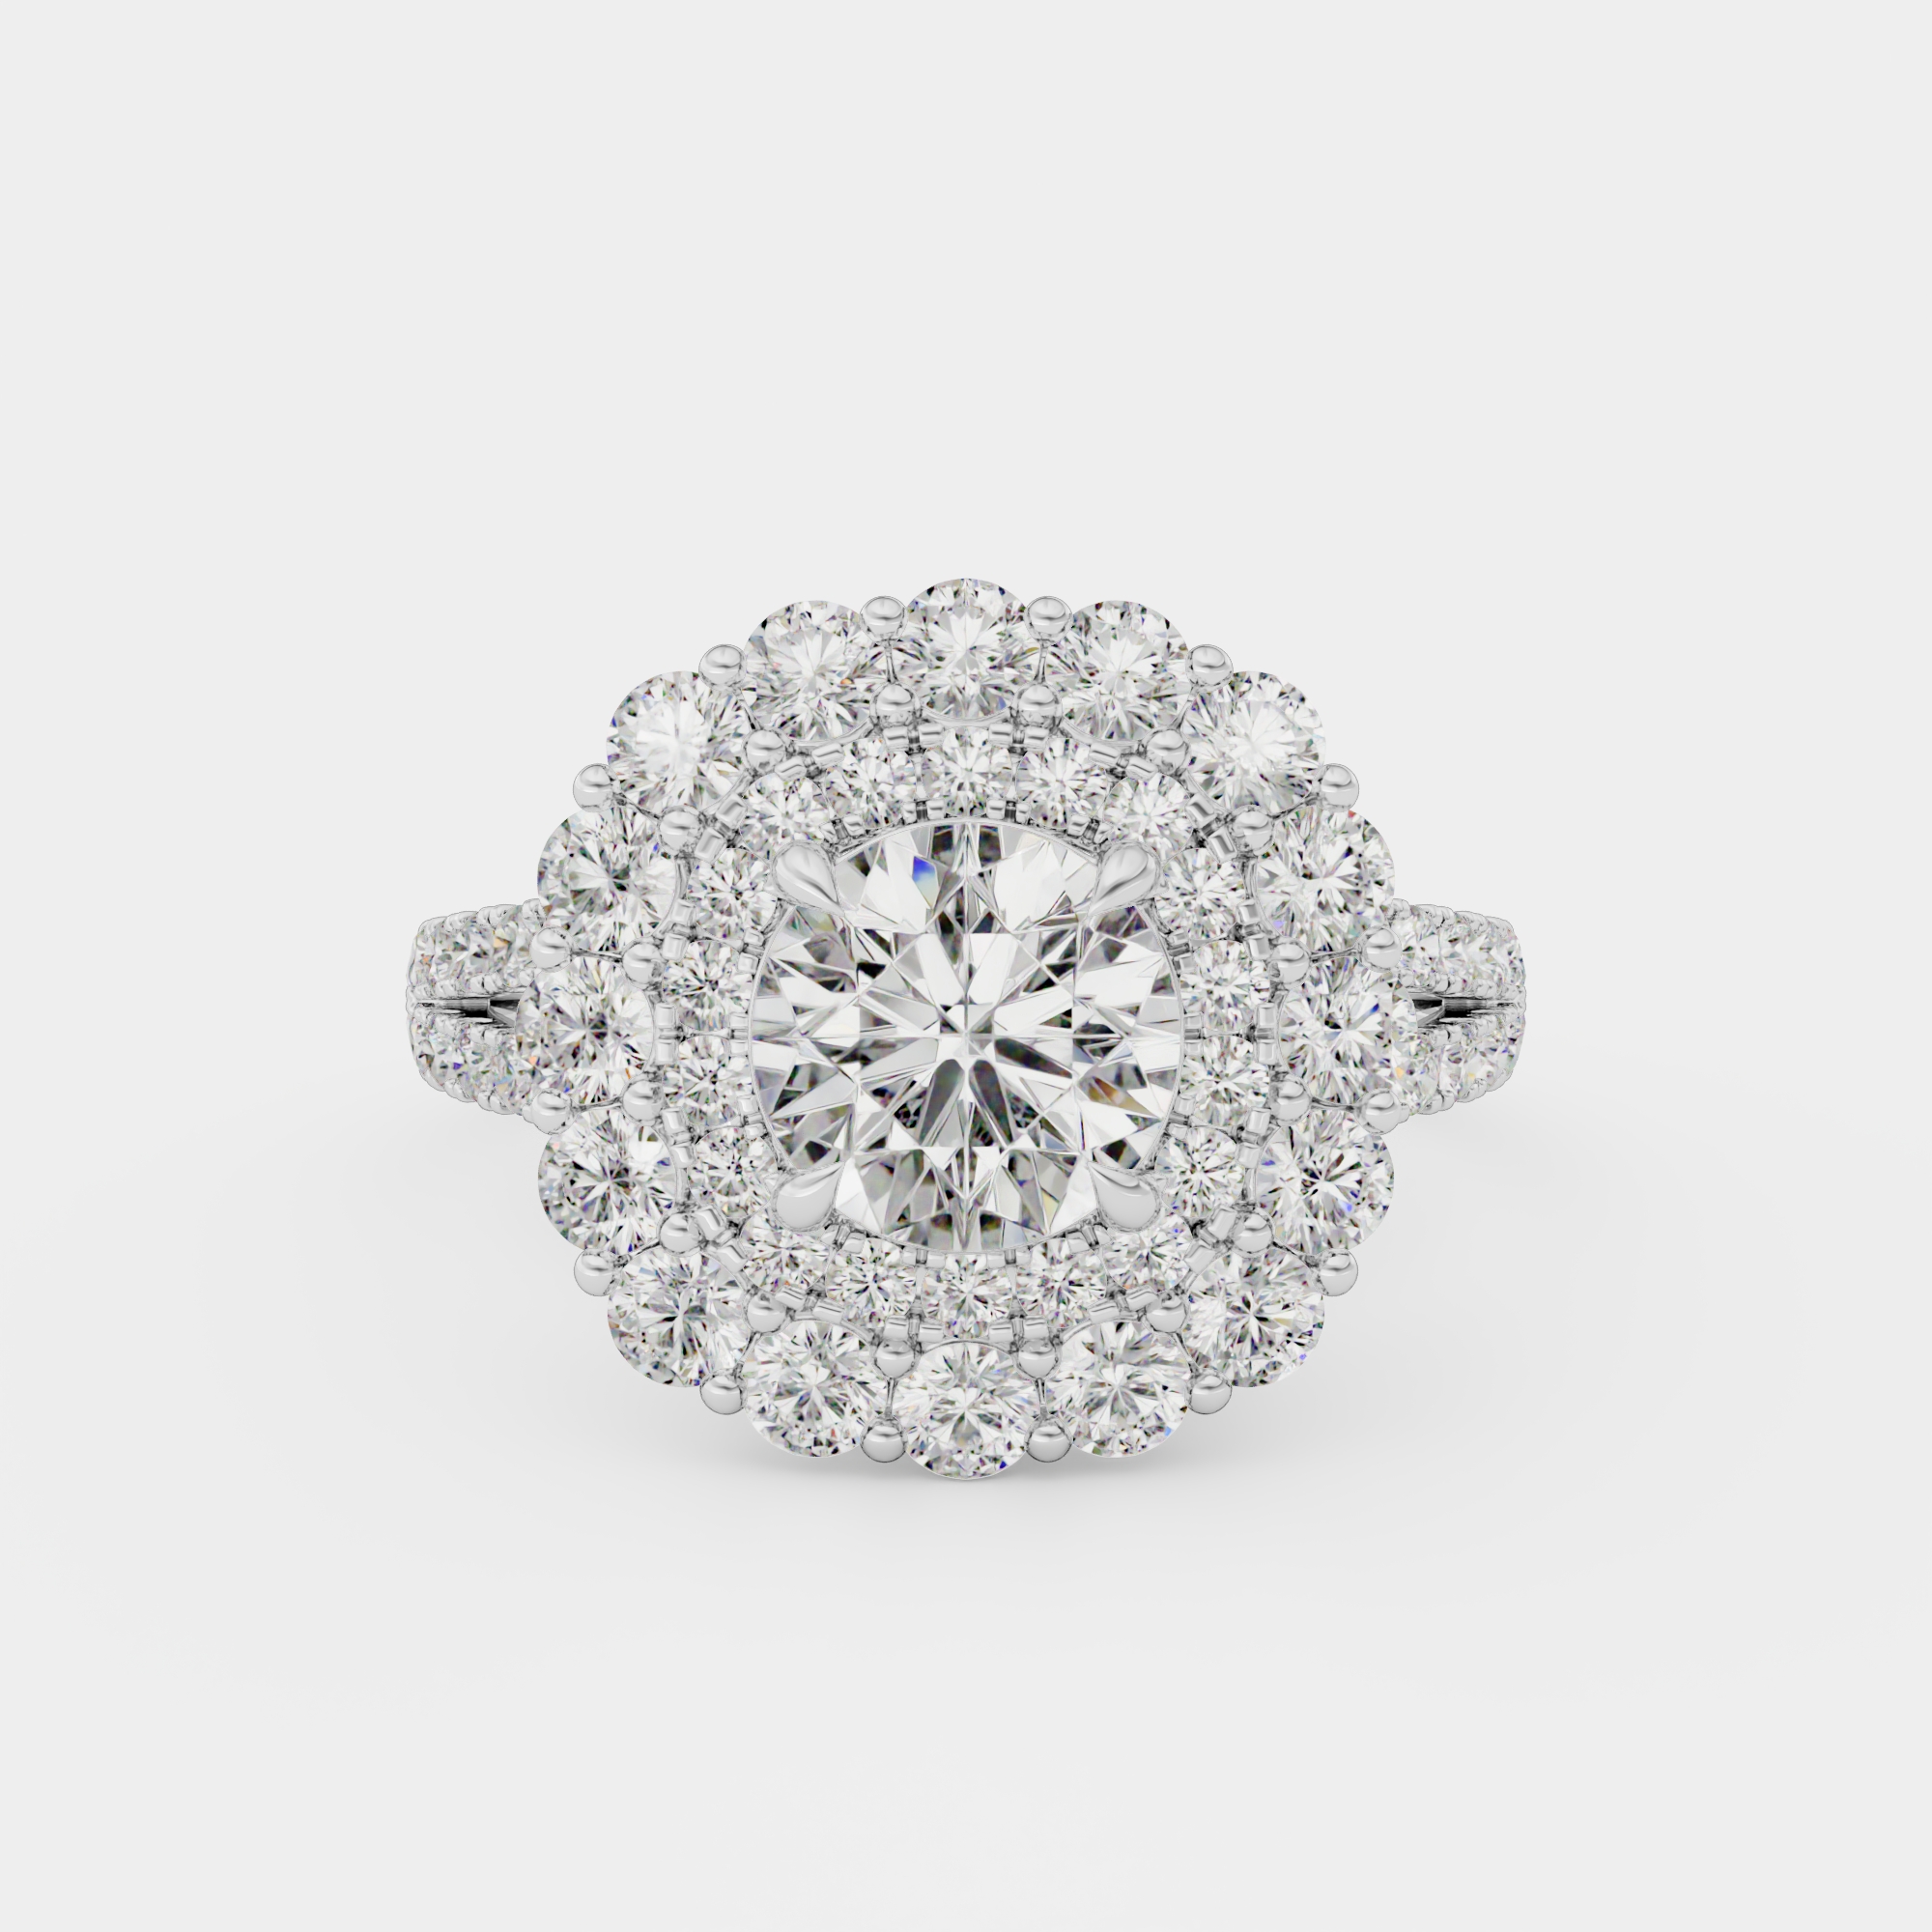
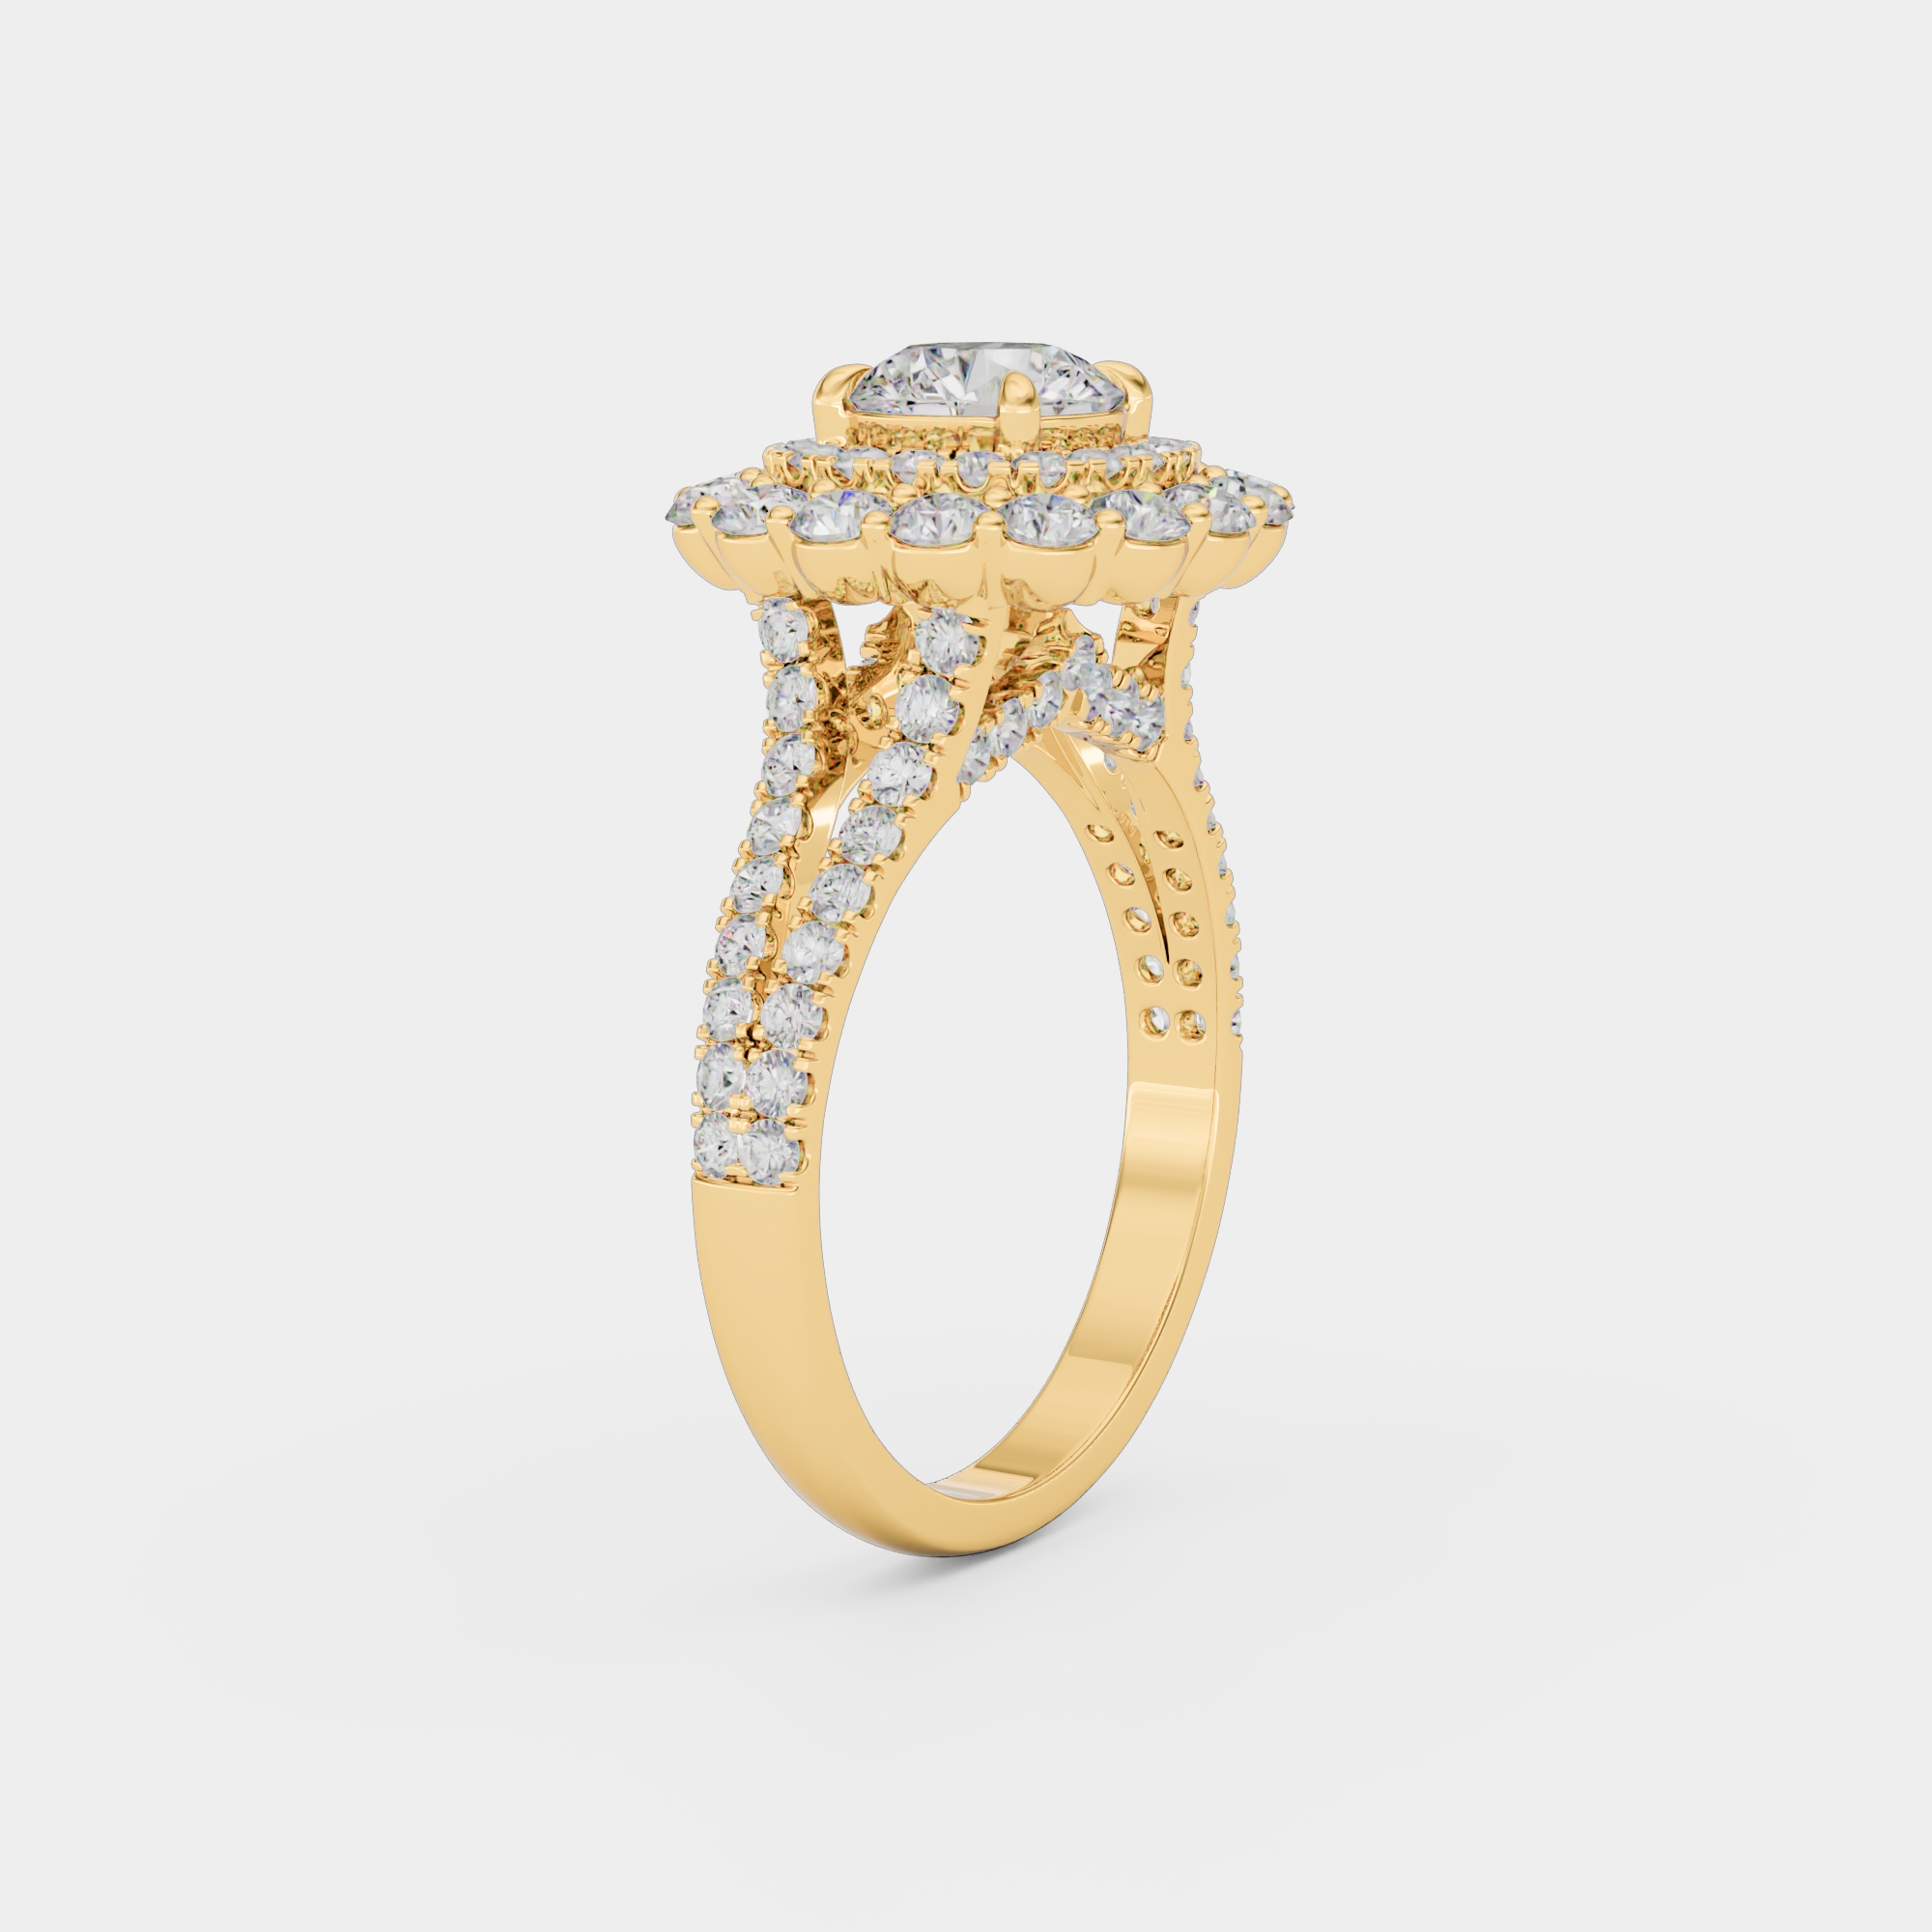
Every prong, bead, and seat here was sized to a specific stone at stage 3. Swap the center stone for a larger one and all of it gets rebuilt.
Stage 4: file prep turns a model into something a printer can grow
A model can look finished and still fail to cast. File prep checks it against the caster's limits and exports it in the format the machine reads. This is where CAD designing for 3D printing jewelry differs from modeling for a screen:
- Wall, prong, and gap sizes checked against the minimums in the next section
- Surfaces closed, so the model is a solid a printer can slice
- Thick sections hollowed where the design allows, which Formlabs recommends for casting from its resins
- Sprues (the channels metal flows through) agreed with the caster, since some want them modeled and most add their own
- An STL exported for the printer, with the native 3DM kept as the master
The printer grows a wax or castable resin pattern from the STL, and the caster uses it for lost-wax casting. For a production line, the first casting is usually finished as a master and molded in rubber, so later pieces come from injected wax rather than new prints.
What A Manufacturing-Ready File Has To Meet
Every casting house sets its own limits, and they change with metal and process. Stuller's CAD/CAM production standards are one published set, and they show where the floors usually sit. Knowing how to design jewelry in CAD for casting is mostly knowing these numbers:
|
Feature |
Minimum |
Why |
|---|---|---|
|
Ring shank |
1.2 to 1.7 mm |
Finishing can remove up to 0.2 mm |
|
Hollowed structural walls |
0.8 mm |
A hollow piece still has to hold its shape |
|
Design elements, scrollwork |
0.5 mm |
Fine detail has to fill with metal |
|
Bezel wall |
0.45 mm |
It is pushed over the stone |
|
Pinpoint prong, melee |
0.45 mm diameter |
It is beaded over in one motion |
|
Openings and gaps |
0.4 mm |
Smaller gaps fill in during casting |
|
Culet to finger rail |
0.5 mm |
Keeps the stone's point clear |
|
Raised lettering |
0.3 mm thick, 0.6 mm high max |
Rounded edges help it cast |
Two rules in the same guide are relationships rather than numbers, and both are worth checking yourself:
Seat depth against prong. The prong has to overlap the stone's girdle, but the seat cut into it should take no more than 25 percent of the prong. Cut deeper and the prong is weakest exactly where it holds the stone.
Depth against width. An opening or a recessed letter should be no deeper than twice its width. A narrow, deep slot is where casting defects start.
Stuller also asks for 3DM files that are not joined into one solid mesh, and for the stones to be left in the file, or every stone size listed. Get your own caster's sheet before modeling starts, not after the first print fails.
How Long A Jewelry CAD Project Takes, And What Stalls It
Nobody can give an honest single number before seeing the stone list. A plain band and a 200-stone pavé cuff are both "one ring". What can be said is where the time goes.
|
Stage |
What sets the pace |
What stalls it |
|---|---|---|
|
Brief |
How complete the stone list is |
Stones not yet bought or measured |
|
Base model |
Design complexity |
Shape changes after approval |
|
Detailing |
Stone count and setting type |
A stone swapped after seating |
|
File prep and print |
The caster's queue |
Thin walls found at the caster |
|
Render |
24 to 48 hours from an approved file |
Geometry changes |
The firm numbers sit on either side of the modeling. Stuller says a wax or resin pattern ships in approximately three business days once approved, and it will not cast a wax altered by hand: changes go back into the CAD file. Rendering an approved file here takes 24 to 48 hours.
The modeling in between depends on the piece. The projects that run long usually do so in the gaps between approvals, waiting for a stone size or a decision, rather than at the modeler's desk. So the fastest thing a brand can do is answer stage 1 completely.
The Same File Becomes The Product Image
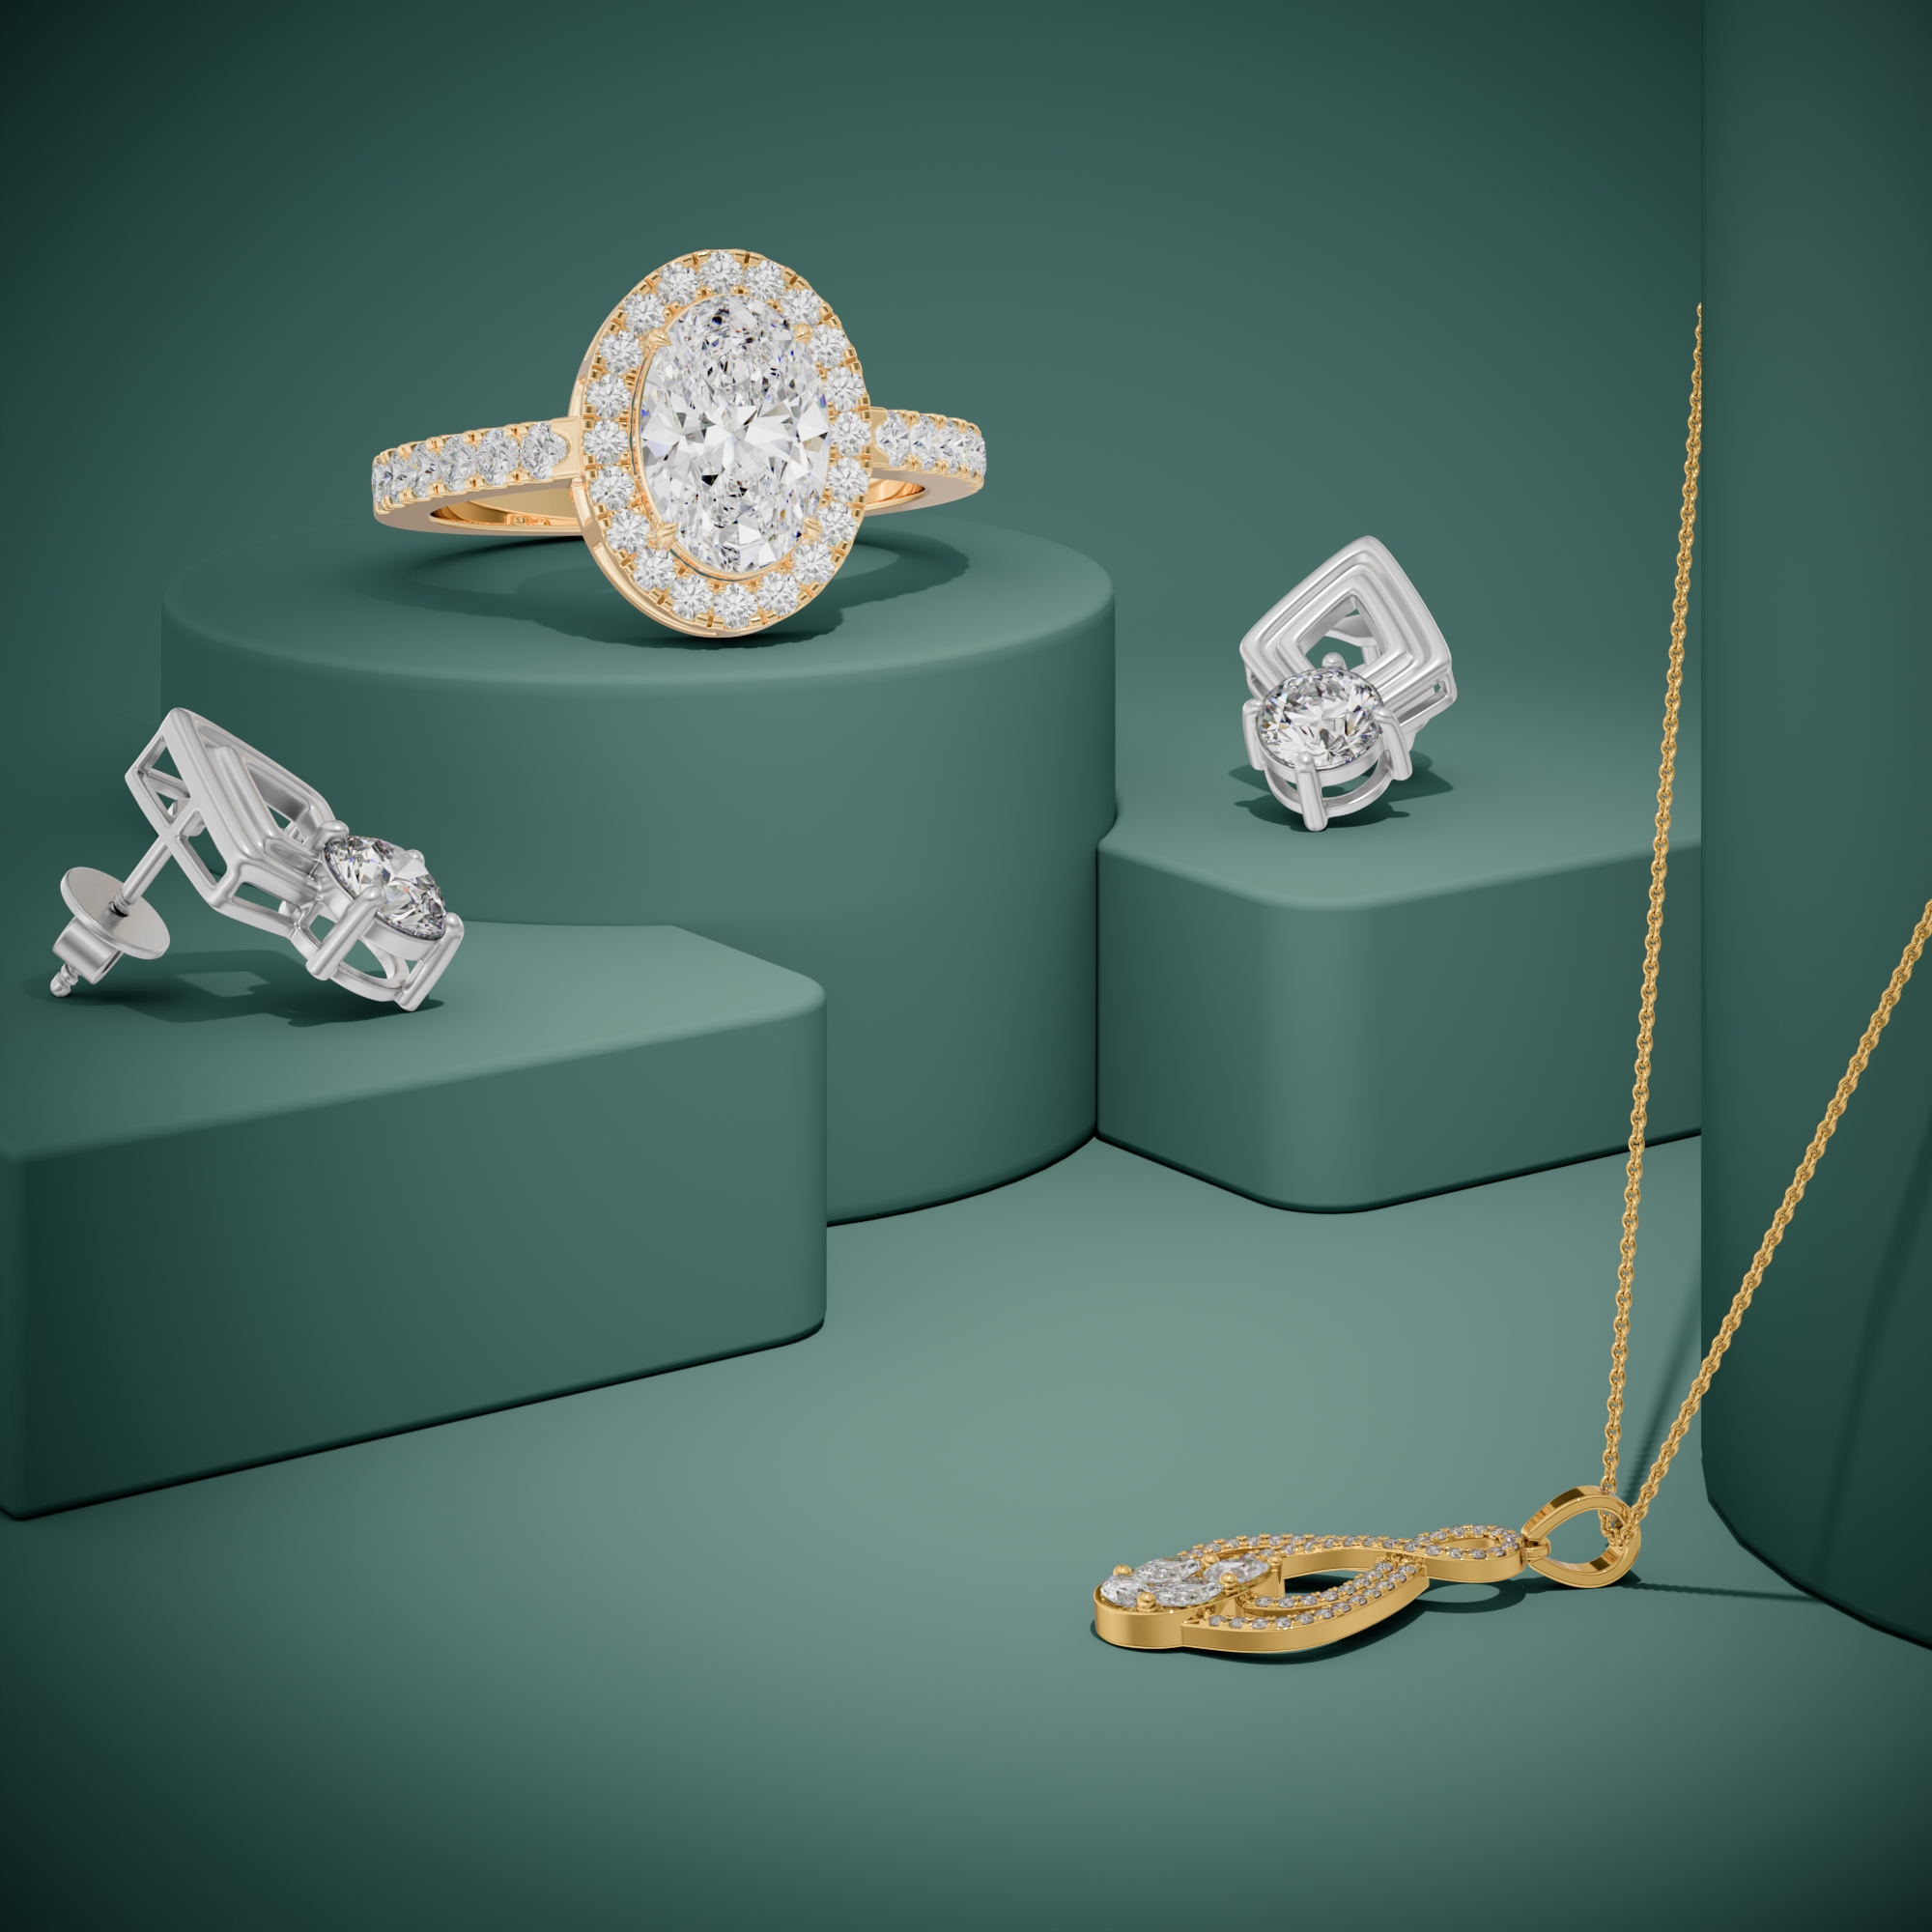
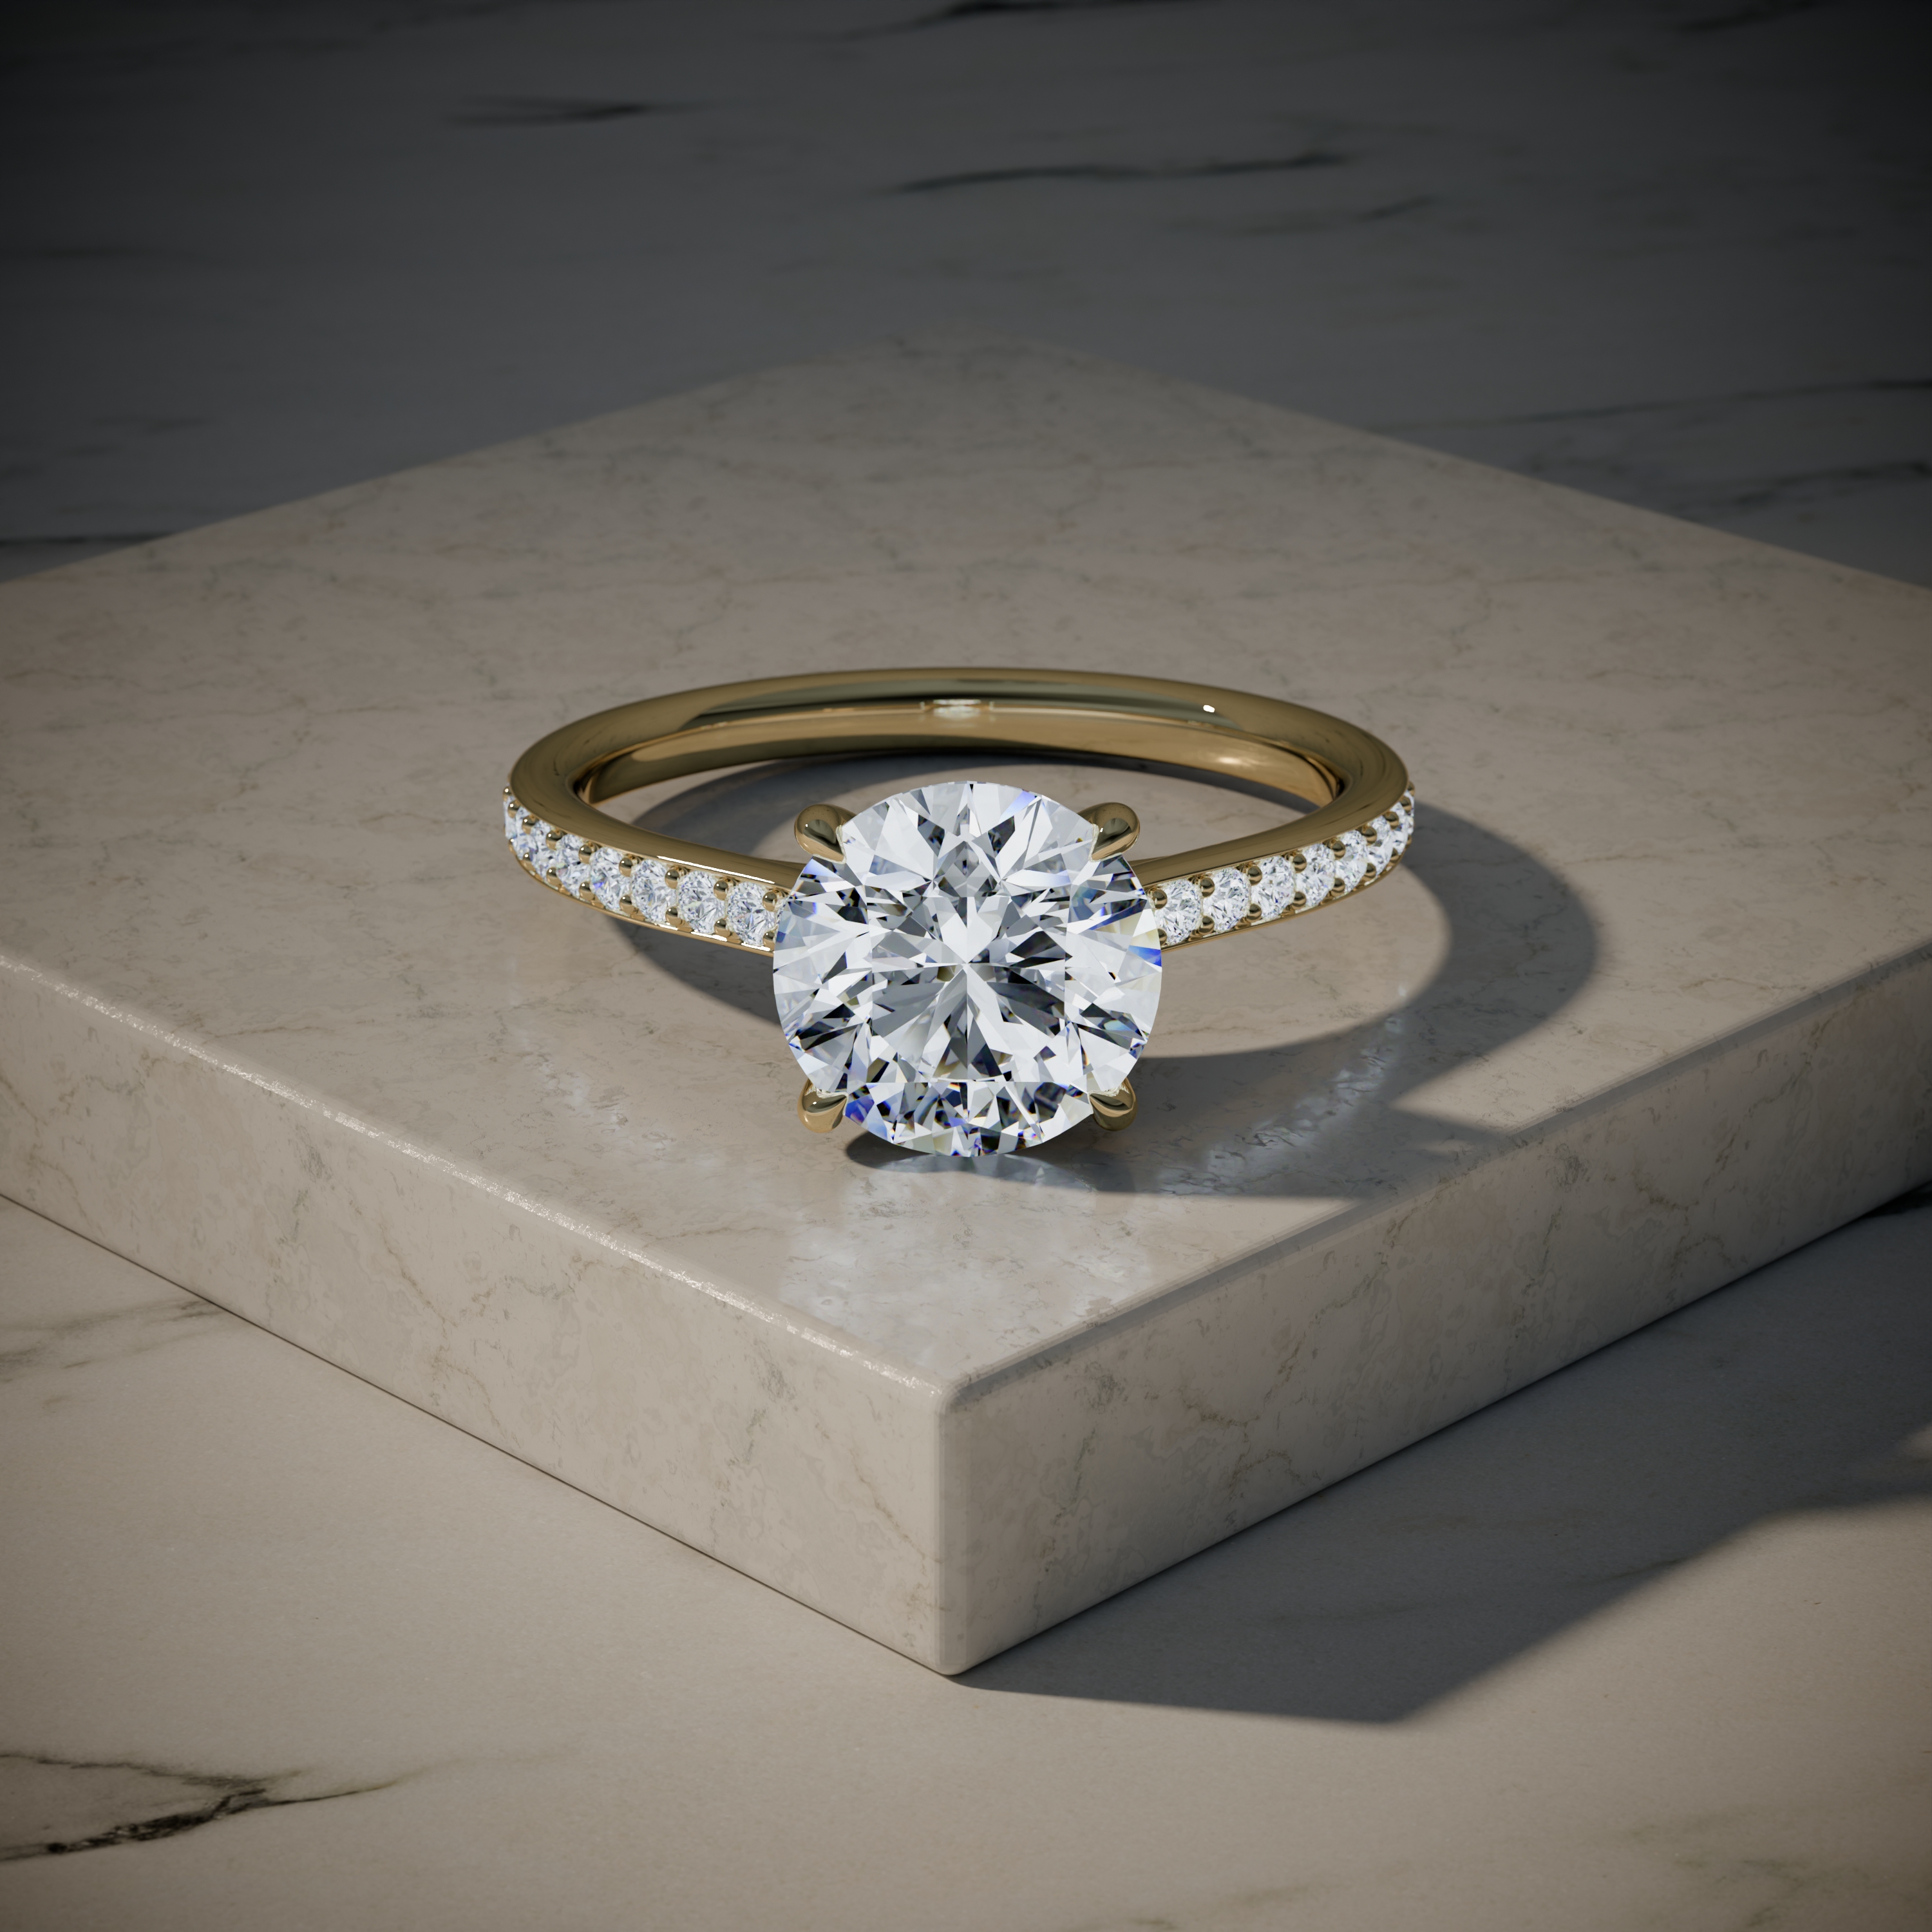
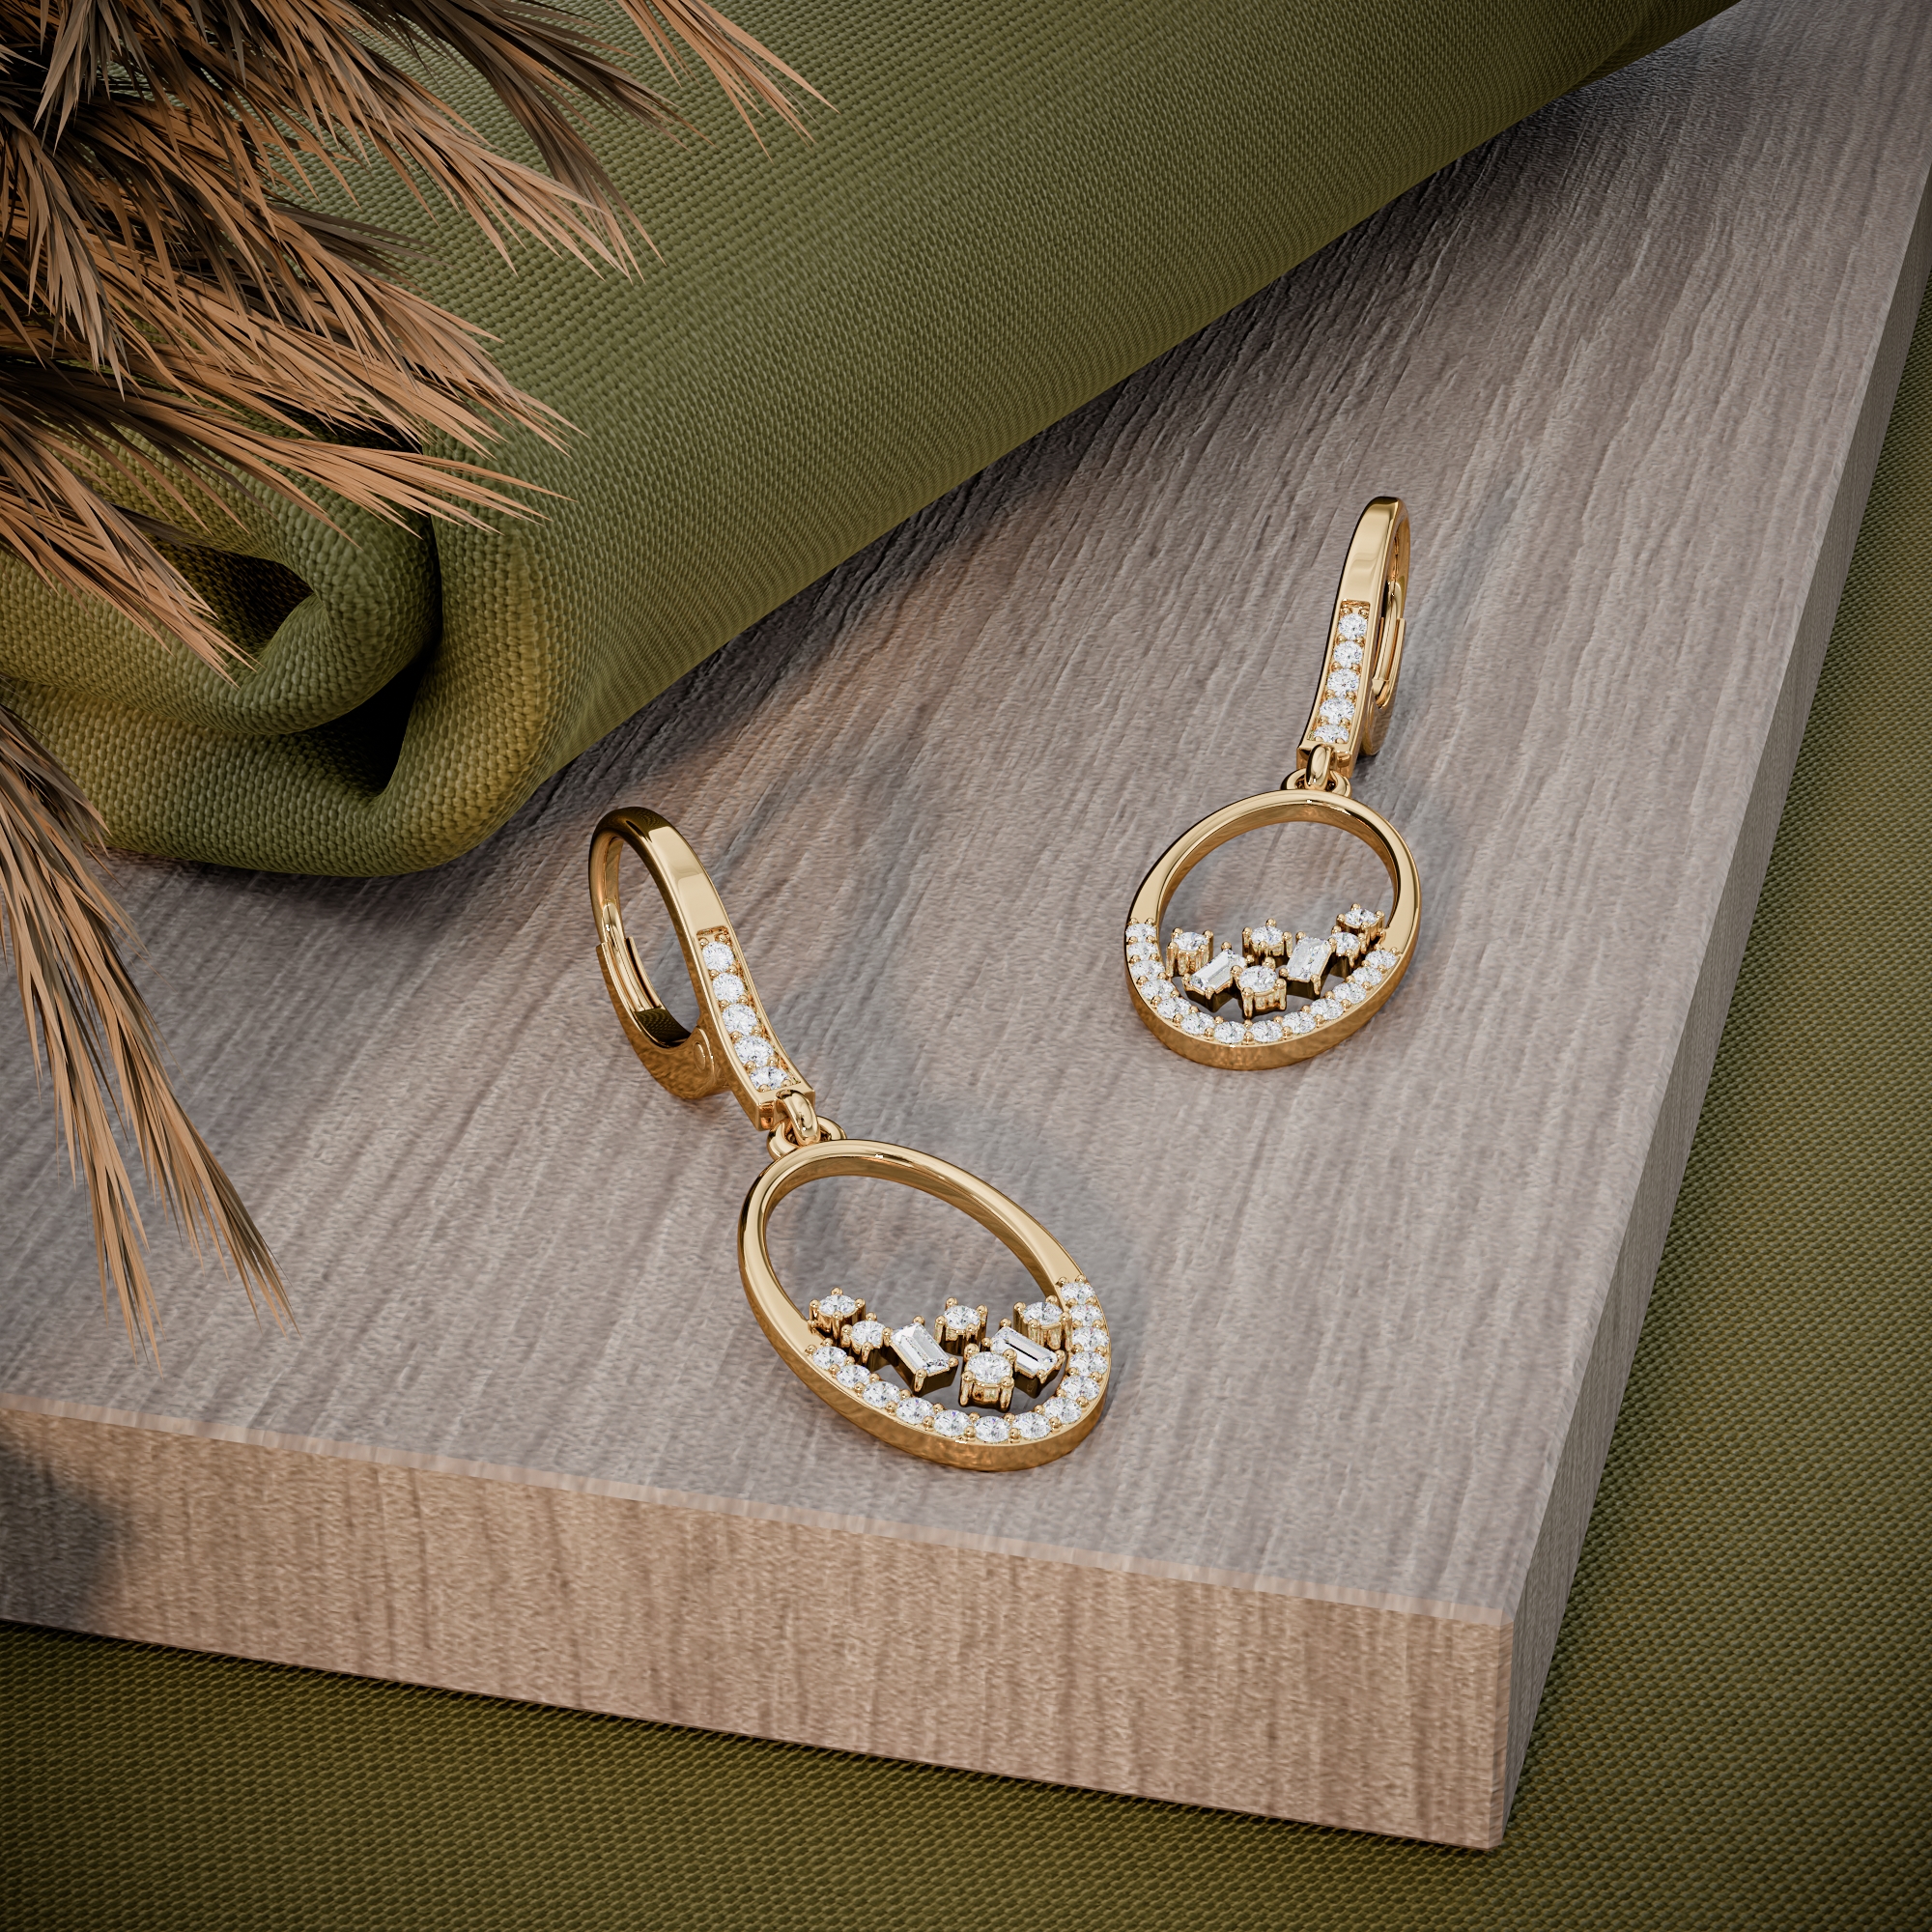
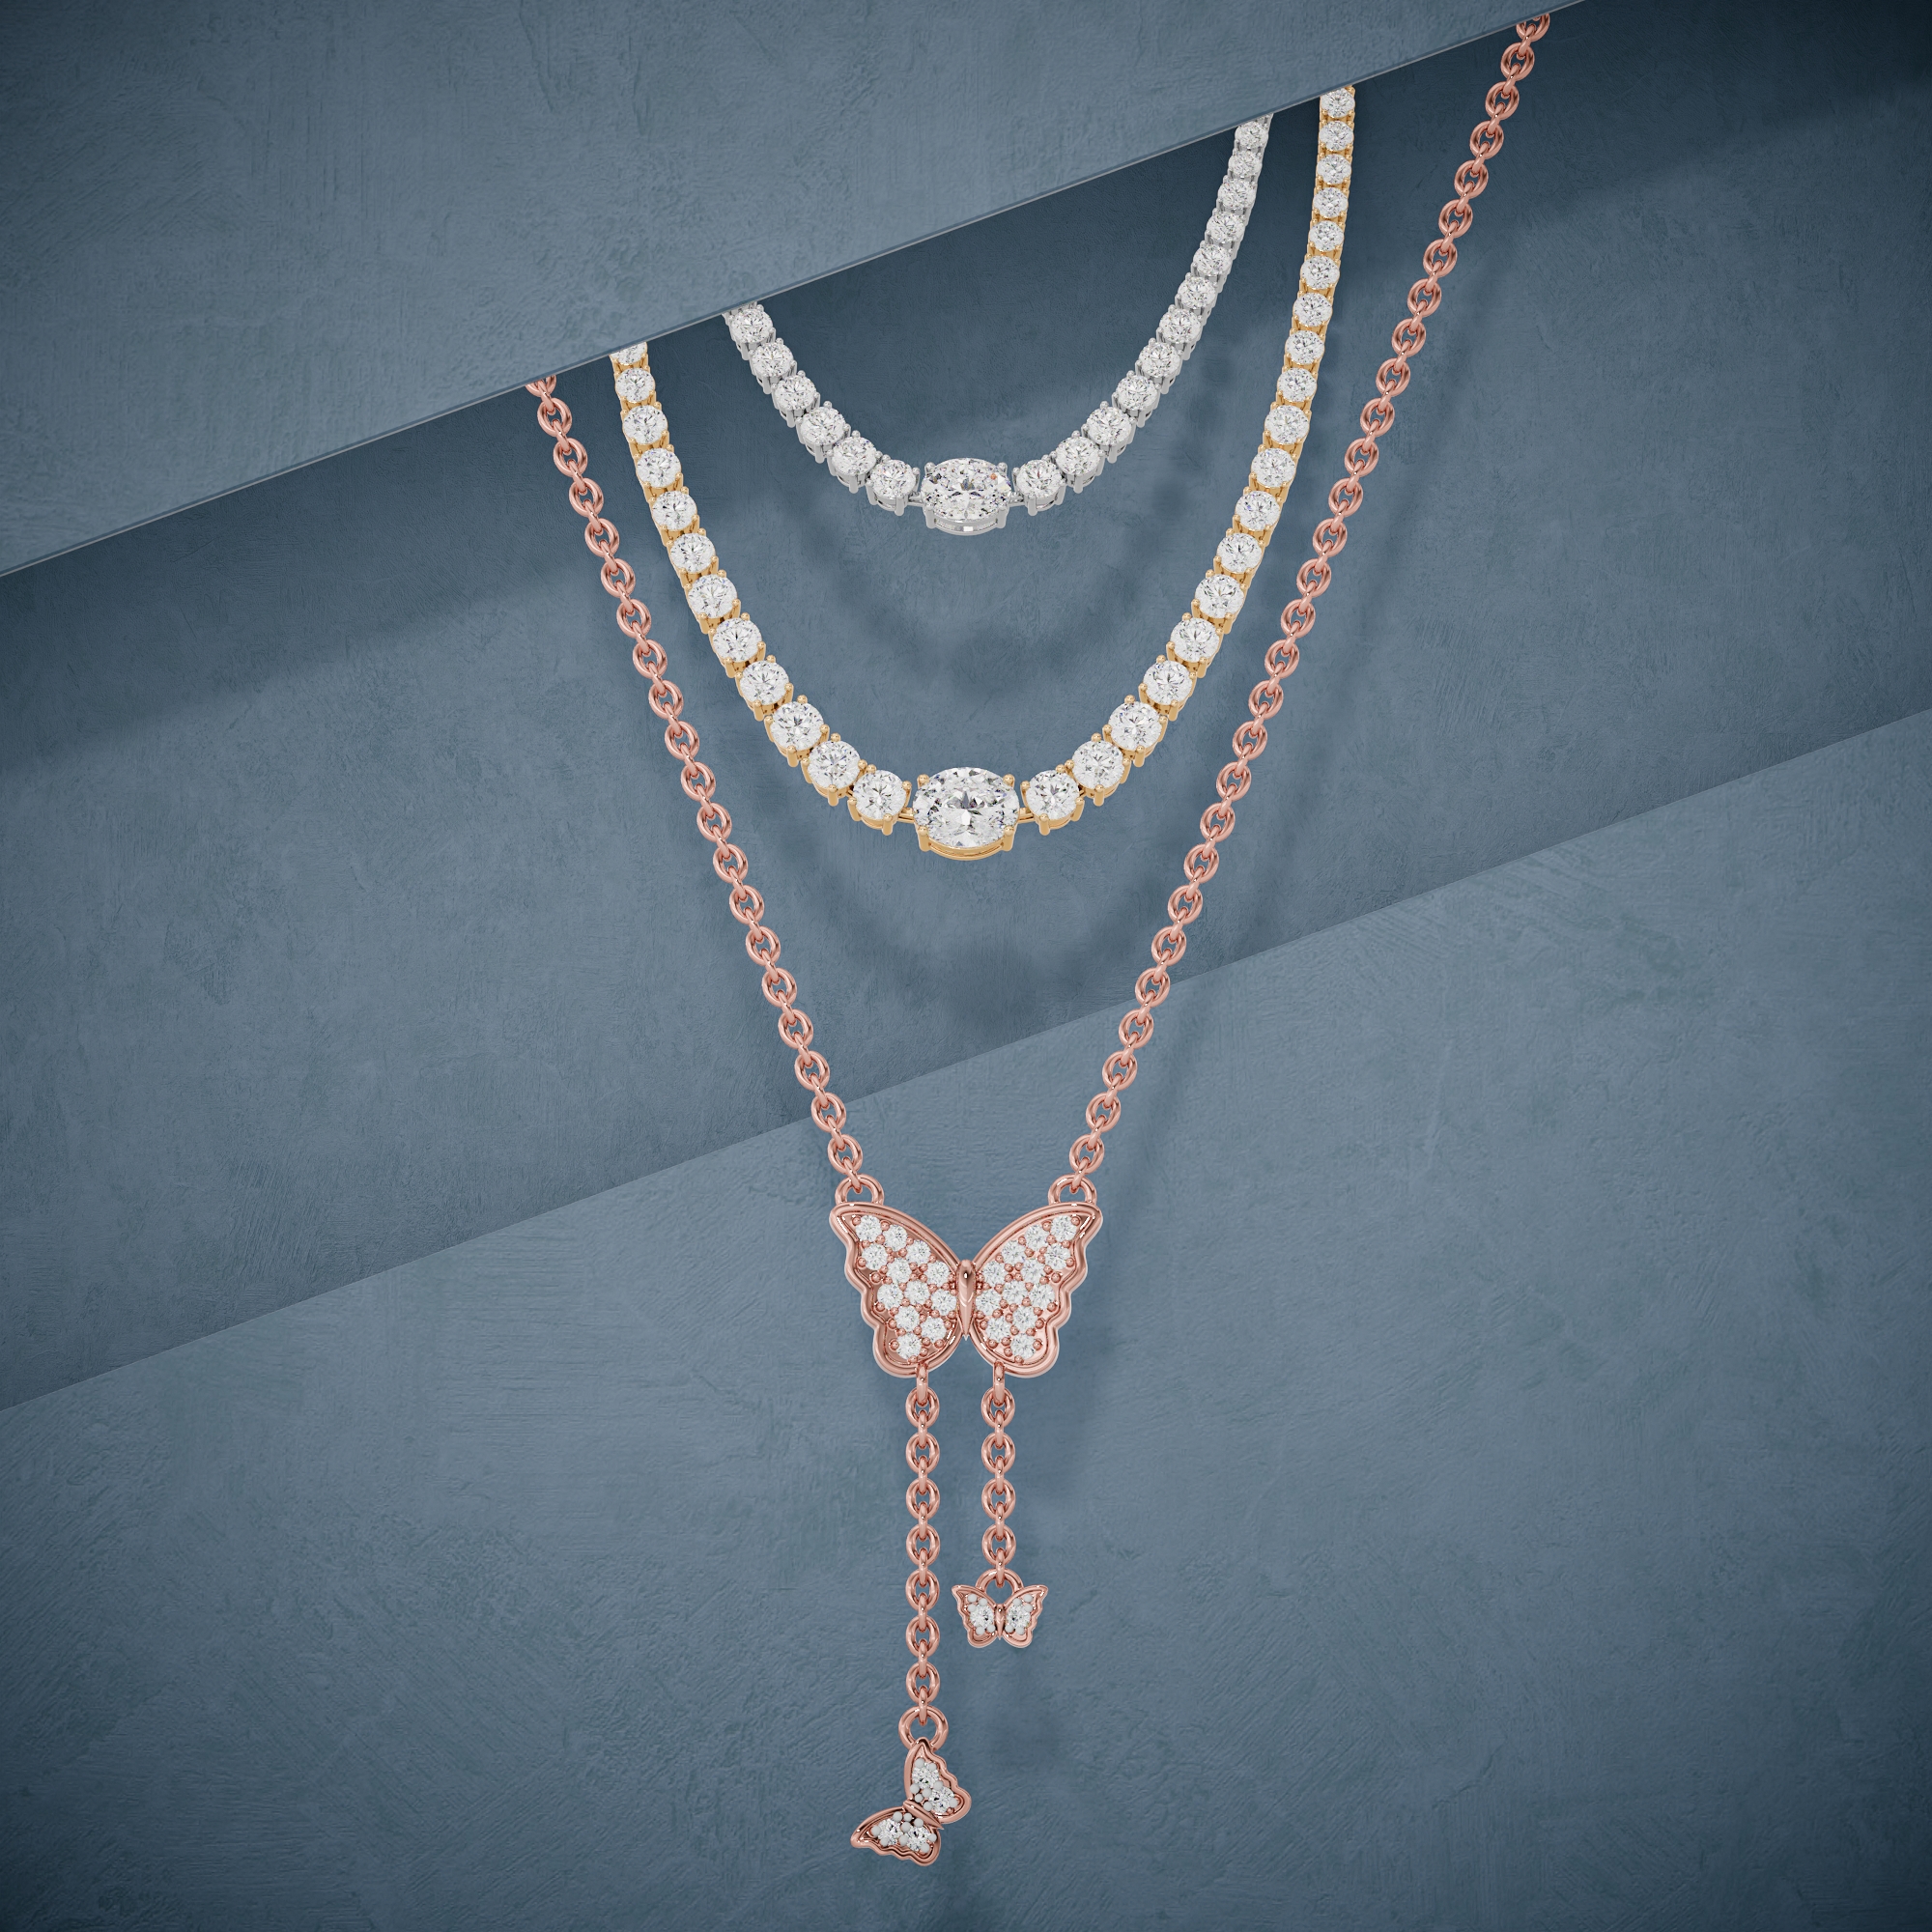
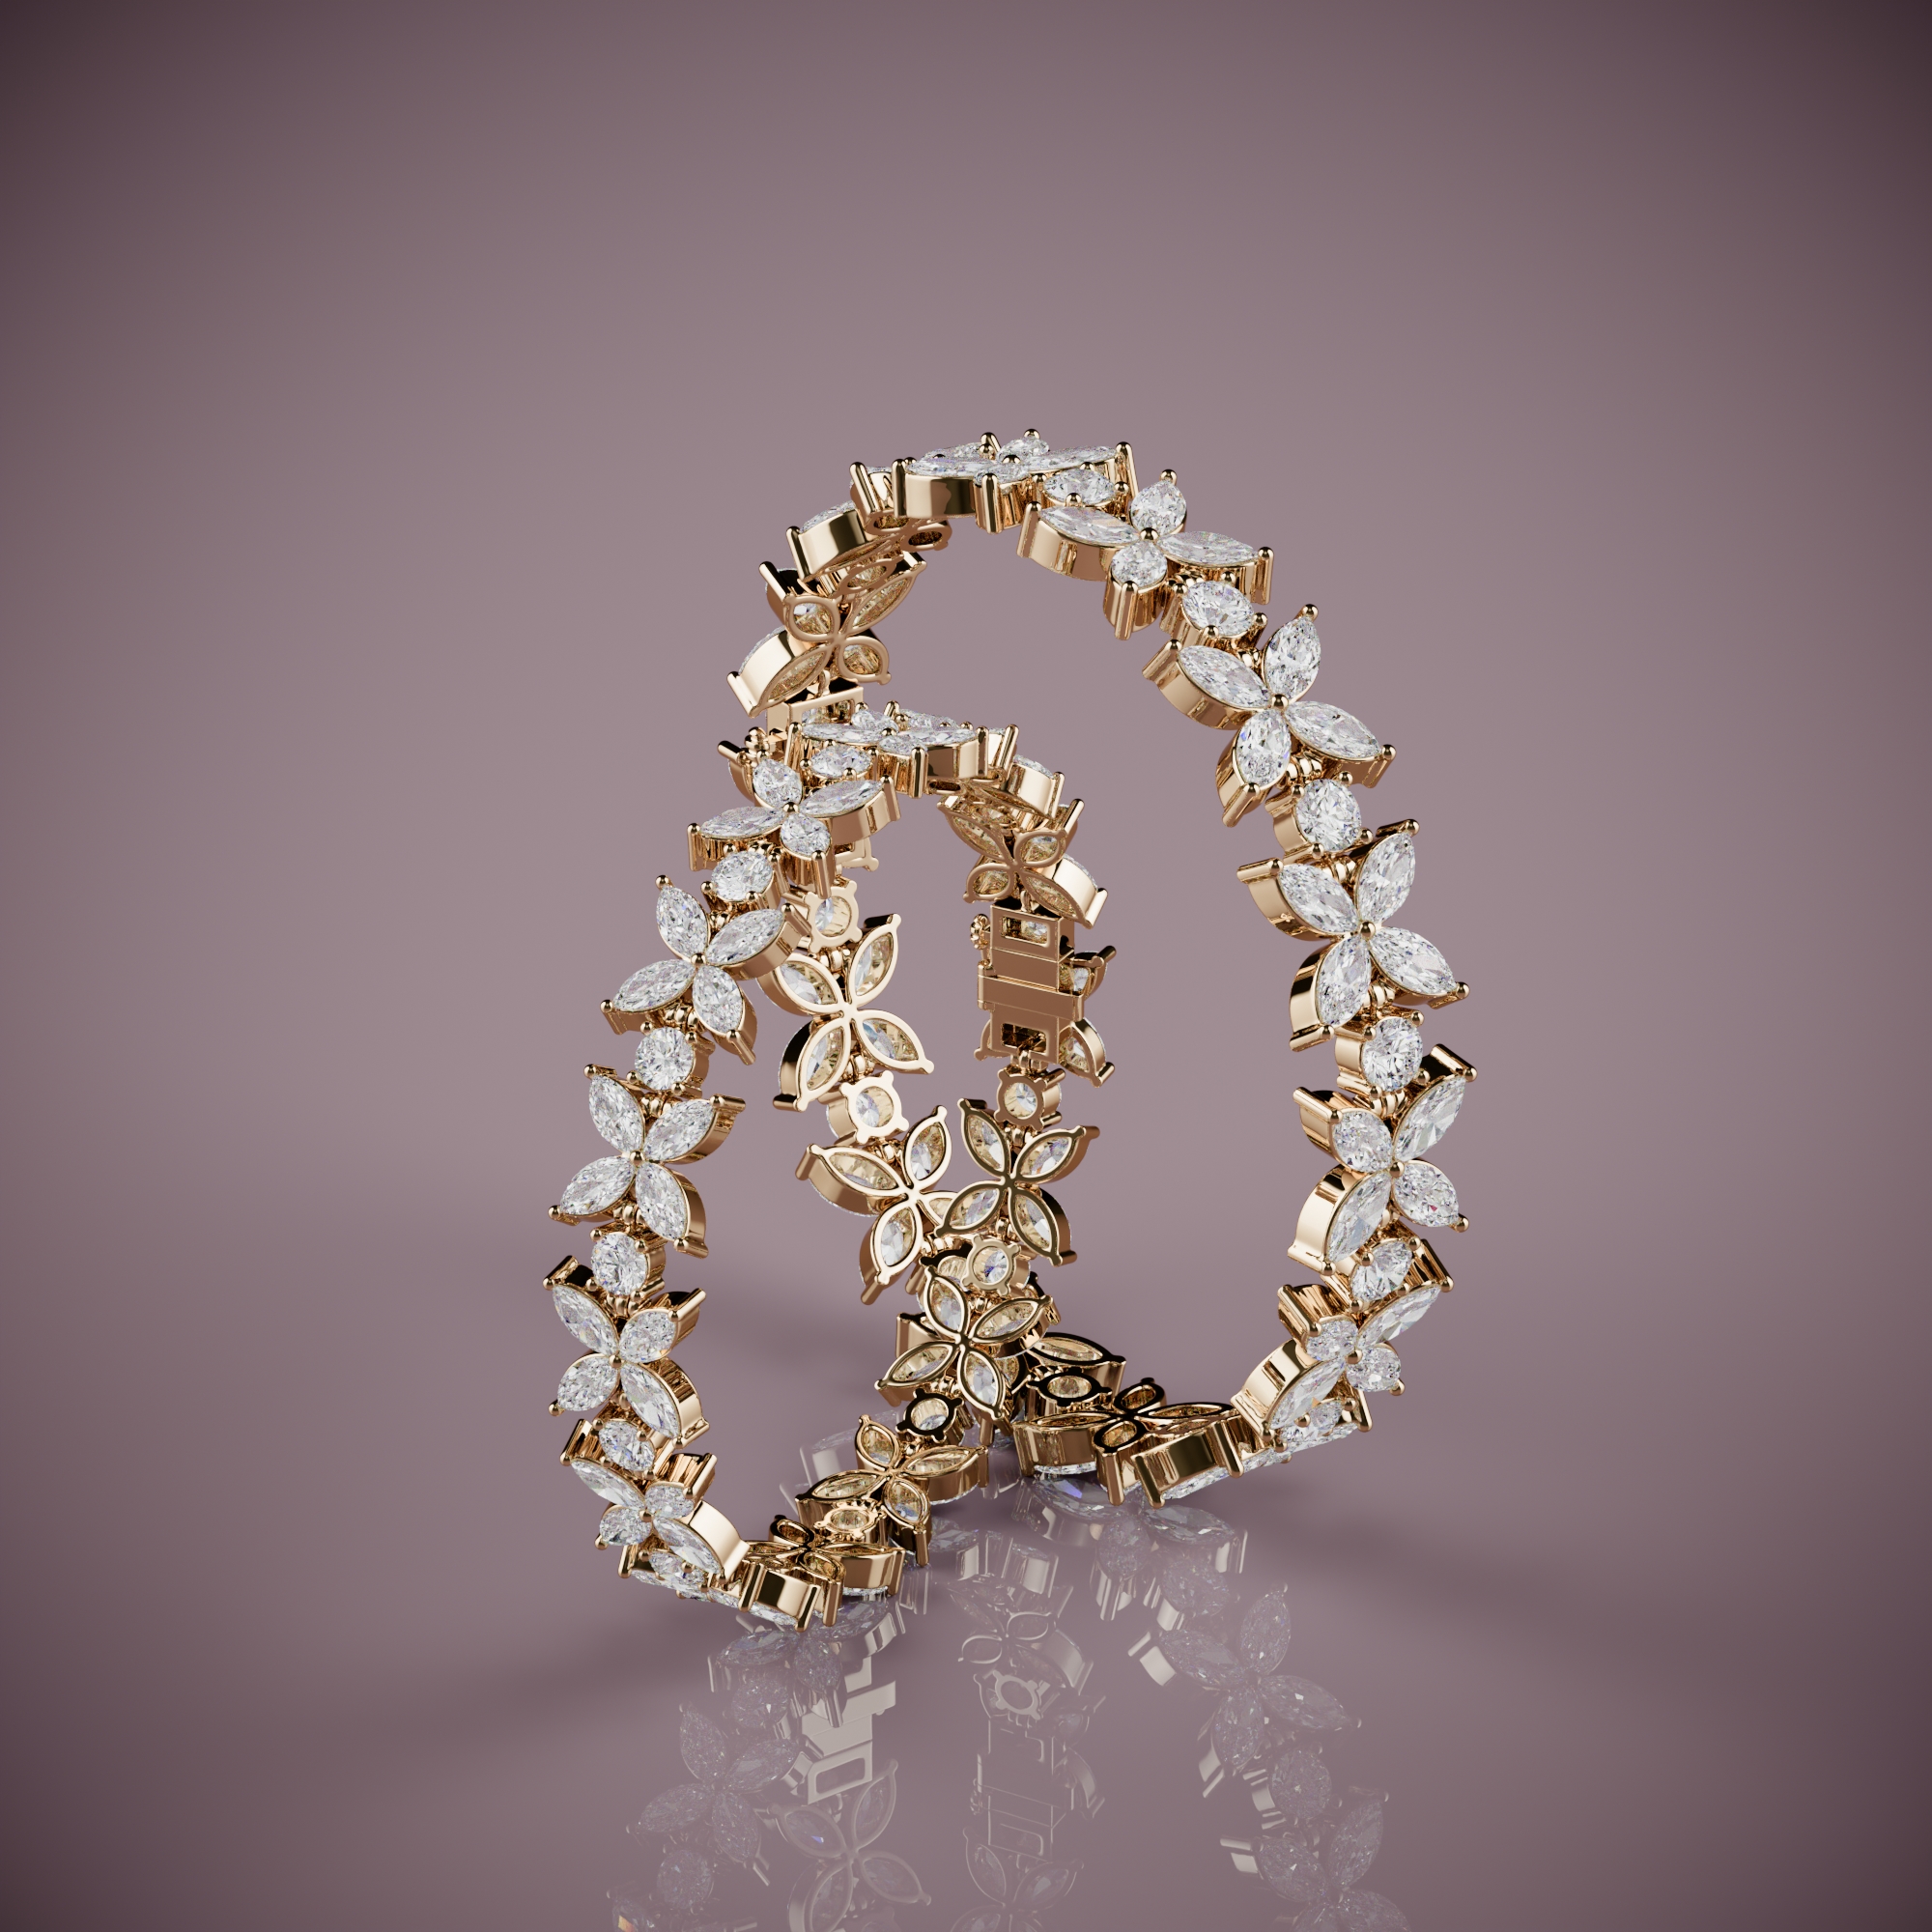
A manufacturing-ready model is also a render-ready one. The geometry a caster grows the piece from is the geometry a renderer lights and photographs, so there is no second model to build for marketing. Leaving the stones in the file serves both: the caster checks the seats against them, and the renderer needs them to show any fire at all.
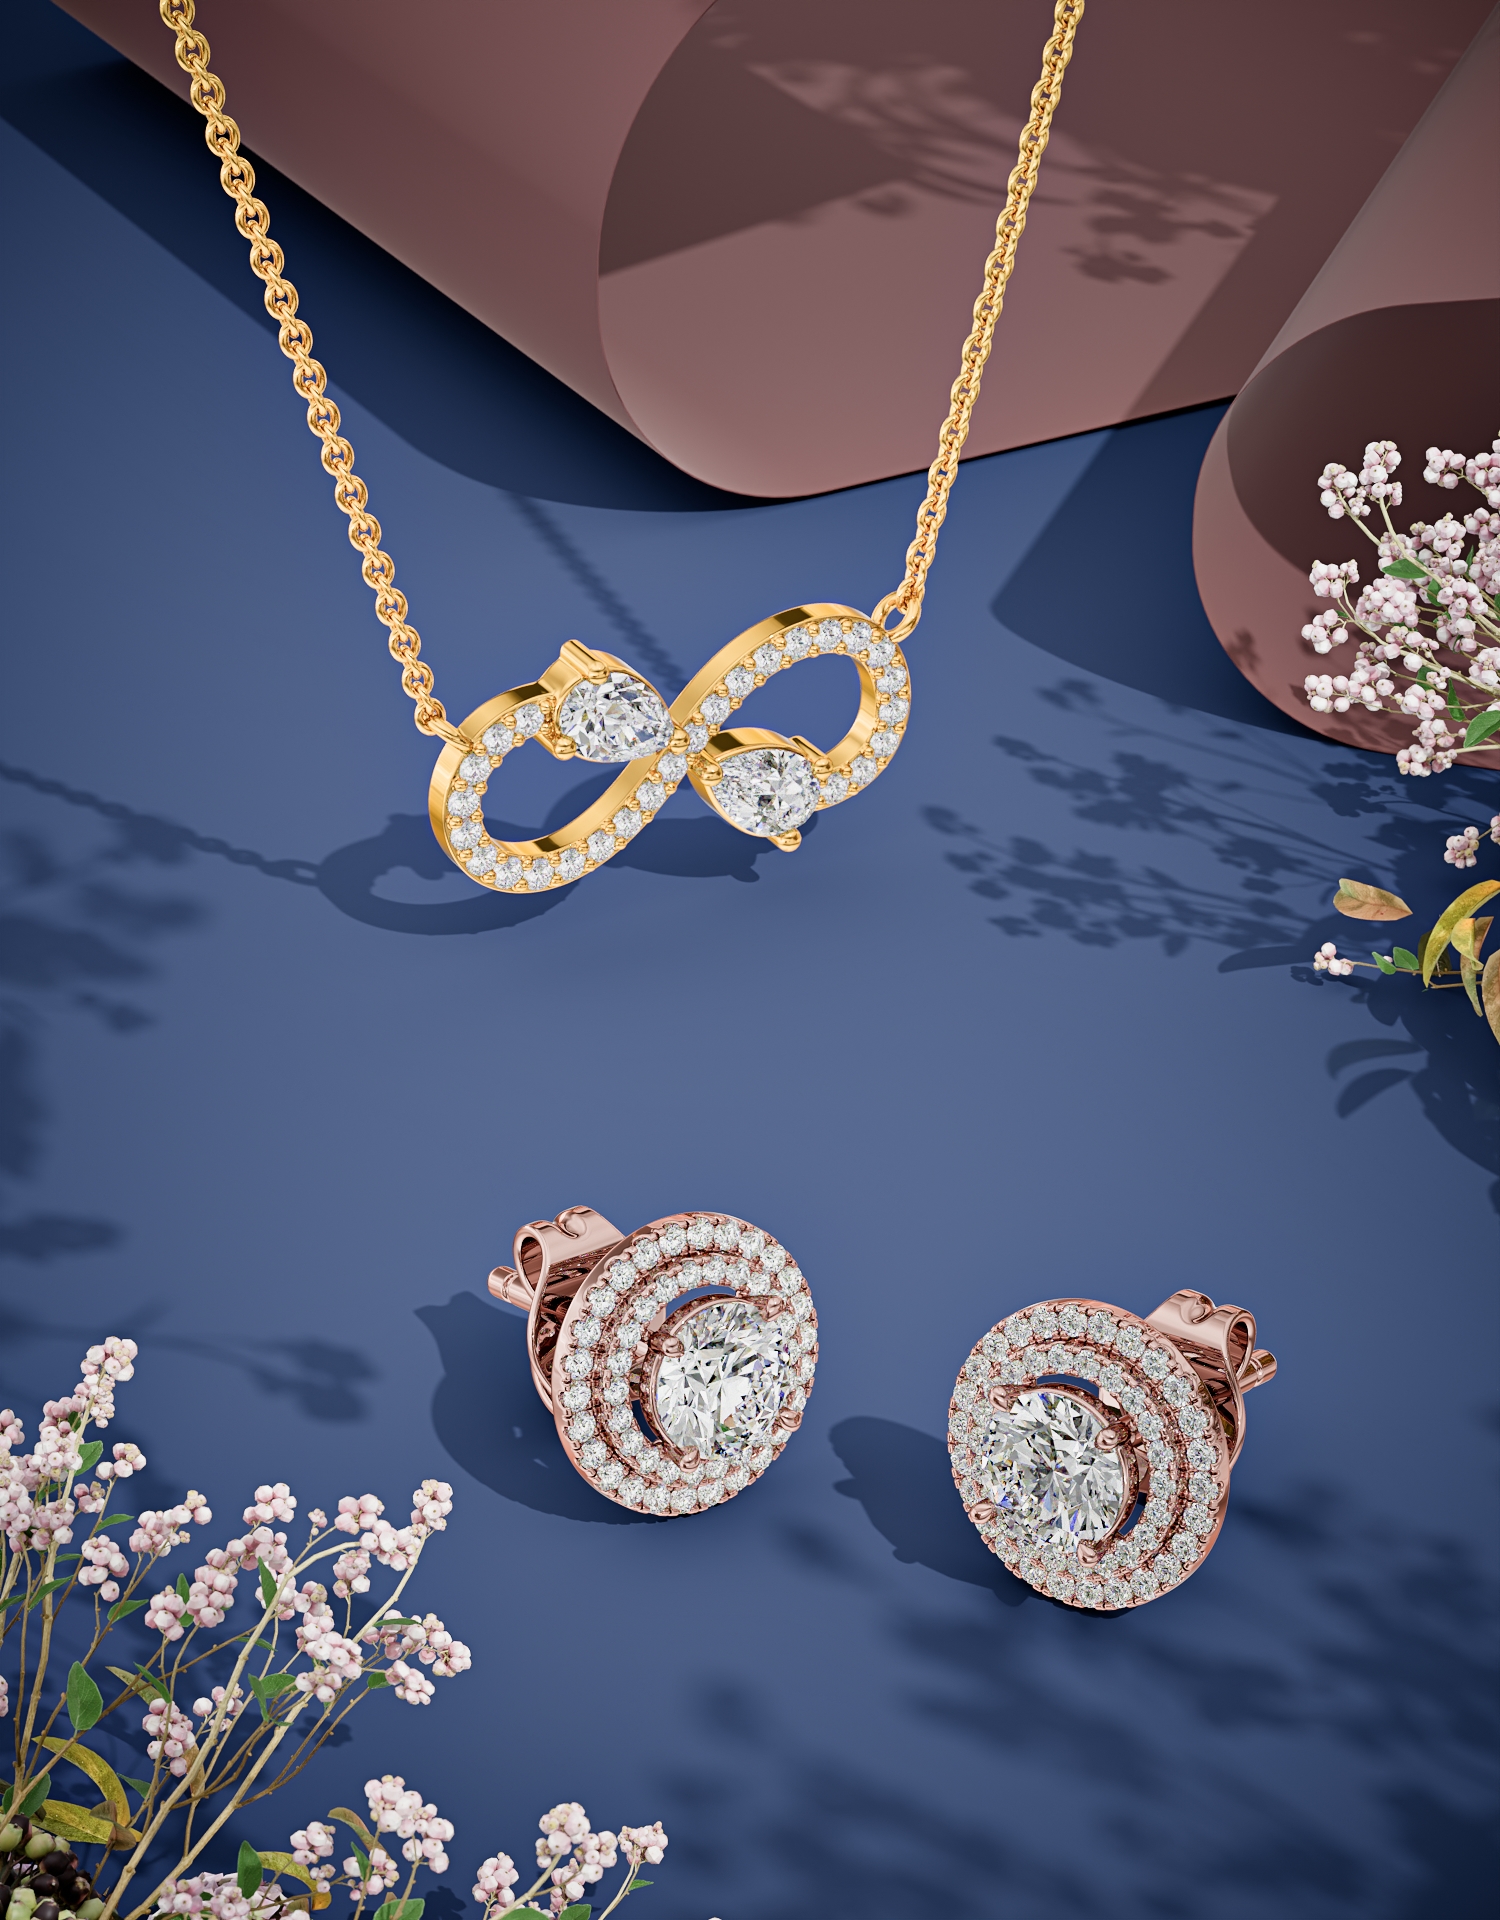
Modeling and rendering are still two separate jobs with the file as the hand-off. 3D jewelry rendering from one CAD file returns 9 HD images and 3 videos across rose, white, and yellow gold for $15, at 3000 x 3000 px or larger. That means the piece can be listed, pre-sold, or shown to a buyer before a wax is printed. For rendering, send the native 3DM or a STEP export where you can, since both keep the true curved surface. STL and OBJ are accepted too.
A render is also a late check on the model. It shows every surface exactly as modeled, at a size where a prong that misses the girdle or a seat cut too shallow is plain to see. Every render here is reviewed by someone with jewelry bench experience before delivery, which makes it one more chance to catch geometry the bench would reject. It is cheaper to find on screen than in metal.
Where CAD Is The Wrong Place To Start
The piece already exists. An estate piece or a handmade one-off has no CAD file. Modeling it purely to produce images usually costs more than photographing it, so book a photographer.
Hand engraving and hammered texture. Both can be modeled. Capturing their exact character takes modeling time a bench gets for free, and the result is still a pattern rather than a hand. Model the surface plain and leave the texture to the bench when its character is the point.
This studio is not your manufacturer. We build a CAD model as an added-fee step when a client has only a sketch or a photo, then render it after approval. We do not print, cast, or set stones. For a production file, hold whoever builds the model to your caster's tolerance sheet, and have the caster check the STL before it prints.
What To Send Before The First Model Goes Up
Send the designer one page: dimensions, metal and karat, the full stone list with sizes and setting styles, and your caster's tolerance sheet. Then approve three things in order: the base model against its numbers, the stones before detailing starts, and the STL at the caster before it prints.
When the file is approved, render it before you cast it. We render one CAD file at full quality as a free sample render, with no payment details asked. Any studio confident in its output will render one piece to prove it.
Questions about How to Design Jewelry in CAD: From Sketch to Printable CAD File
What file format does a caster want?
Usually an STL for the printer, exported from the native file. Keep the 3DM from Rhino or Matrix as the master, because an STL is a mesh and does not edit cleanly. Ask your caster first, since some, Stuller included, prefer the 3DM.
Can I 3D print jewelry straight from a CAD file?
Yes, once it passes file prep: closed surfaces, minimum thicknesses met, exported as STL. The print is a wax or resin pattern, not the finished piece. It still has to be cast, cleaned, set, and polished.
What computer or machine does jewelry CAD design need?
Two different machines. The computer runs the modeling software, so check the system requirements of the program you choose. A large, sharp screen makes pave easier to work on, but it does not make the model more accurate. The machine that makes the piece is a resin printer or a wax mill, and most jewelry businesses do not own one. The casting house does.
Is a pendant designed differently from a ring?
The four stages are the same. A pendant in 3D CAD has its own checks: the bail has to clear the chain and survive wear, and the piece hangs according to where its weight sits below the bail. Check both in stage 2, before any stone is seated.
Curious how this works in practice? See the process, browse the portfolio, check pricing, or see all jewelry rendering services.