Tinkercad for Jewelry Design: What Free Beginner CAD Can and Can't Do
Tinkercad is free and good enough for a first stone-free pendant. It cannot seat a stone; its curves are flat facets, and it exports only a mesh. Here is a first build, where the limits sit, and what to do with the file.
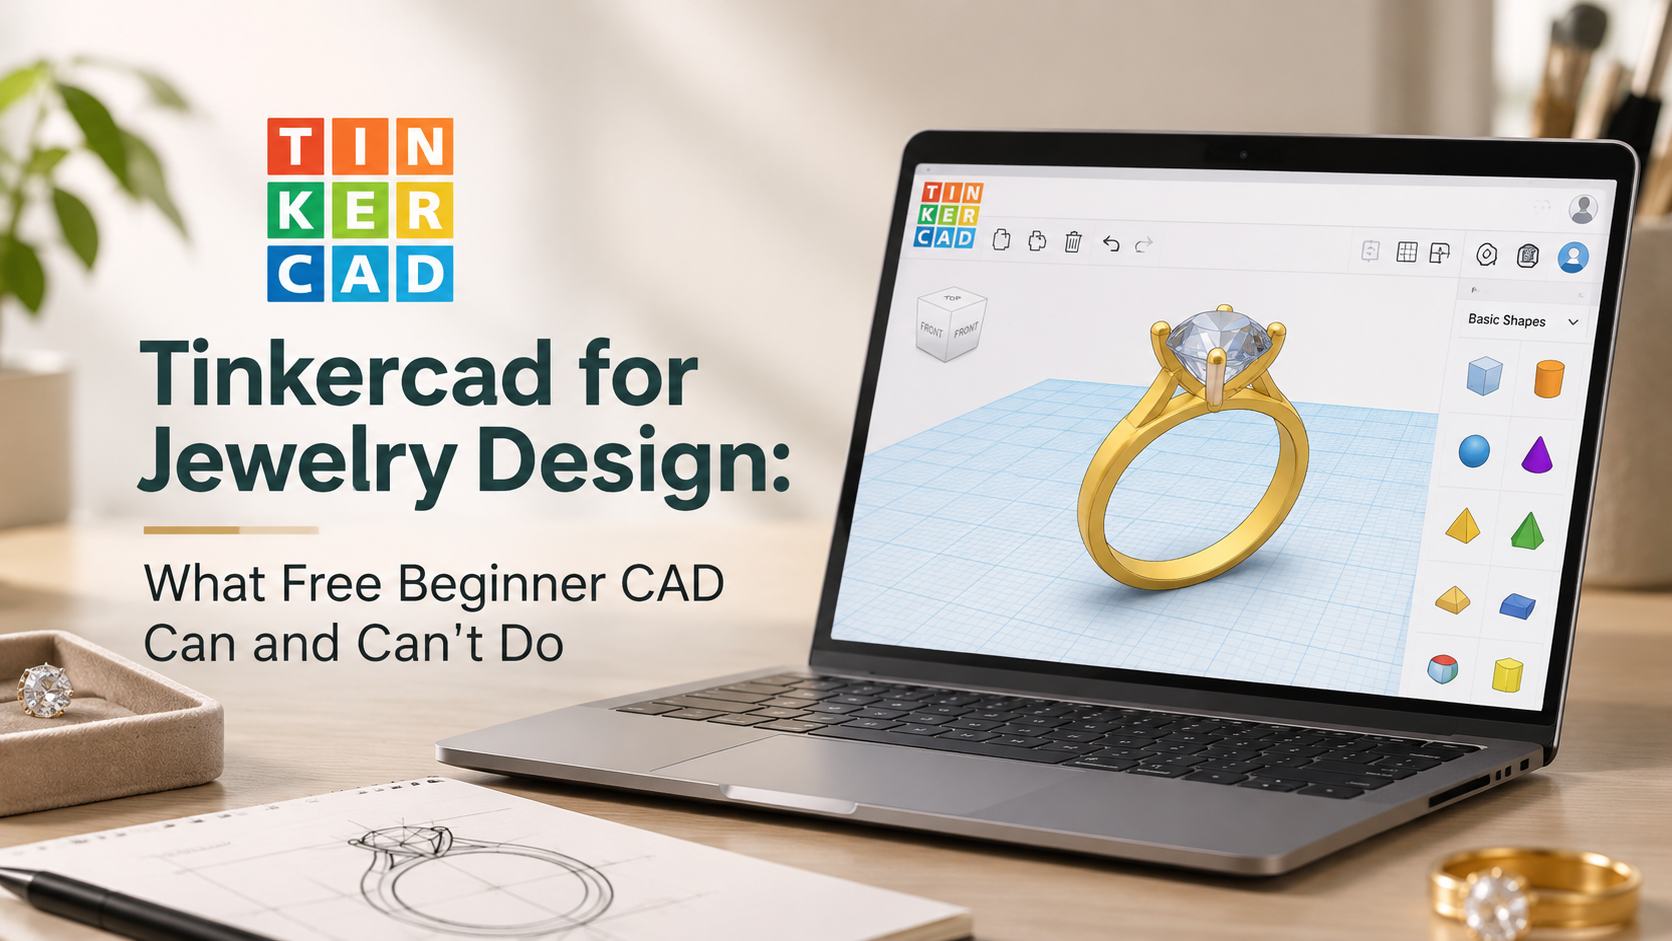
Tinkercad for jewelry design works for simple, stone-free pieces: a pendant, a charm, a nameplate, a plain band. It is free, runs in a browser, and exports a file you can print and have cast. It cannot build an accurate stone seat; it turns every curve into flat facets, and it exports nothing a jewelry manufacturer can edit.
So use it to learn and to prove a shape. Move to real jewelry CAD for anything set with stones. The rest of this post is a first build, the exact places the limits show, and what to do with the file once it is done.
What Tinkercad Is, And Why Jewelry Stretches It
Tinkercad is free beginner CAD from Autodesk, built for classrooms and hobby 3D printing. It runs in a web browser, needs only an account, and costs nothing. That is why so many people try it first as free jewelry design software: Tinkercad gets a first idea onto the screen in minutes.
It builds models by constructive solid geometry, which means you combine simple shapes. Every shape is either a solid, which adds material, or a hole, which removes it. Group them, and the solids join while the holes cut. A pendant is a heart solid, a text hole, and a ring solid for the bail, grouped together.
Three facts about the output decide how far that gets you in jewelry:
- It is a mesh. The model is a surface made of flat triangles, not exact curves. A cylinder is a many-sided prism, and you choose how many sides it gets.
- It exports STL and OBJ. Both are mesh formats. An STL file is what a resin printer needs, and it carries no unit label.
- It knows nothing about jewelry. There is no gem library, no prong builder, no ring sizer, and no metal weight. Every jewelry rule has to come from you.
None of this is a defect. Tinkercad was built to teach geometry to beginners, and using Tinkercad for jewelry design means working inside that. Jewelry asks it to hold tenths of a millimeter around a stone, which is a different job.
A First Pendant In Tinkercad, Step By Step
A flat pendant with an engraved initial is the right first piece. It uses every core Tinkercad move, and it needs no stone. Build it in this order:
- Set units and snap first. Start a new design and confirm the workplane is in millimeters. Set the snap grid (bottom right of the screen) to 0.1 mm. Dragging is then accurate to a tenth, and you can still type any dimension directly.
- Make the body. Drag a heart or a cylinder onto the workplane and type its size, for example 18 x 18 mm and 1.5 mm high. Treat the thickness as a starting point to check with your caster, not a rule.
- Raise the side count. Before anything else, open the shape's settings and raise its sides to the highest value it allows. Curves are faceted, and raising it after grouping means ungrouping and editing each shape again.
- Cut the engraving. Add a text shape, set it to Hole, and sink it a few tenths of a millimeter into the face. Ask your caster how deep a line must be to survive polishing.
- Add the bail. A torus makes a round bail. Overlap it into the body by about 1 mm so the two become one solid, and size its opening for the chain it will hang on.
- Group and inspect. Select everything and group it. Then look from below and from the side, and use the Ruler to measure the real thickness.
- Export and check the scale. Export as STL, open it in a slicer or viewer, and confirm the pendant reads 18 mm across, not 18 inches or 0.018.
One mistake catches most first builds: a bail that only touches the body instead of overlapping it. Tinkercad will group the two without complaint. The file then holds two separate pieces, and the printer or the caster finds out before you do.
Where Accuracy And Stone Setting Run Out
Three limits stop Tinkercad from going further in jewelry, and they show in different places.
Faceted curves. Because every curve is a polygon, a domed face or a round band is a set of flat strips. At arm's length on a printed resin model, nobody sees it. In a macro product render, the reflection breaks into bands along each strip, and polished gold shows it first. The longer reasoning on why a mesh export changes the render is in the CAD software post. Polishing a cast piece can soften small facets, but it cannot fix a profile that was never round.
No real edge control. Shapes can be rounded before you use them, but once they are grouped, there is no general command to round one edge or blend one surface into another. Smooth shoulders and soft transitions, which most fine jewelry depends on, have to be faked with stacked shapes.
Stone settings are the hard limit. A stone seat is the cavity cut into metal so a stone sits level, with its pavilion (the cone below the widest point) inside the metal and its girdle (the widest edge) held by prongs or a bezel. The seat has to match that particular stone's diameter and angles. Tinkercad can approximate a round stone with a cone and a cylinder, and cut a cone-shaped hole for it. It cannot model a stone from real proportions, cut a seat to that geometry, or check that four prongs meet the girdle at the same height.
So a Tinkercad ring with a stone looks right on screen and fails at the bench. The seat sits too deep or too shallow, the prongs do not reach, and the setter has to rework metal that was meant to be finished. The minimums a caster works to are in the tolerances a caster expects. Tinkercad has no way to check any of them for you.
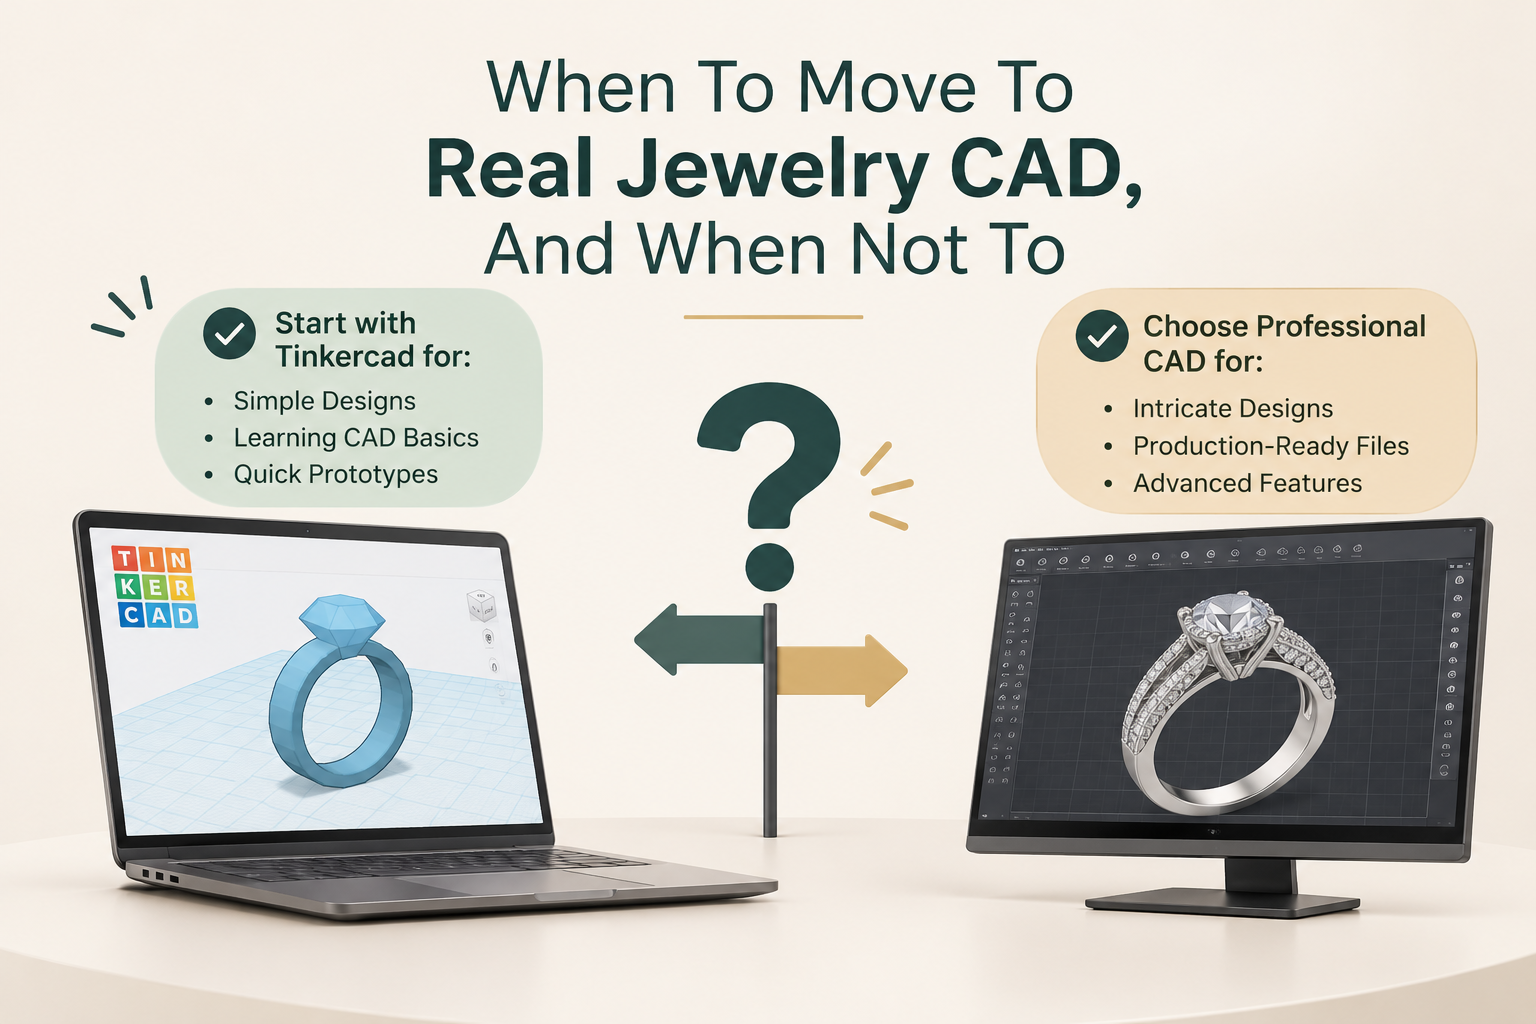
When To Move To Real Jewelry CAD, And When Not To
The move is about the piece, not about skill. This table puts the common tasks side by side:
|
Task |
Tinkercad |
Jewelry CAD |
|---|---|---|
|
Flat pendant or charm |
Yes |
Yes |
|
Plain band to a typed size |
Yes, roughly |
Yes, exactly |
|
Soft shoulders and blended edges |
No |
Yes |
|
Stone seats, prongs, bezels |
Approximate only |
Yes |
|
Pave or halo |
No |
Yes |
|
File a manufacturer can edit |
No (mesh only) |
Yes (3DM or STEP) |
Move on when your next design has a stone in it, when a manufacturer asks for a 3DM or STEP file, or when you want the same piece in five sizes. Which program fits which job is a separate question, and the CAD software post linked above answers it program by program.
Do not move on just because Tinkercad is free and feels basic. For a stone-free pendant you will print and cast in silver, it is genuinely enough. A paid license buys you nothing on that piece, and neither does paying someone to model it.
It is also a useful brief. A Tinkercad model sent to a CAD designer shows the size and proportion you mean in millimeters, which a sketch cannot. If you are weighing whether to hire the modeling out, whether you need CAD modeling or just rendering sets out the two purchases.
You should weigh our position here. We render, and we build CAD models for an added fee. So the advice to move past Tinkercad can lead to work for us.
What A Studio Can Do With A Tinkercad Export
We accept STL and OBJ, so a Tinkercad export opens without conversion. What happens next depends on what is in the file, and there are three outcomes.
It renders as it is. A stone-free piece that is one closed solid at the right scale goes straight to rendering. Large, highly polished curves may show the facets described above. Ask the studio to tell you before it renders, not after.
It needs repair first. Separate shells, a floating bail, or a file at the wrong scale all need repair time before rendering. A clean file renders at base price. A broken export does not.
It needs rebuilding. If the stones are placeholders or the curves are too faceted to render cleanly, the CAD model has to be built properly first. That is modeling, a separate step with a separate fee, and the render follows after you approve the model.
In every case, you see the quote before anything is charged. A clean file costs $15 at our launch price (regular $30), which buys 9 HD images and 3 videos across rose, white, and yellow gold. For pendants, pendant rendering covers chains and pendants specifically.
Questions about Tinkercad for Jewelry Design: What Free Beginner CAD Can and Can't Do
Can you design jewelry in Tinkercad?
Yes, for simple pieces without stones: pendants, charms, name plates, and plain bands. Pieces with stone settings, pave, or smooth blended surfaces are beyond what its shape-combining method can build accurately.
Is Tinkercad free for jewelry design?
Yes. Tinkercad is free to use and runs in a browser, with no paid tier needed for jewelry work. The costs that remain are practice time and the risk of a file a caster cannot use.
Can a Tinkercad file be cast in gold or silver?
Yes, through a printed pattern. The STL is printed in castable resin and cast by the lost-wax process, like any other jewelry file. The caster decides whether your wall thicknesses and details are safe to cast, so send them the file before you print.
Can you make a ring to size in Tinkercad?
Roughly. Use a tube shape and type the inner diameter from a ring size chart, then check it with the Ruler. A comfort-fit profile, a tapered shank, or a size run is easier in jewelry CAD.
Can you sell jewelry designed in Tinkercad?
Autodesk's terms of service for Tinkercad state that Autodesk claims no ownership of what you create. Read the current terms before selling, and check the license on any design you copied from the public gallery, because that one is not yours.
Does Tinkercad export 3DM or STEP?
No. Its 3D exports are mesh formats, STL and OBJ for printing, plus SVG for 2D outlines. A manufacturer who edits files in Rhino or MatrixGold can view a Tinkercad mesh but cannot easily change it.
Curious how this works in practice? See the process, browse the portfolio, check pricing, or see all jewelry rendering services.