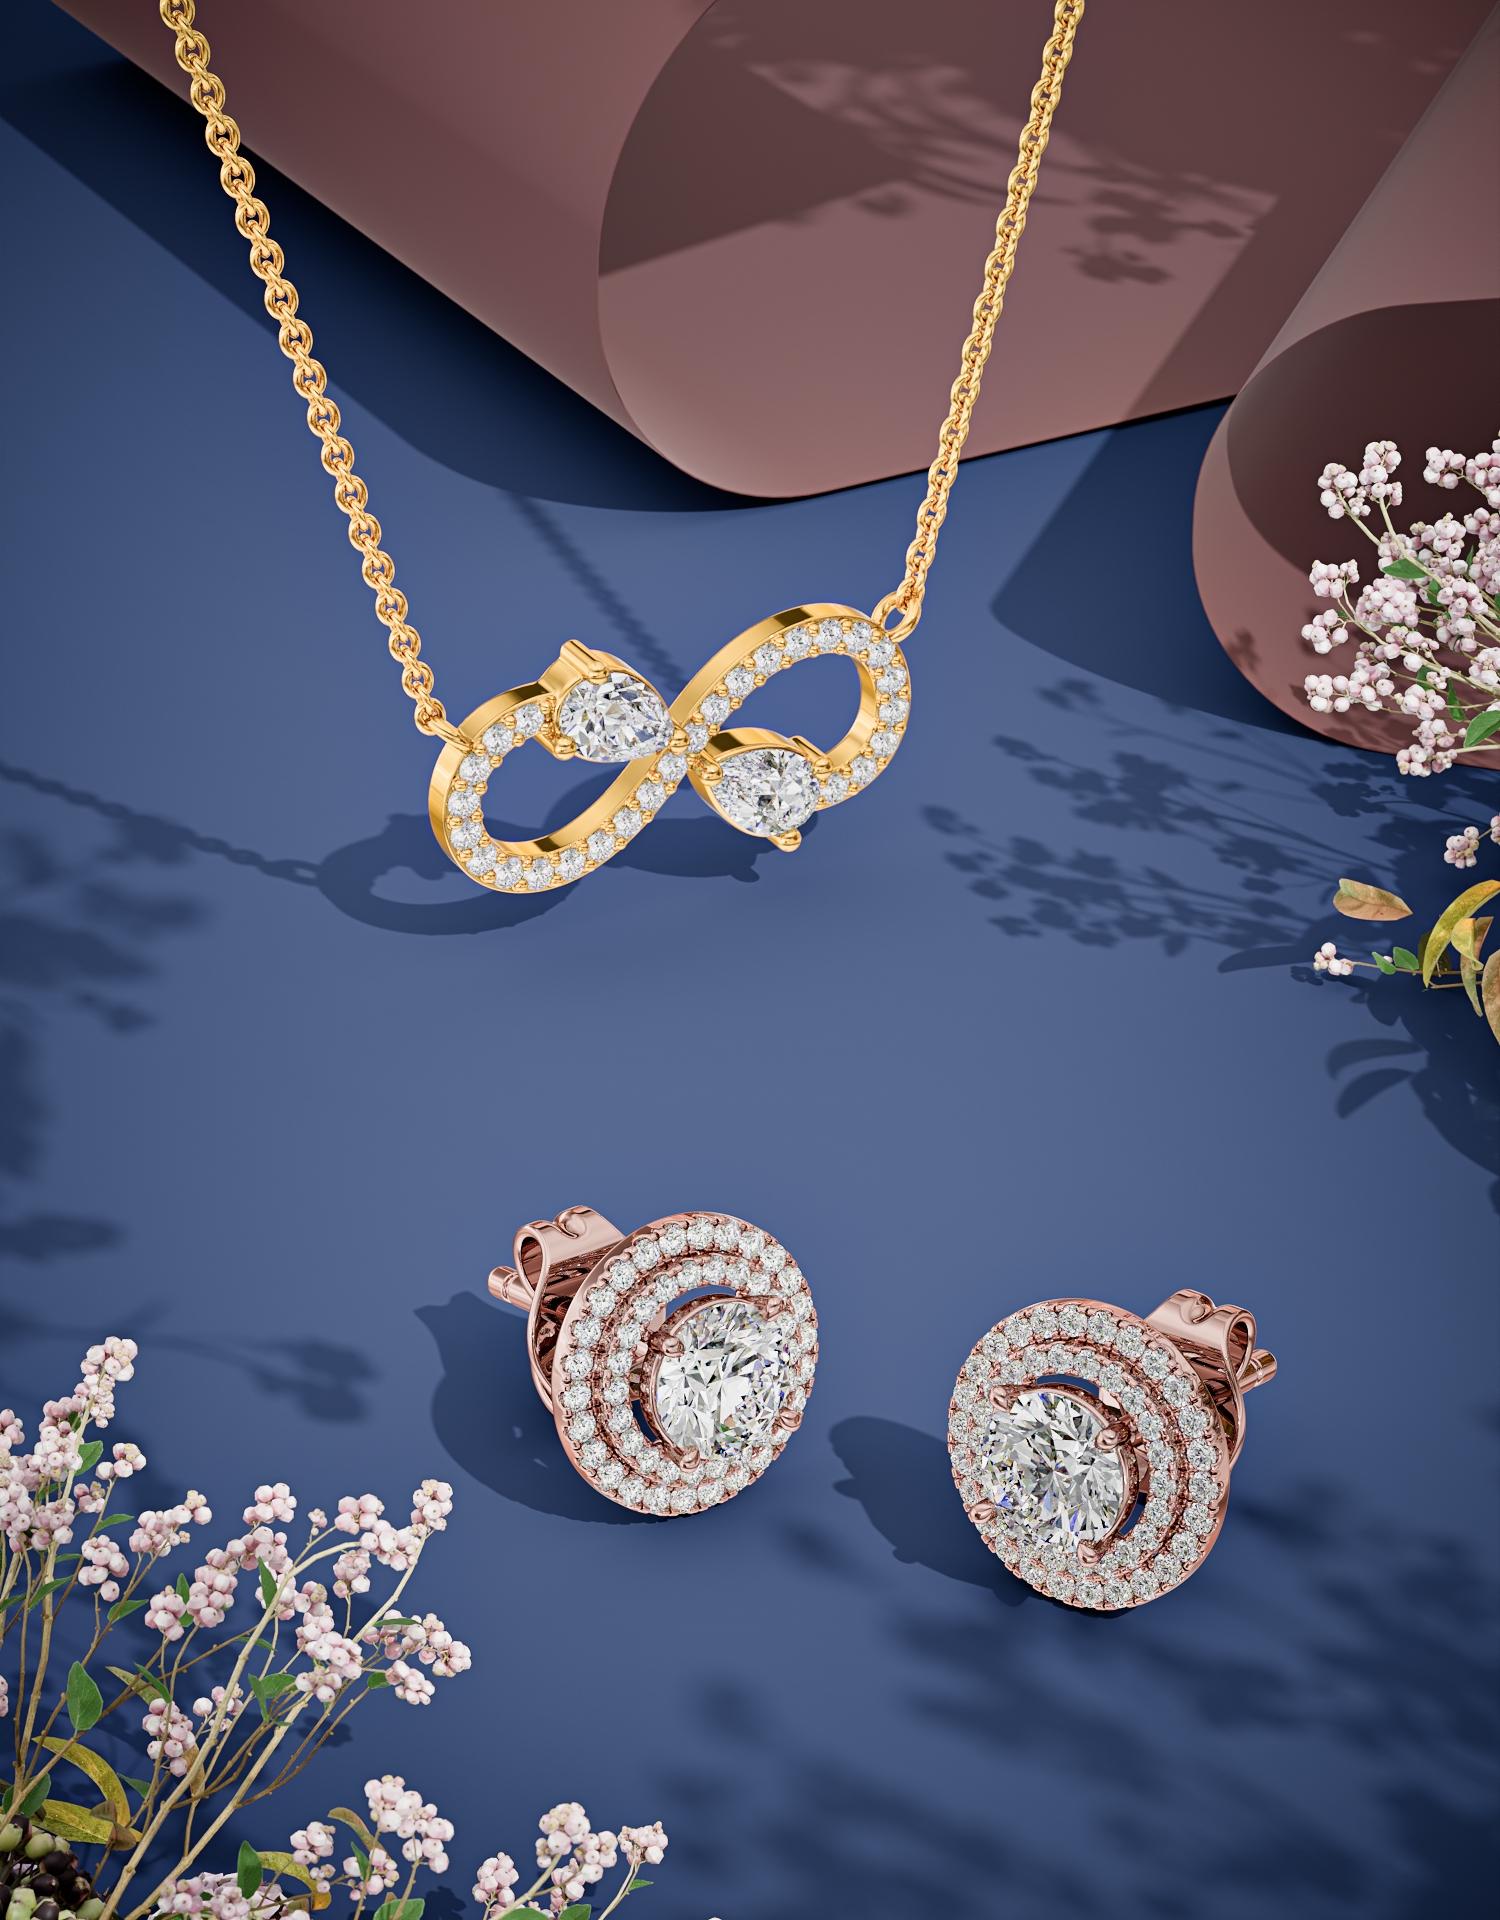
From CAD File to Photorealistic Render: The Full Journey
Follow one jewelry CAD file through cleanup, materials, lighting, and rendering to a finished photoreal image.
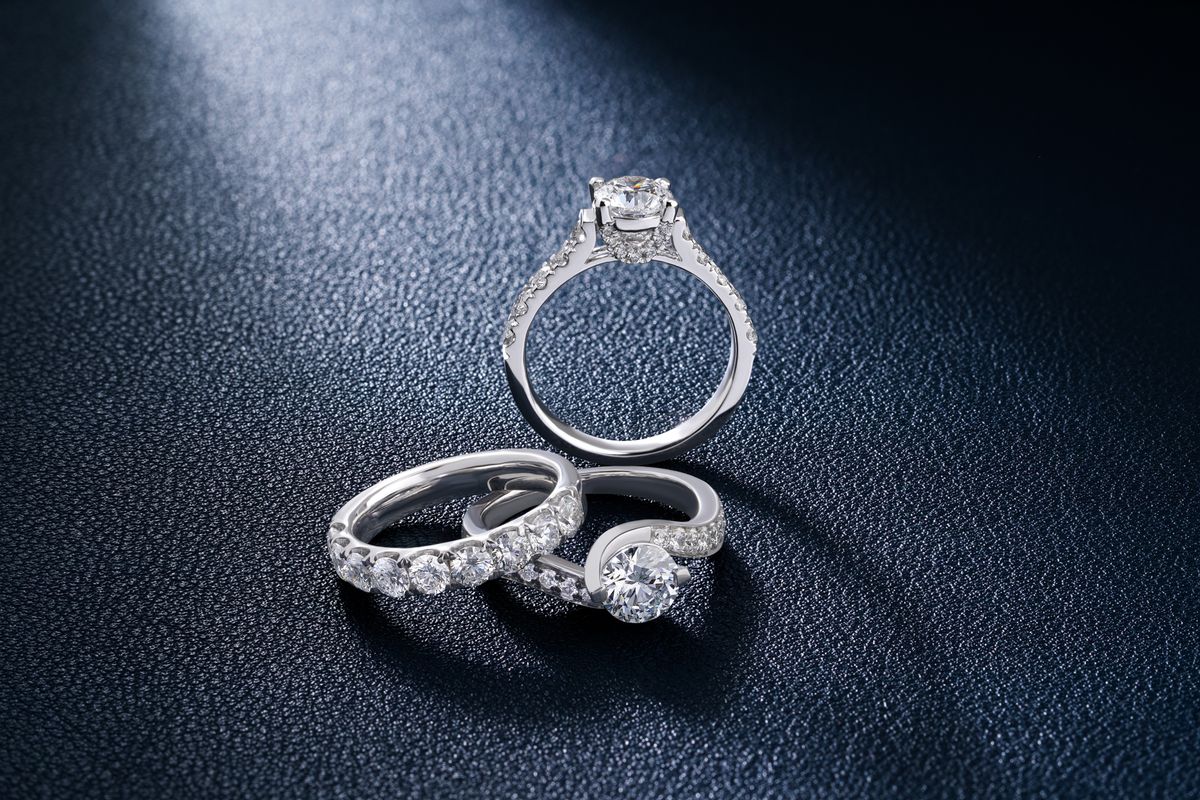
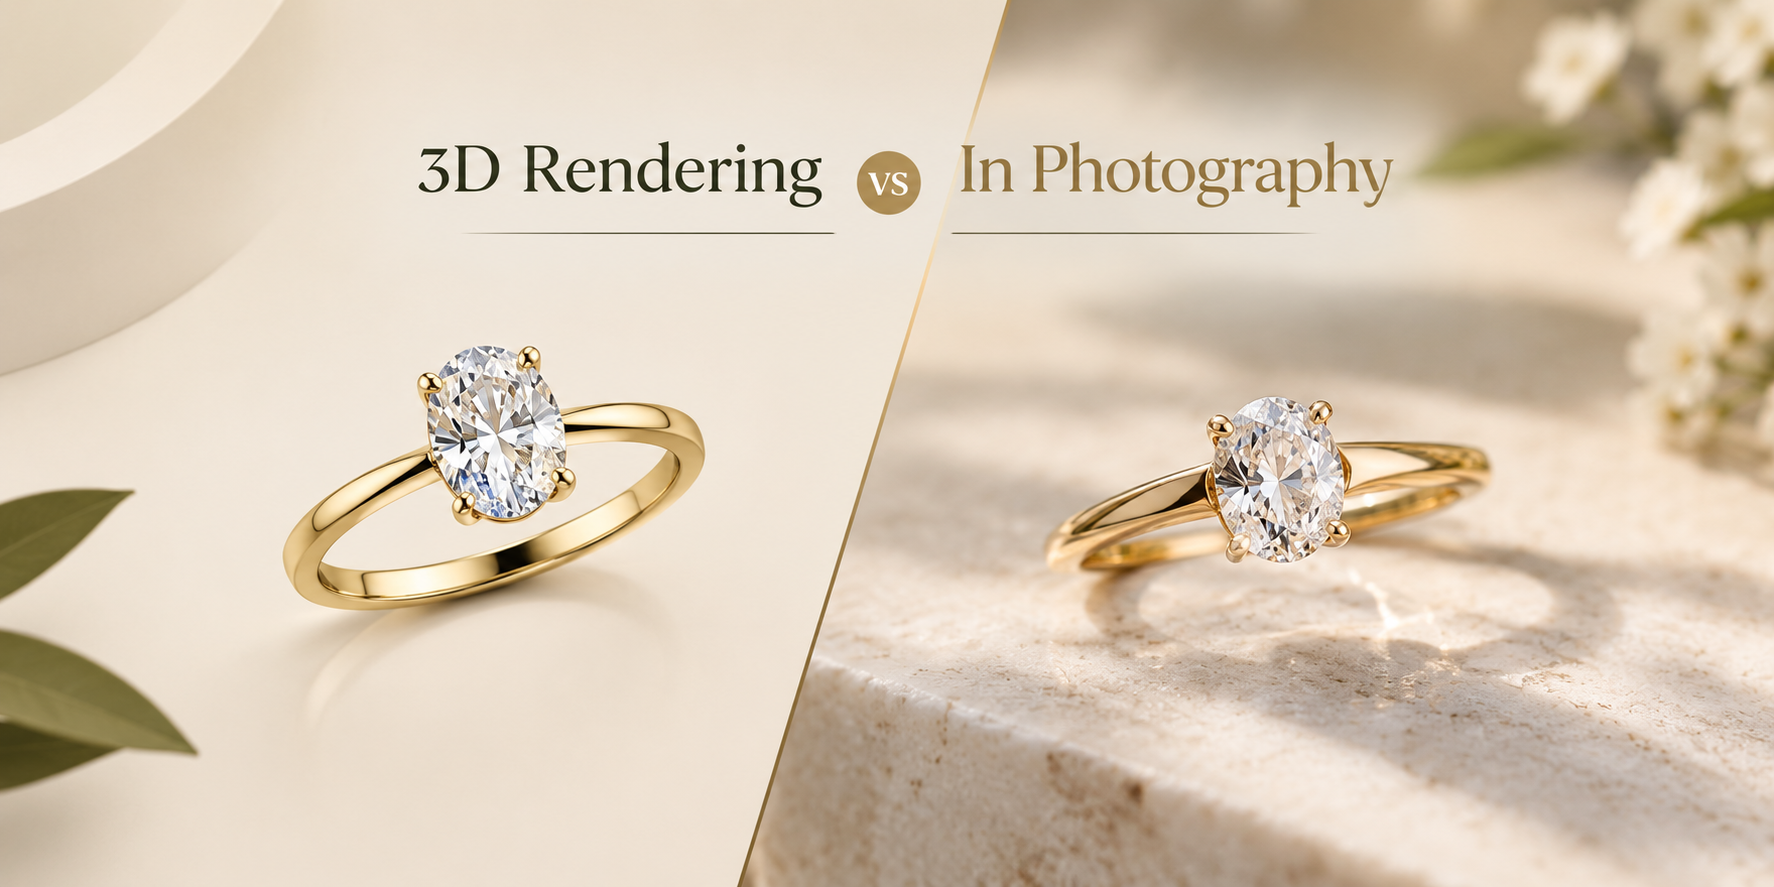
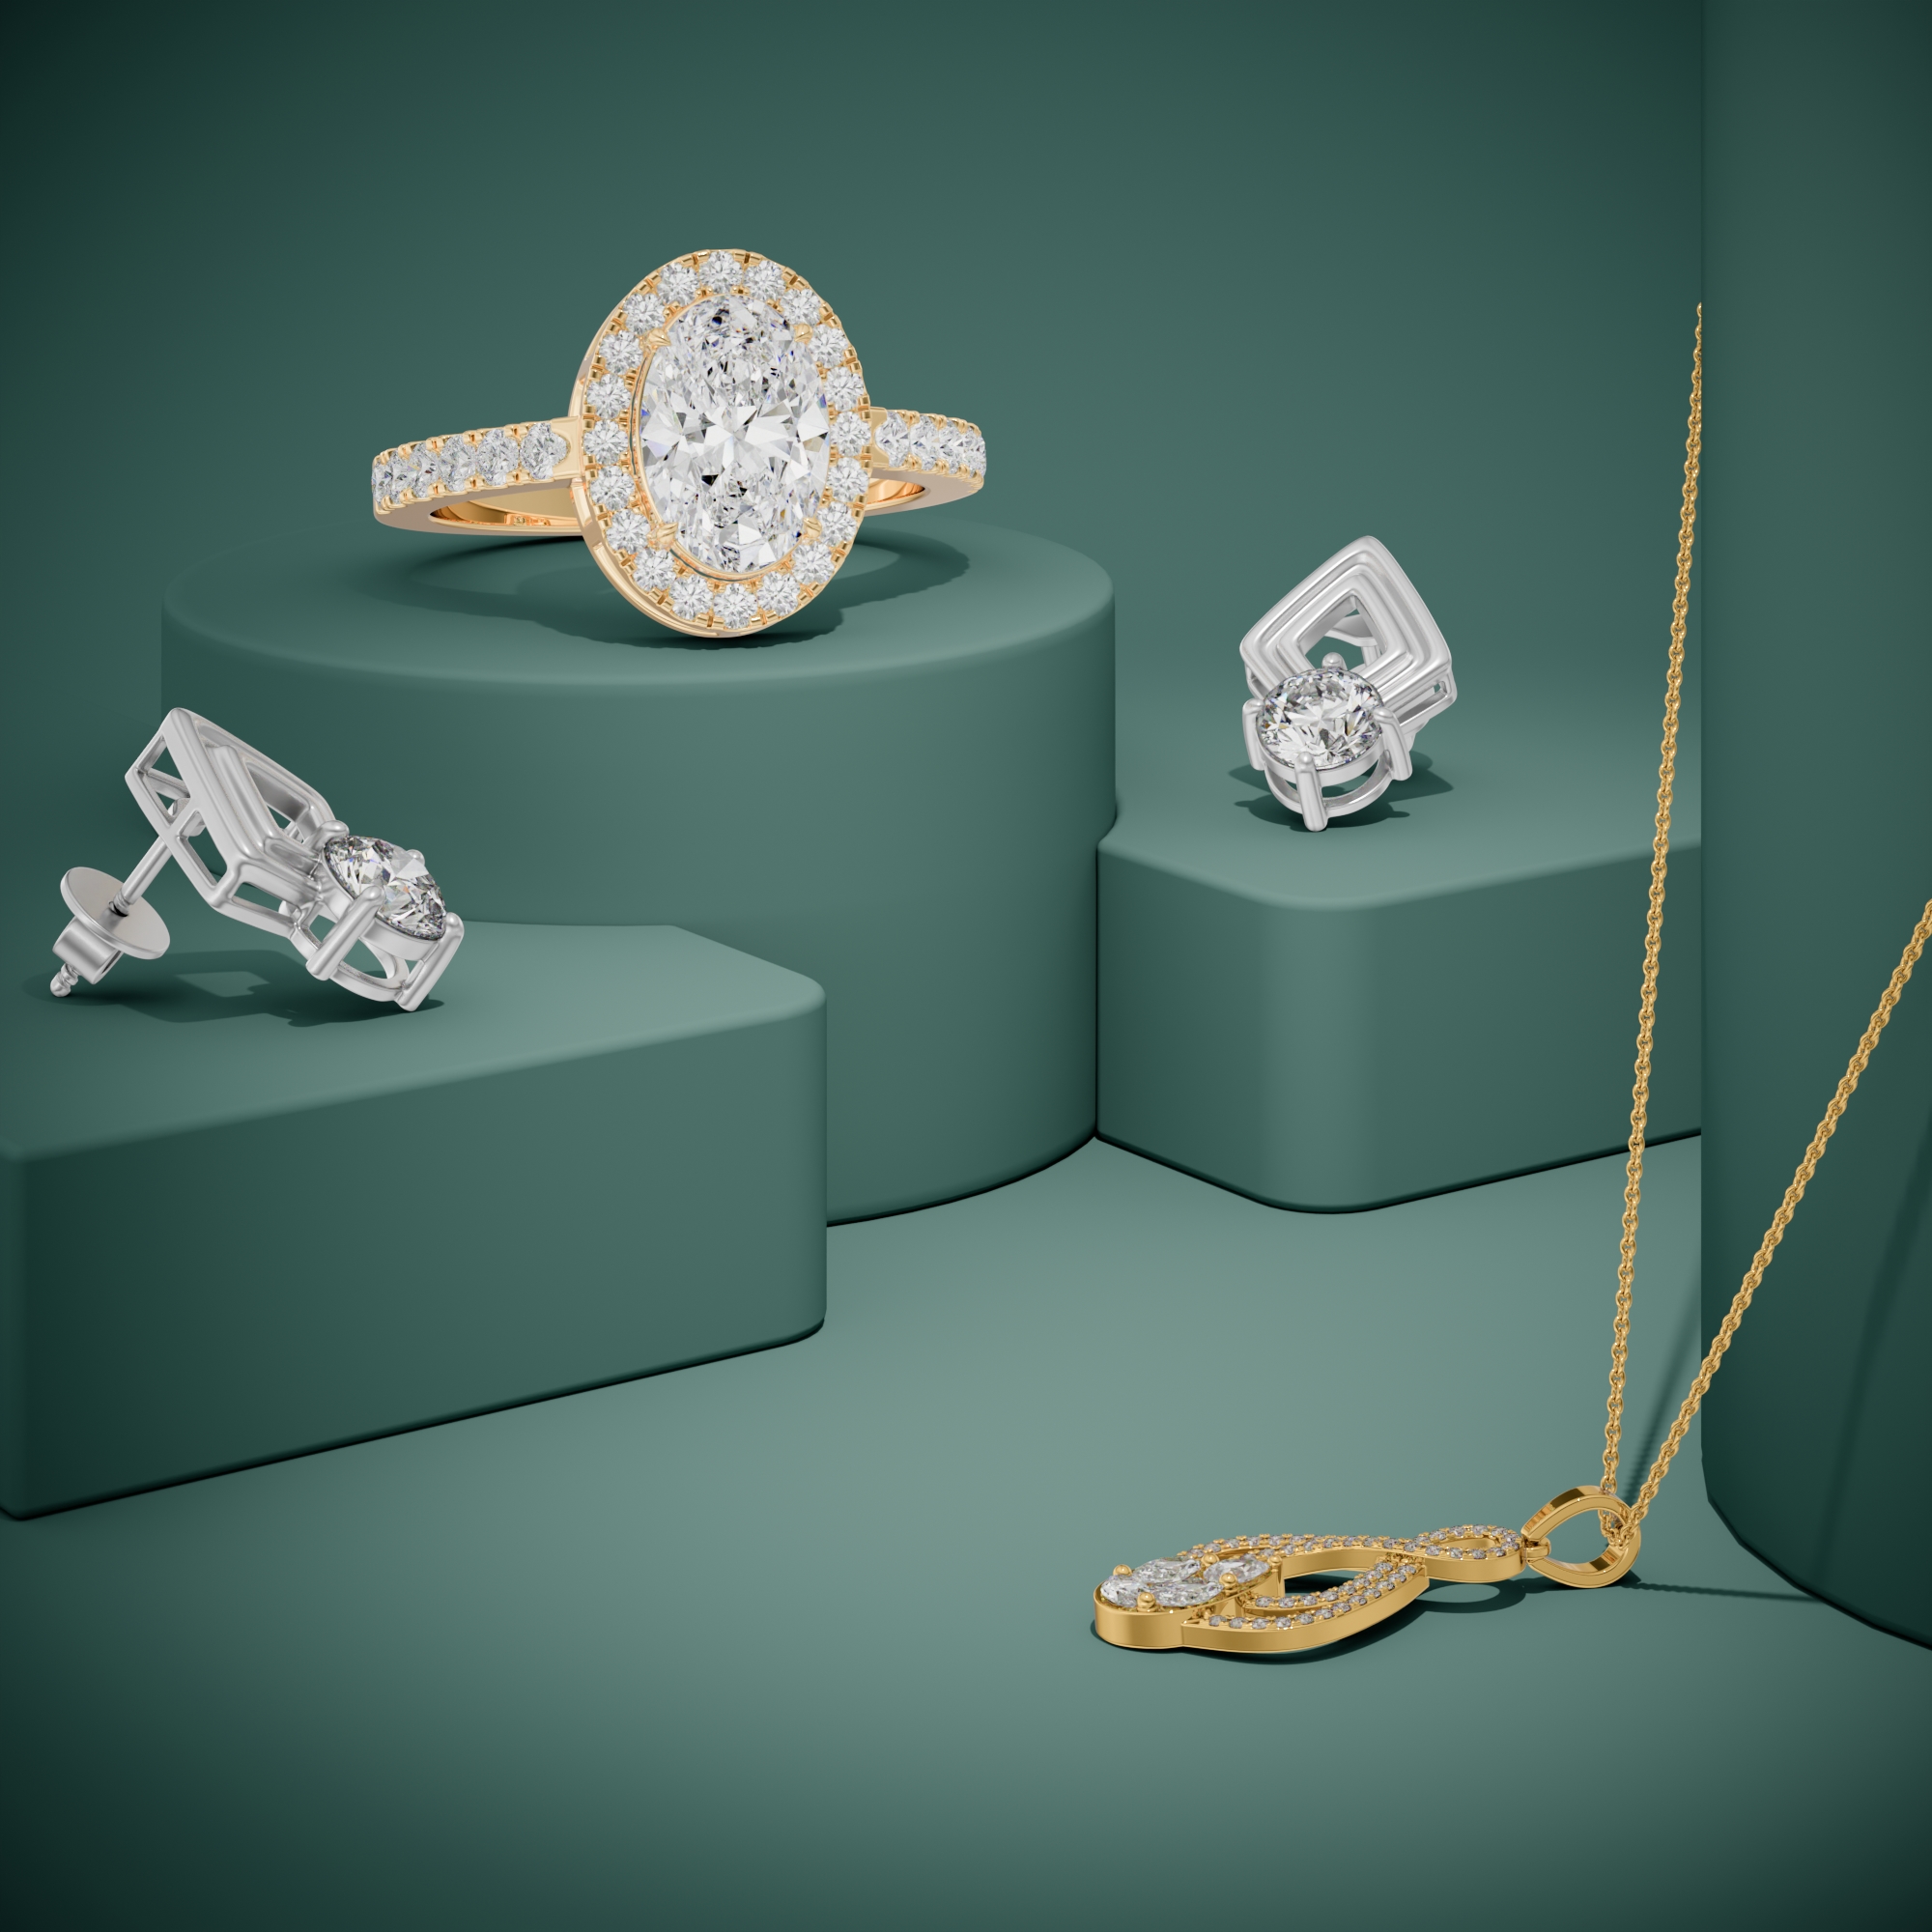
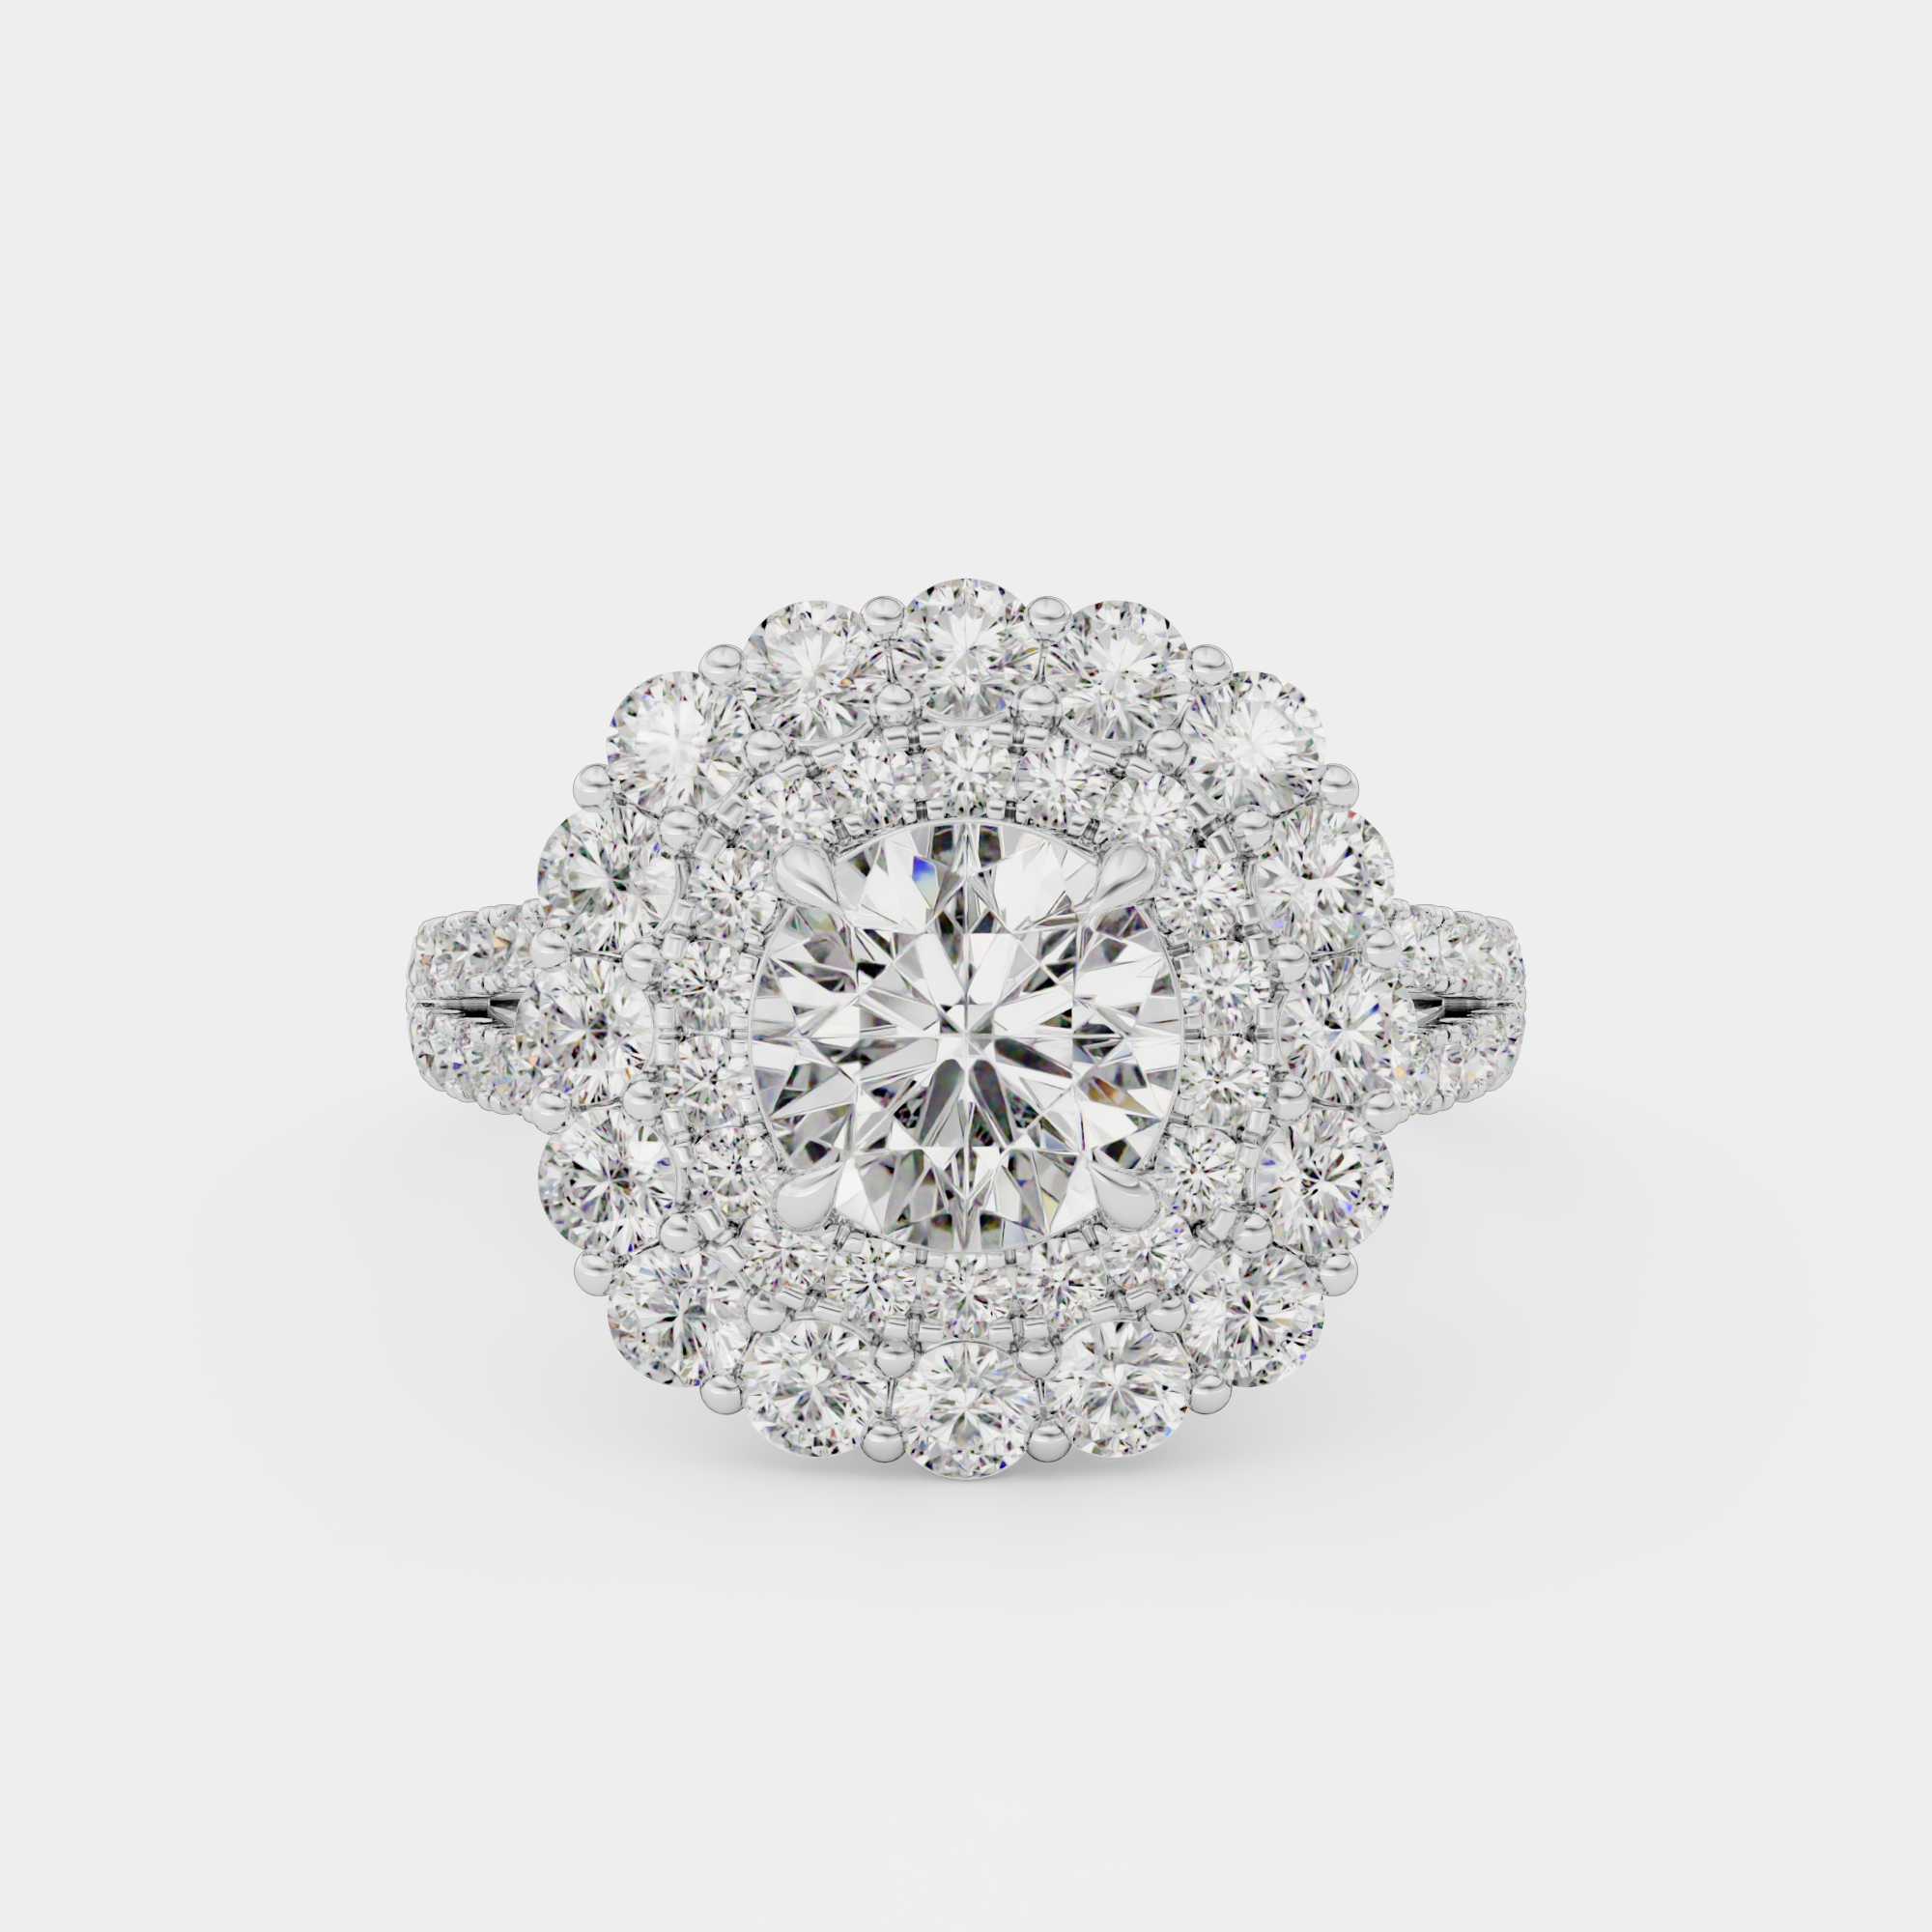
A jewelry CAD file becomes a photorealistic render in five stages: file cleanup, material assignment, lighting, camera setup, and the render itself. The whole journey takes 24 to 48 hours at a specialist studio. Here is what happens at each stage, using a typical engagement ring as the example.
Stage 1: File cleanup
CAD files rarely arrive perfect. STL exports come in faceted, with visible flat polygons where smooth curves should be. Surfaces overlap. Stones float a hair above their seats.
None of this matters for manufacturing, but all of it shows in a render. So the first hour of work is repair: smoothing meshes, closing gaps, and seating stones. If you want to skip modeling entirely and just convert existing files, that is exactly what our 3D jewelry rendering service does.
Stage 2: Materials
This is where jewelry rendering separates from general 3D work. The artist assigns real optical properties to every surface:
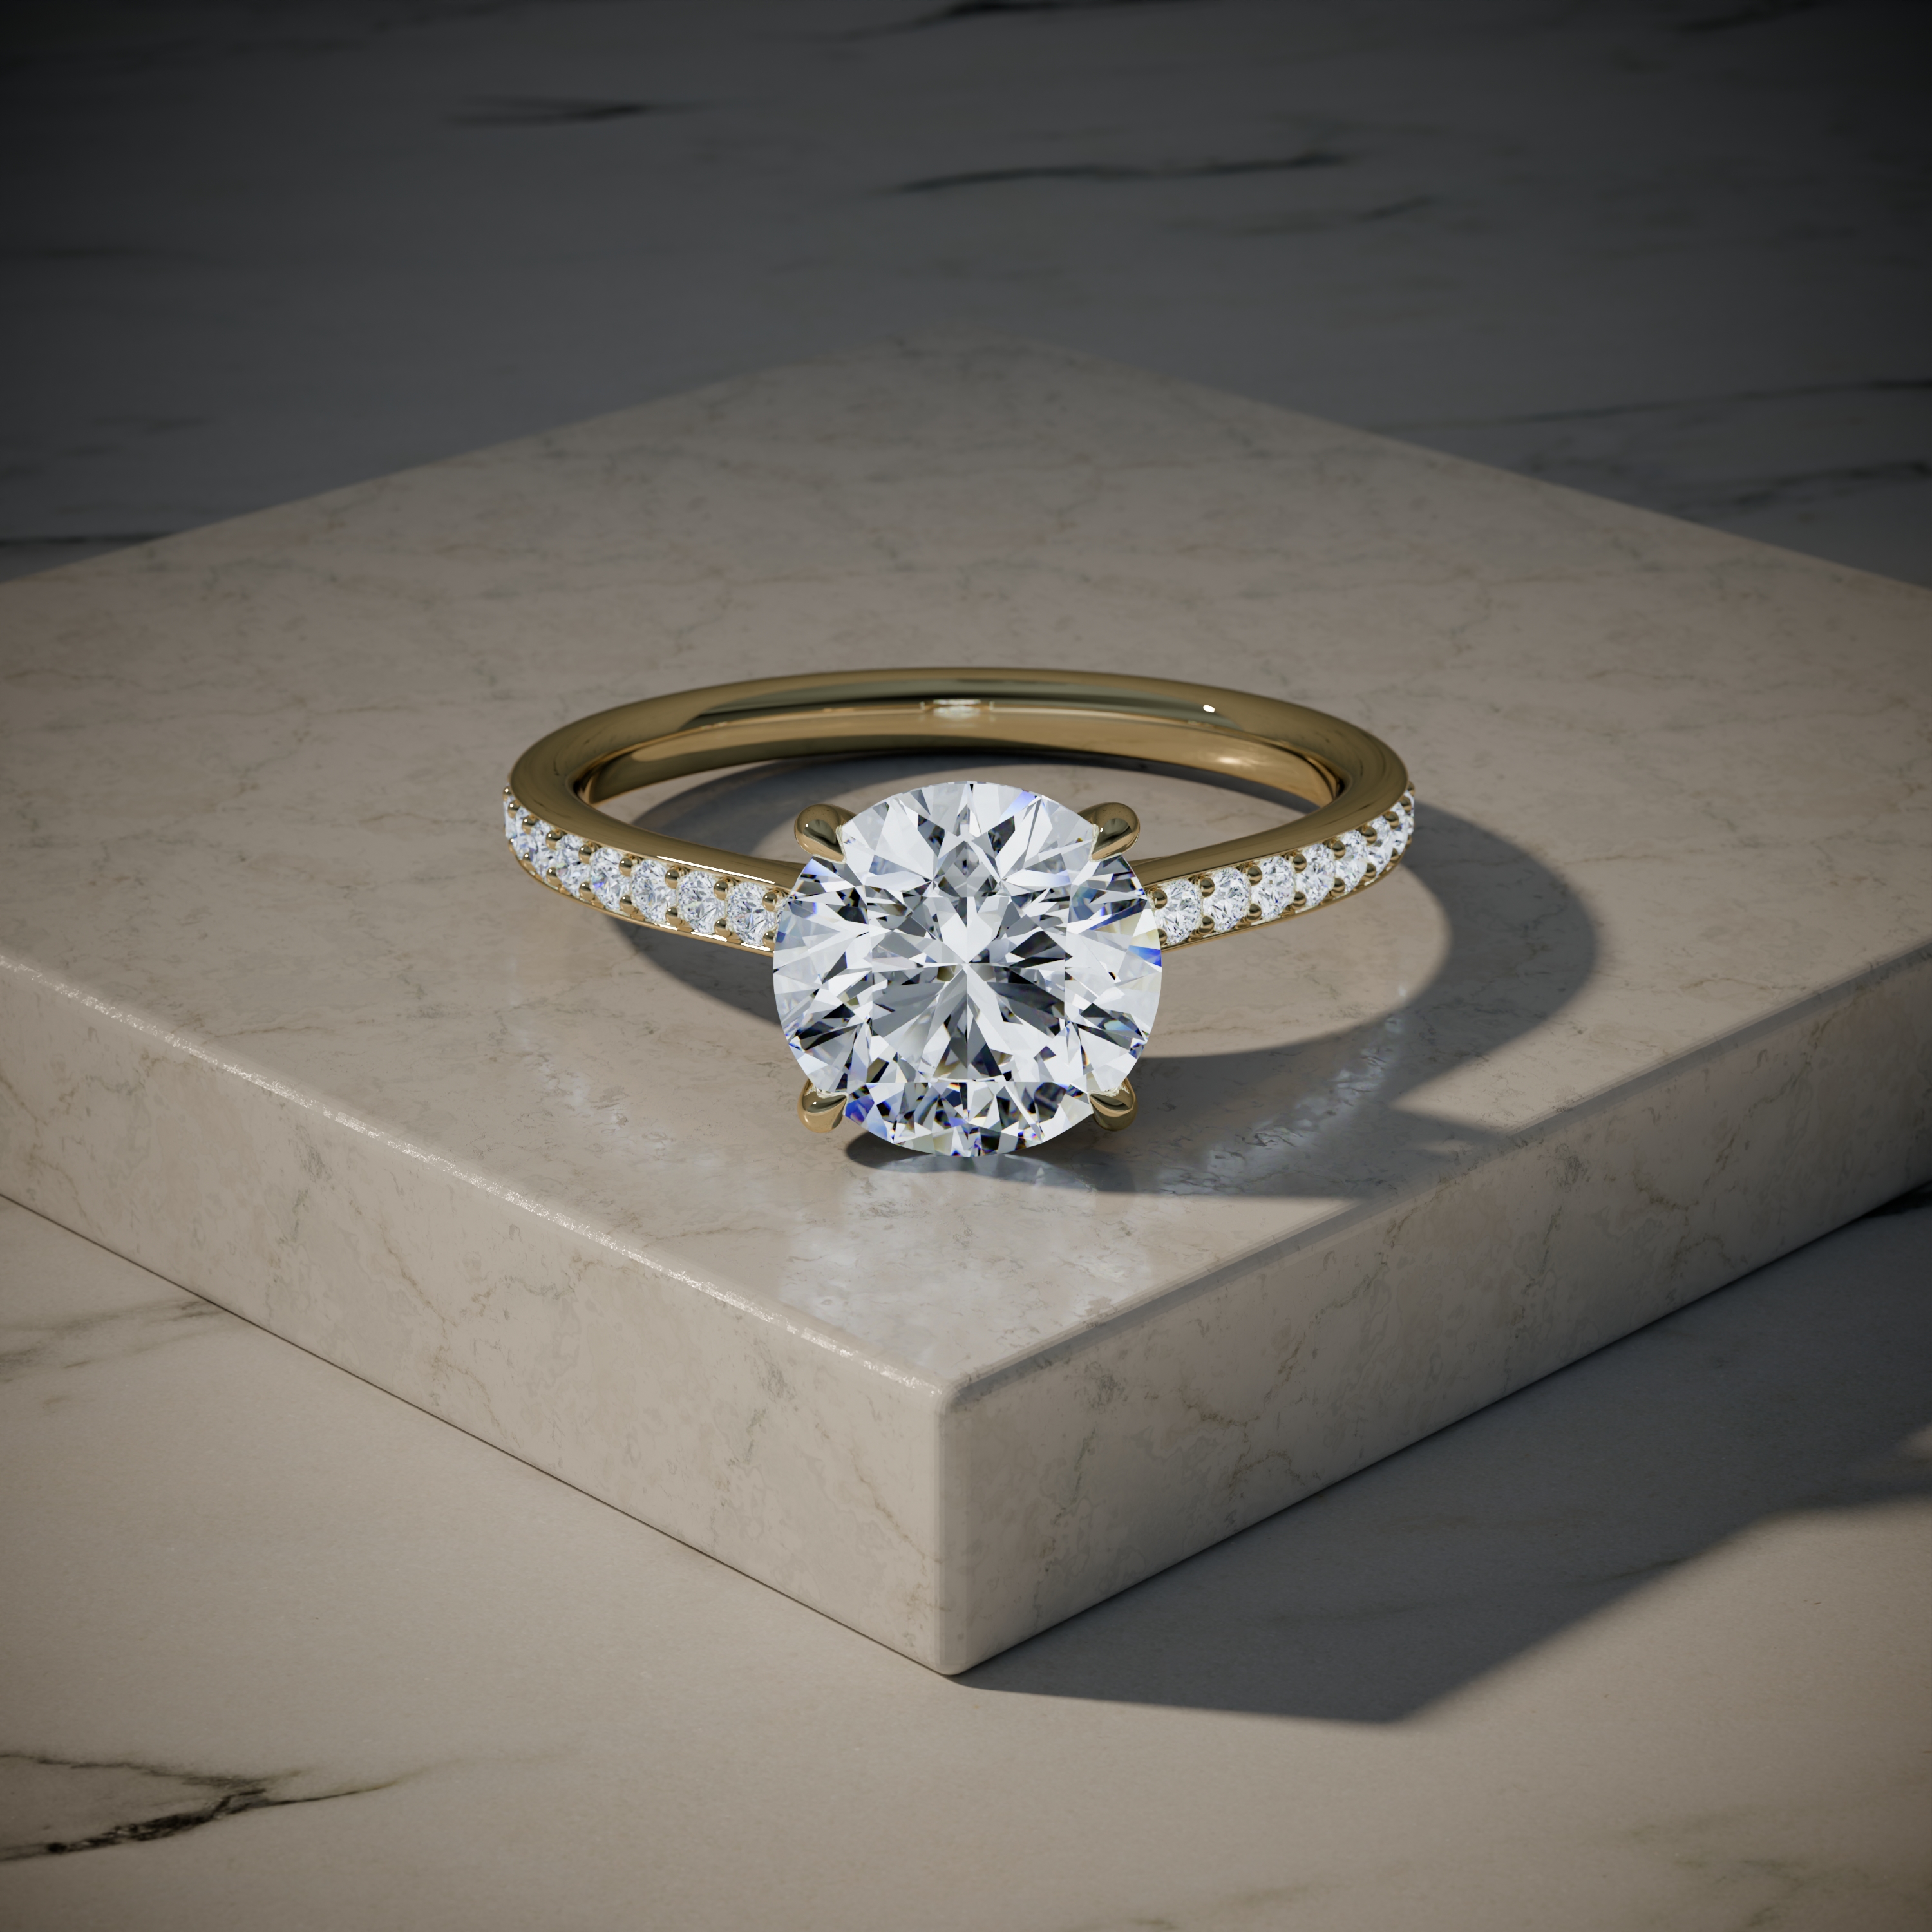
- Metals get color, roughness, and reflectivity. 14k yellow gold is paler than 18k. Brushed platinum scatters light. Polished rhodium acts like a mirror.
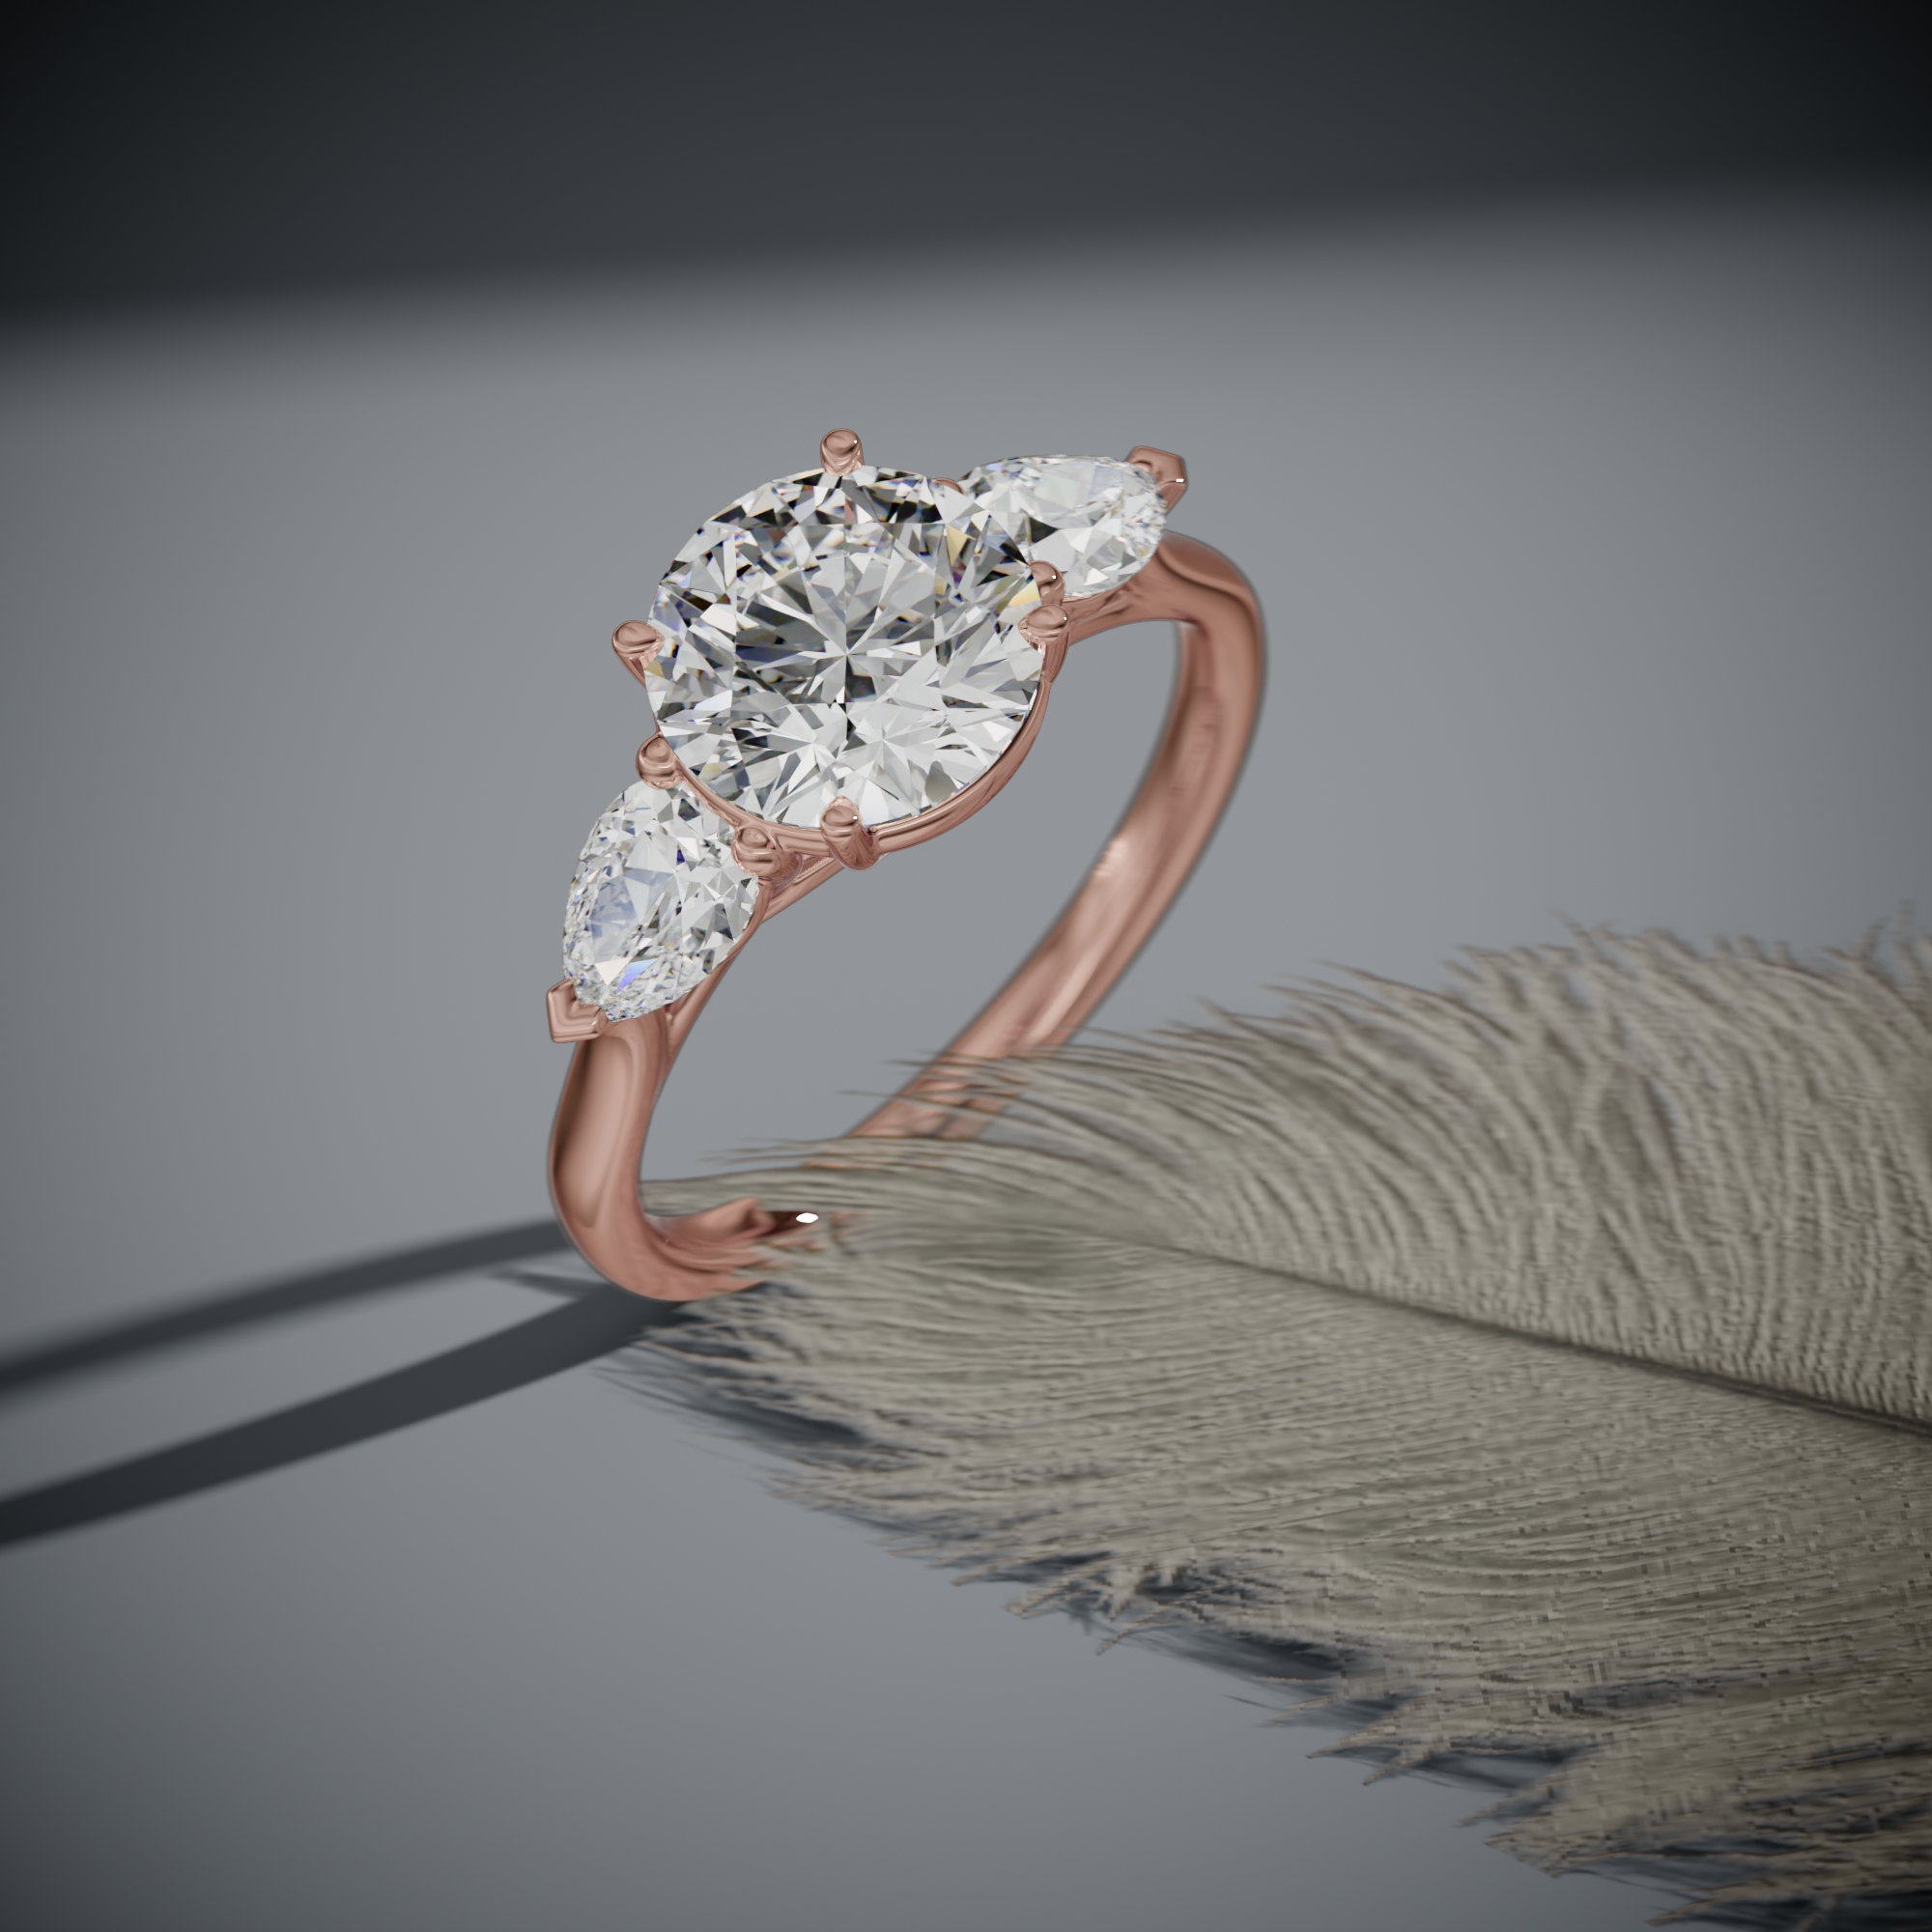
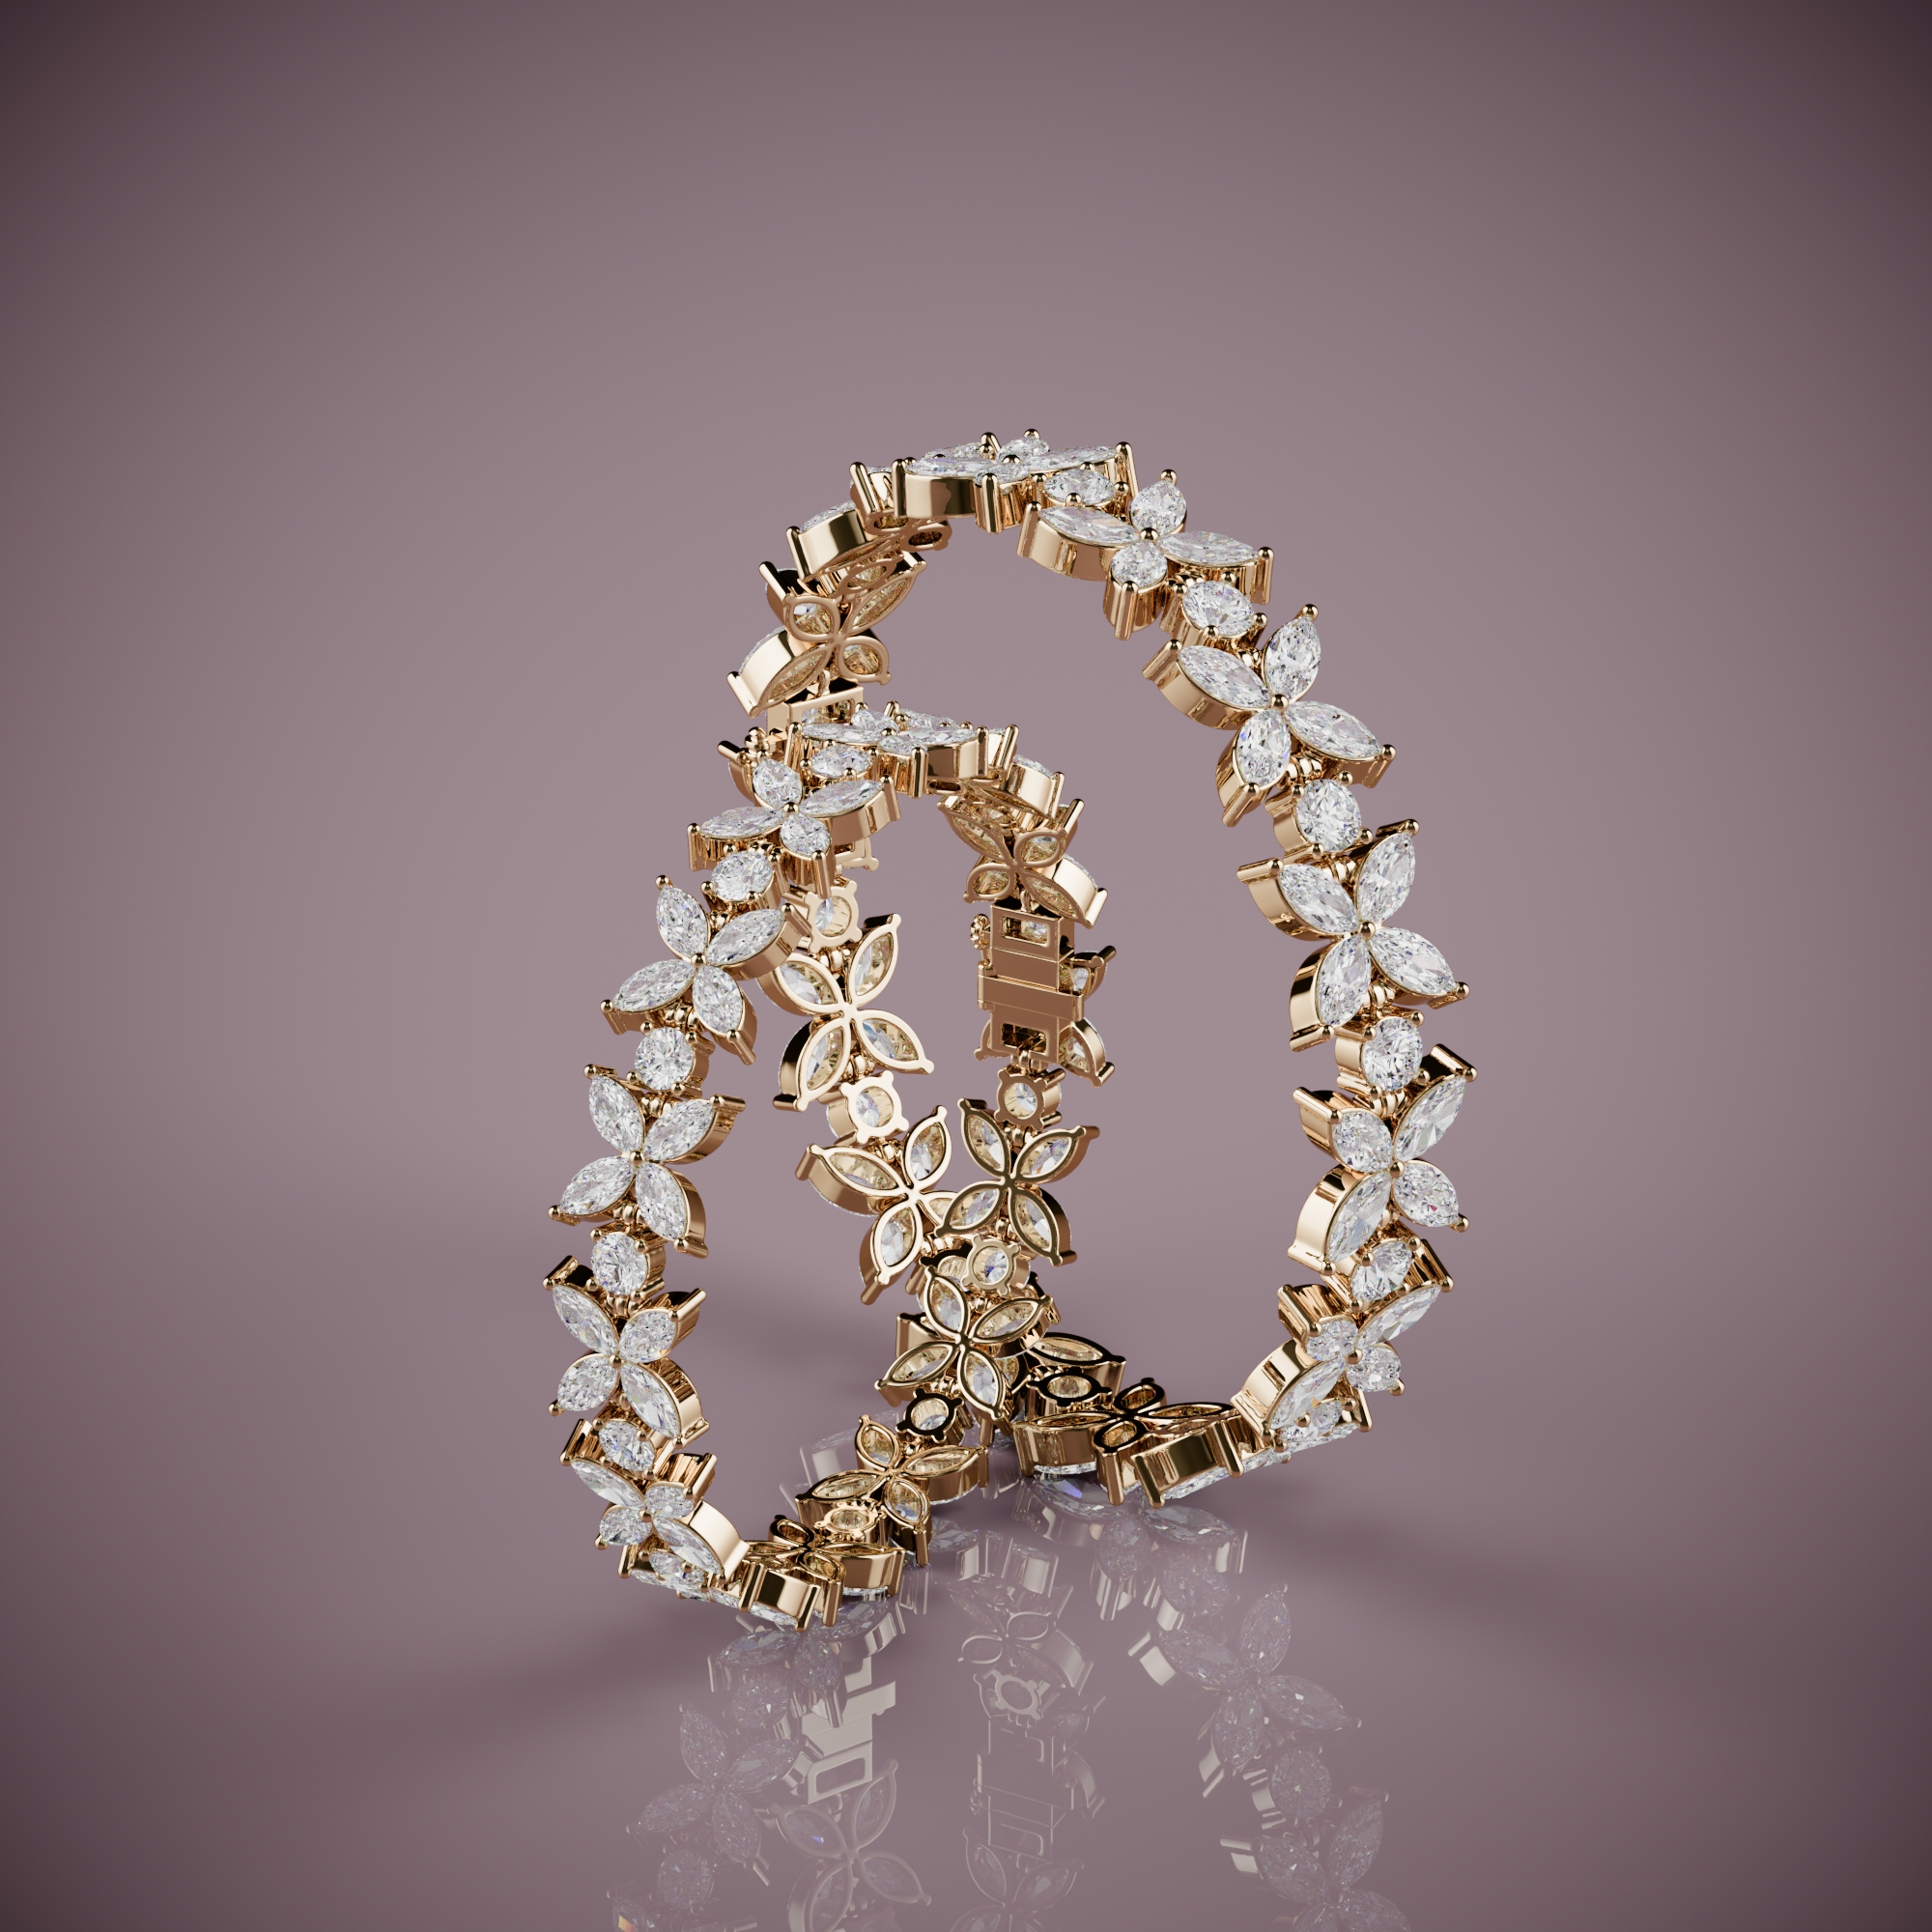
- Stones get refraction and dispersion values. Diamond bends light differently than moissanite, and the render should show that difference honestly.
Get materials wrong by a little and the image feels fake, even to a viewer who cannot say why. This is the stage where jewelry-only experience pays.
Stage 3: Lighting
Renders use virtual studio lighting: softboxes, reflectors, and gradient cards, all simulated. The advantage over a real studio is control. A light can hover a millimeter from the band without appearing in the reflection, which no physical studio can do.
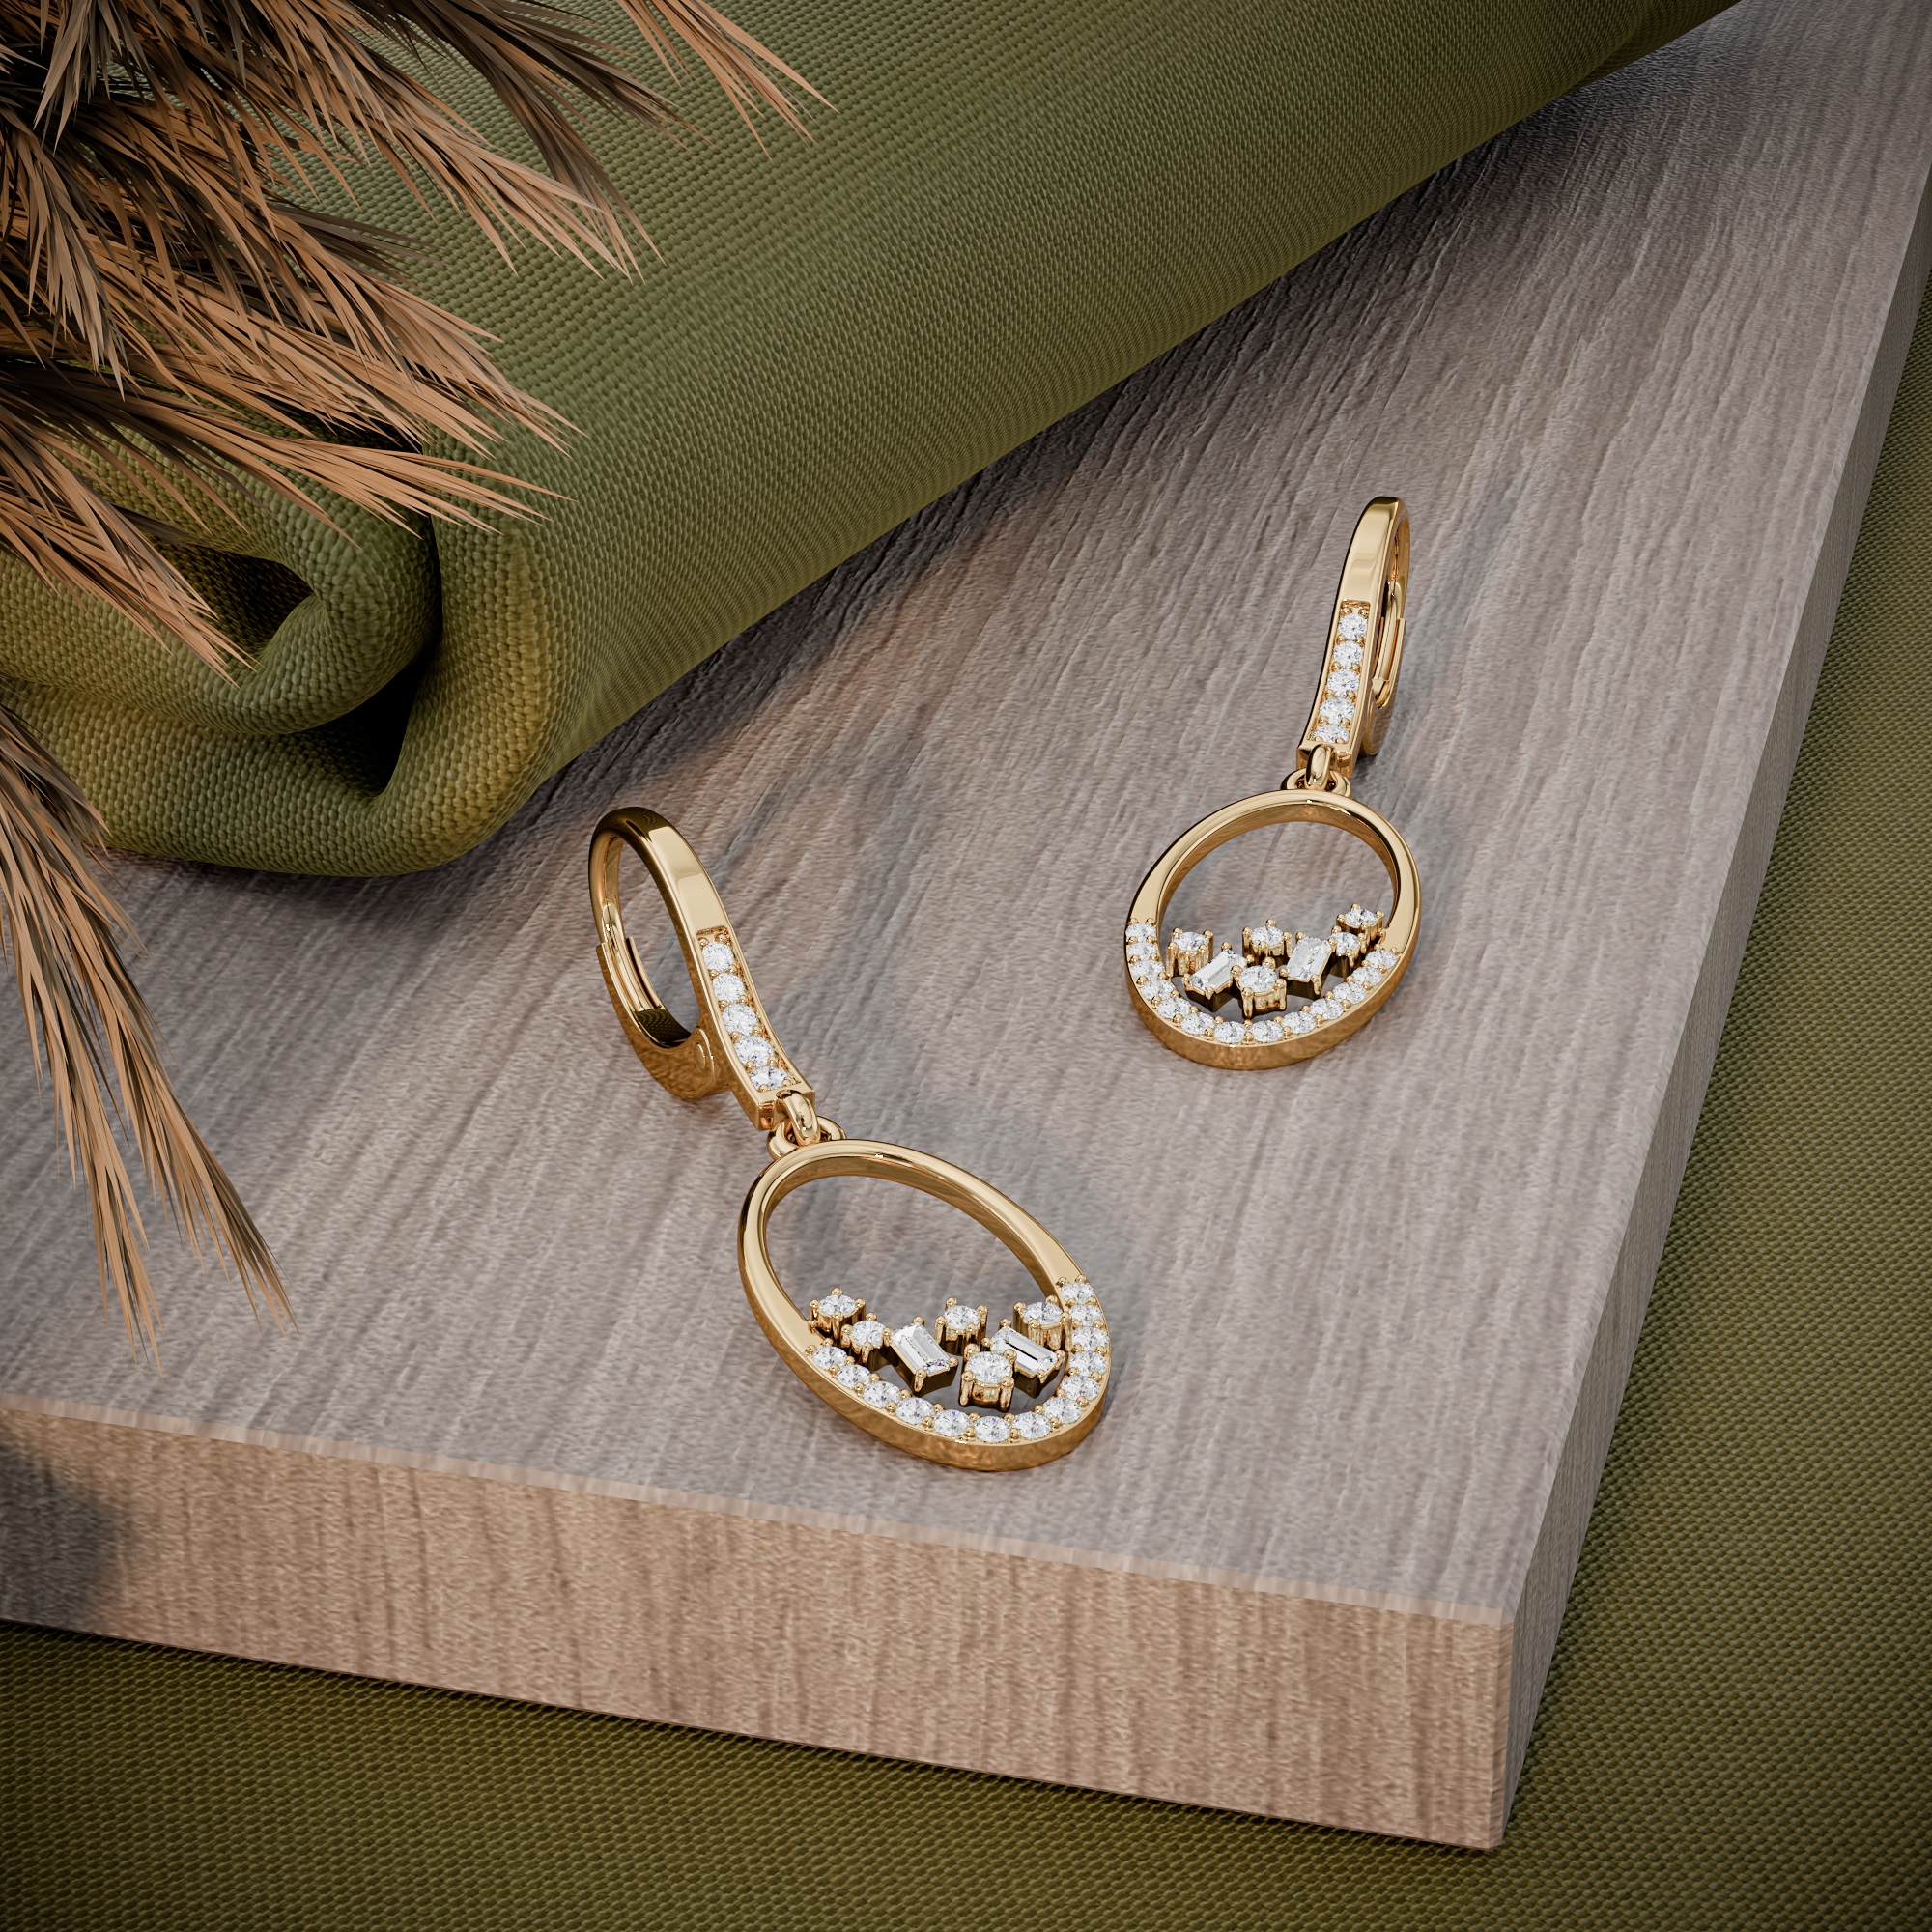
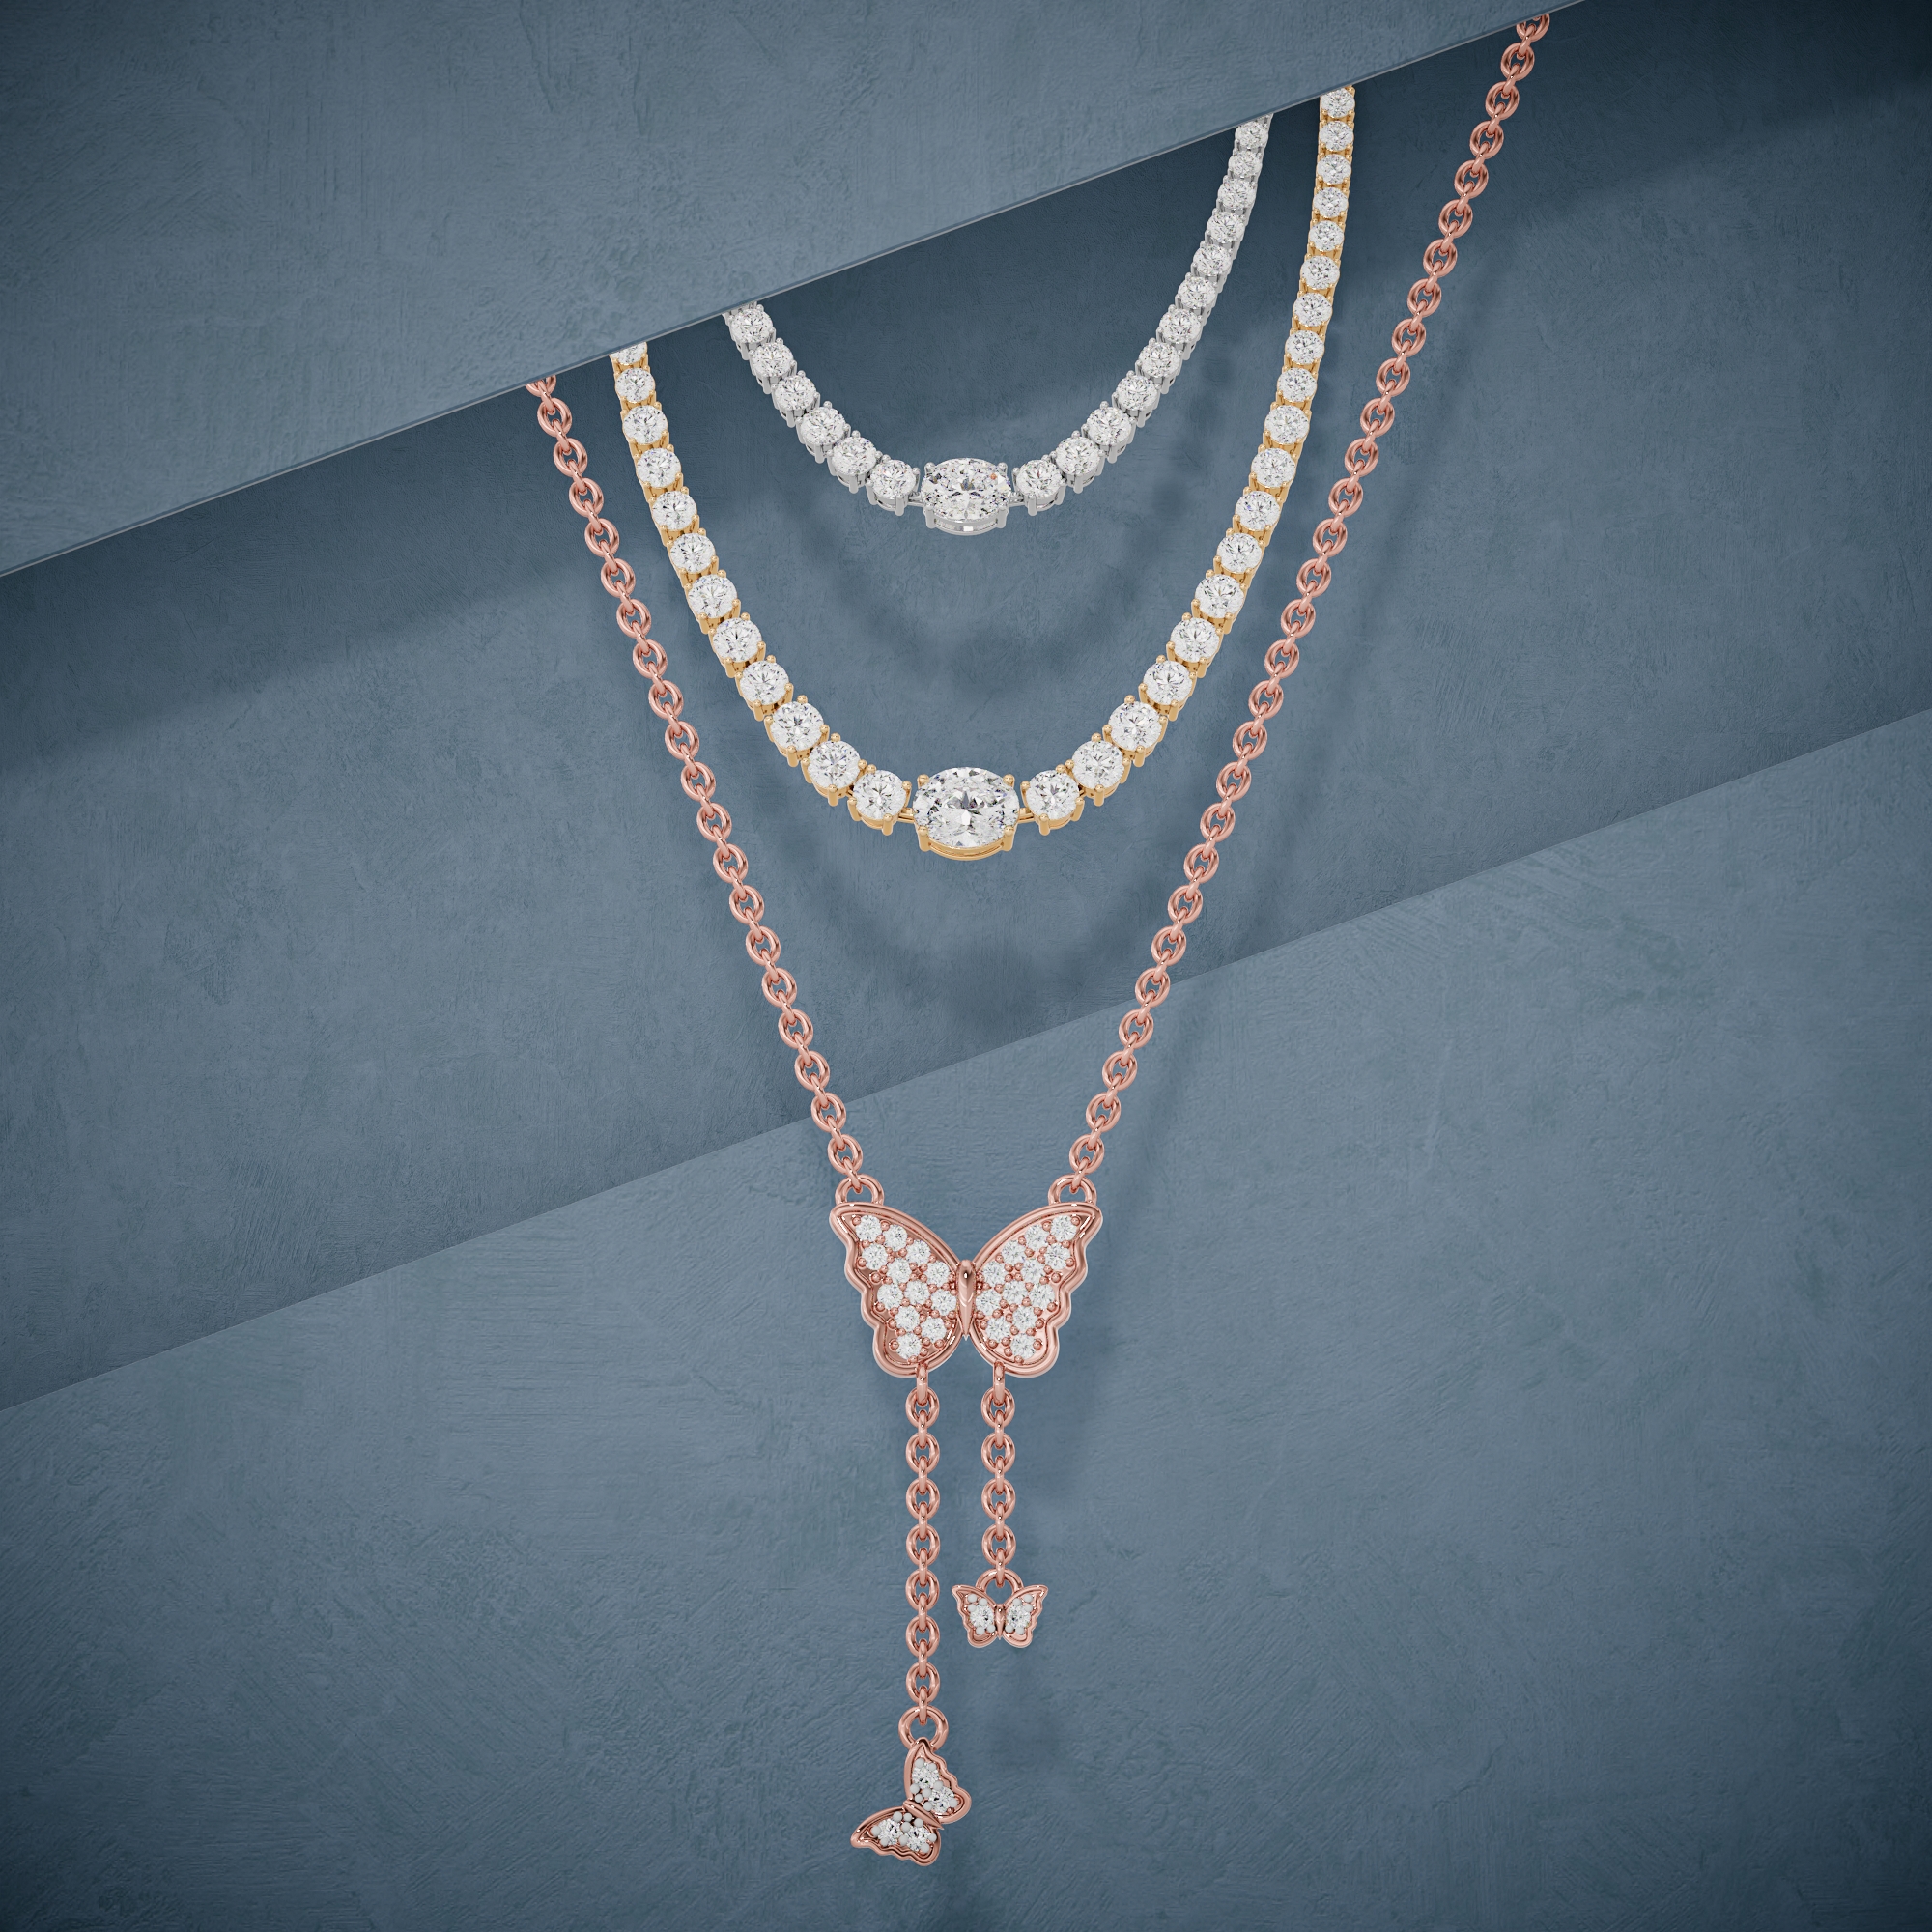
Lighting decides the mood. Bright and even for e-commerce grids. A single dramatic key light for campaign heroes. This is most of the difference between a standard render and the photorealistic tier.
Stage 4: Cameras
One scene, many shots. Top view for the grid thumbnail, side profile for the setting height, a macro on the center stone for the zoom. Because the scene is digital, adding an angle costs minutes, not a reshoot.
Stage 5: The render
The software traces millions of light rays through the scene: into the diamond, bouncing between facets, out to the camera. A single high-resolution jewelry image can take one to four hours of computing. Then a final pass in Photoshop trues the colors and removes noise, and the image ships.
What this means for you
You do not need to understand any stage of this to buy it. You need a CAD file and a clear spec: metal, stones, background. The studio handles the rest and shows you a preview before final delivery. If you have a file sitting on your desk right now, that is all it takes to start.
Curious how this works in practice? See the process, browse the portfolio, check pricing, or see every service we run.